- Configure separate paths for movies and TV series to avoid metadata errors.
- Server implementation using Docker on Linux and hardware transcoding optimization.
- Secure remote access management and synchronization with external clients such as Infuse.

Adding a library to Jellyfin lets you turn a folder full of movies, TV shows, music, photos, or personal videos into a browseable catalog. Covers, synopses, seasons, and organized informationHowever, for the result to be correct, Jellyfin must be able to access the folder and know exactly what type of content it contains.
It doesn't matter if the files are stored on a Old PC that still worksan external drive or a NAS. The fundamental rule is that the path must be visible from the computer, service, or container where Jellyfin is running. A folder that you can open from your personal computer may not be automatically available to the server.
It's also a good idea to separate each category before starting. Movies, TV series, and music use different metadata structures and providers. Creating a specific library for each reduces incorrect identifications and makes future maintenance easier.

What is a library in Jellyfin?
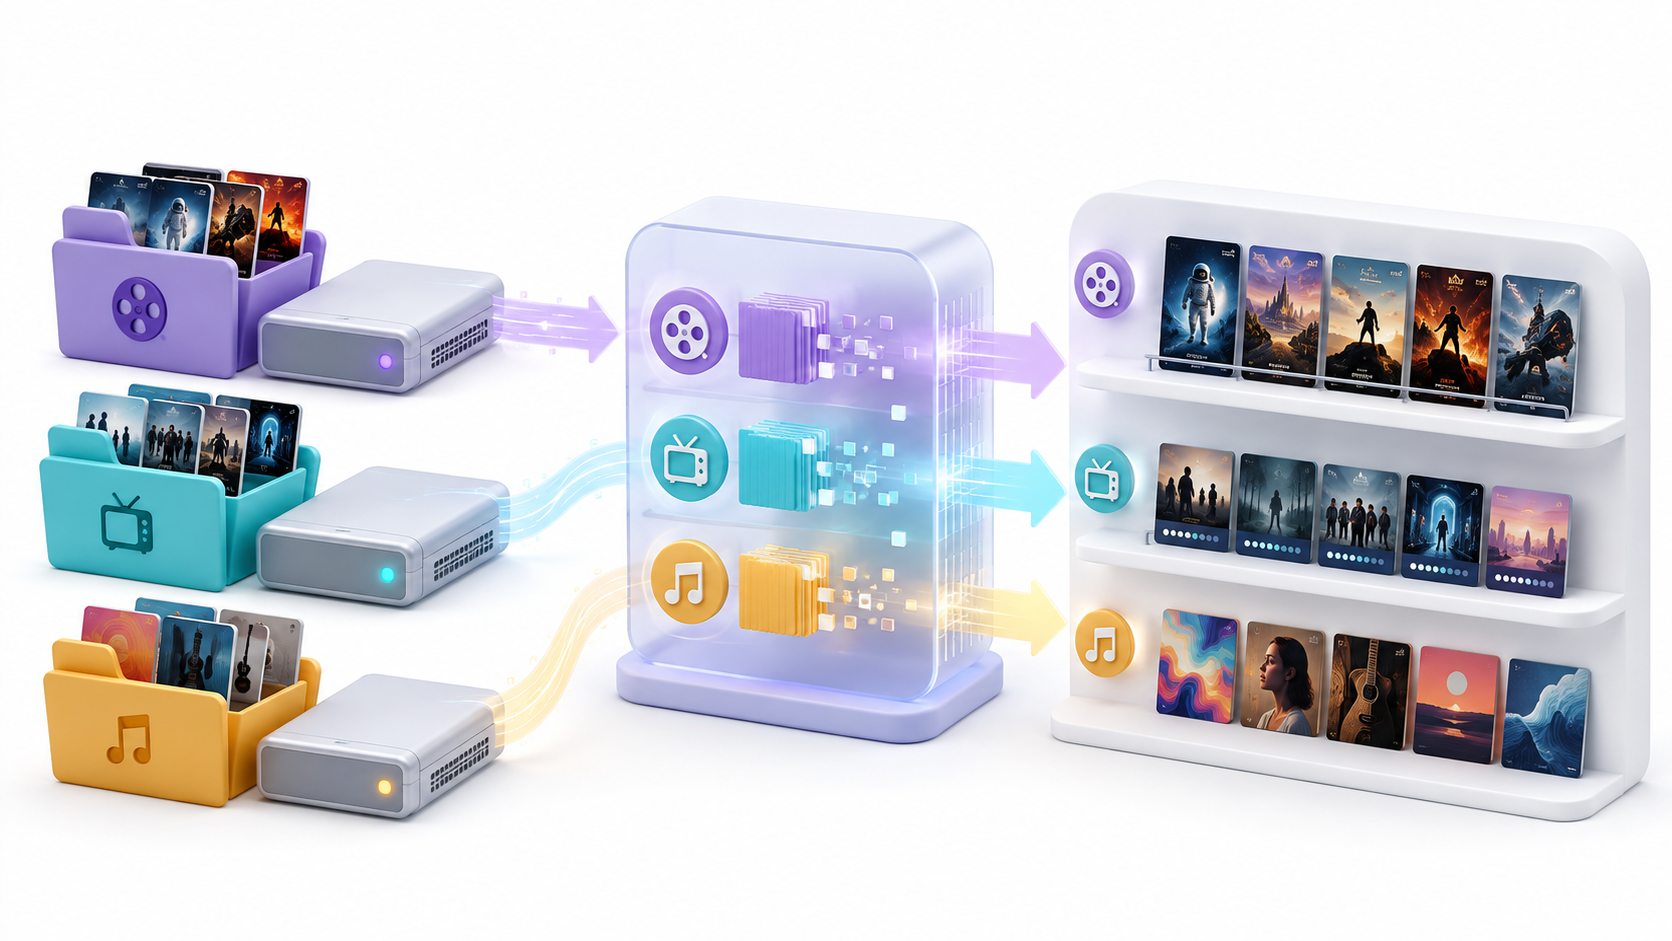
A library is a virtual collection made up of one or more foldersThe files remain in their original location; Jellyfin only analyzes the paths, saves information about them in its database, and displays the result through its applications.
A single library can include files from multiple locations. For example, you can create a library called Movies and include a folder from your internal drive and another located on a NAS. Both will appear together in the interface, even though the files are still stored on different devices.
This doesn't mean you should mix categories. You can combine several movie folders within a movie library, but it's not a good idea to add a TV series or music folder to that same collection.
How to prepare the folder before adding it
Before opening the Jellyfin panel, verify that the server can read the folder. The path must remain accessible whenever Jellyfin performs a scan or attempts to play a file.
If the media is on a local disk, grant the user running Jellyfin permission. read permissions on folders and filesWrite permissions are only necessary if you want to allow Jellyfin to save images, NFO files, or other data along with the content, or if you have enabled file deletion.
When using an SMB or NFS resource, it must be mounted on the server's operating system. Jellyfin is designed to read directly from the file system and not to store network folder credentials accessed from another computer.
If you're considering where to store a large collection, you can check out the options at storage for a home NASEnsure that the resource is automatically mounted after each reboot and before starting Jellyfin.
How to mount the media folder when Jellyfin uses Docker
A container cannot automatically see all folders on the host system. You must add a volume that connects the actual location to an internal path accessible to Jellyfin.
For example:
services:
  jellyfin:
    image: jellyfin/jellyfin
    volumes:
      - /mnt/multimedia/peliculas:/media/peliculas:ro
      - /mnt/multimedia/series:/media/series:ro
In this example, /mnt/multimedia/peliculas is the host's route and /media/peliculas This is the library that Jellyfin can see within the container. Therefore, when creating the library, you must select:
/media/peliculasDo not enter the host path in Jellyfin, because That location does not exist within the containerThe suffix :ro Mount the media in read-only mode, which is sufficient for scanning and playing it. Only use write access if you need Jellyfin to modify that folder.
If the folder appears empty despite being mounted, check the user and group under which the container is running. Their credentials must have permissions to traverse the directories and read the files.

How to add a library to Jellyfin step by step
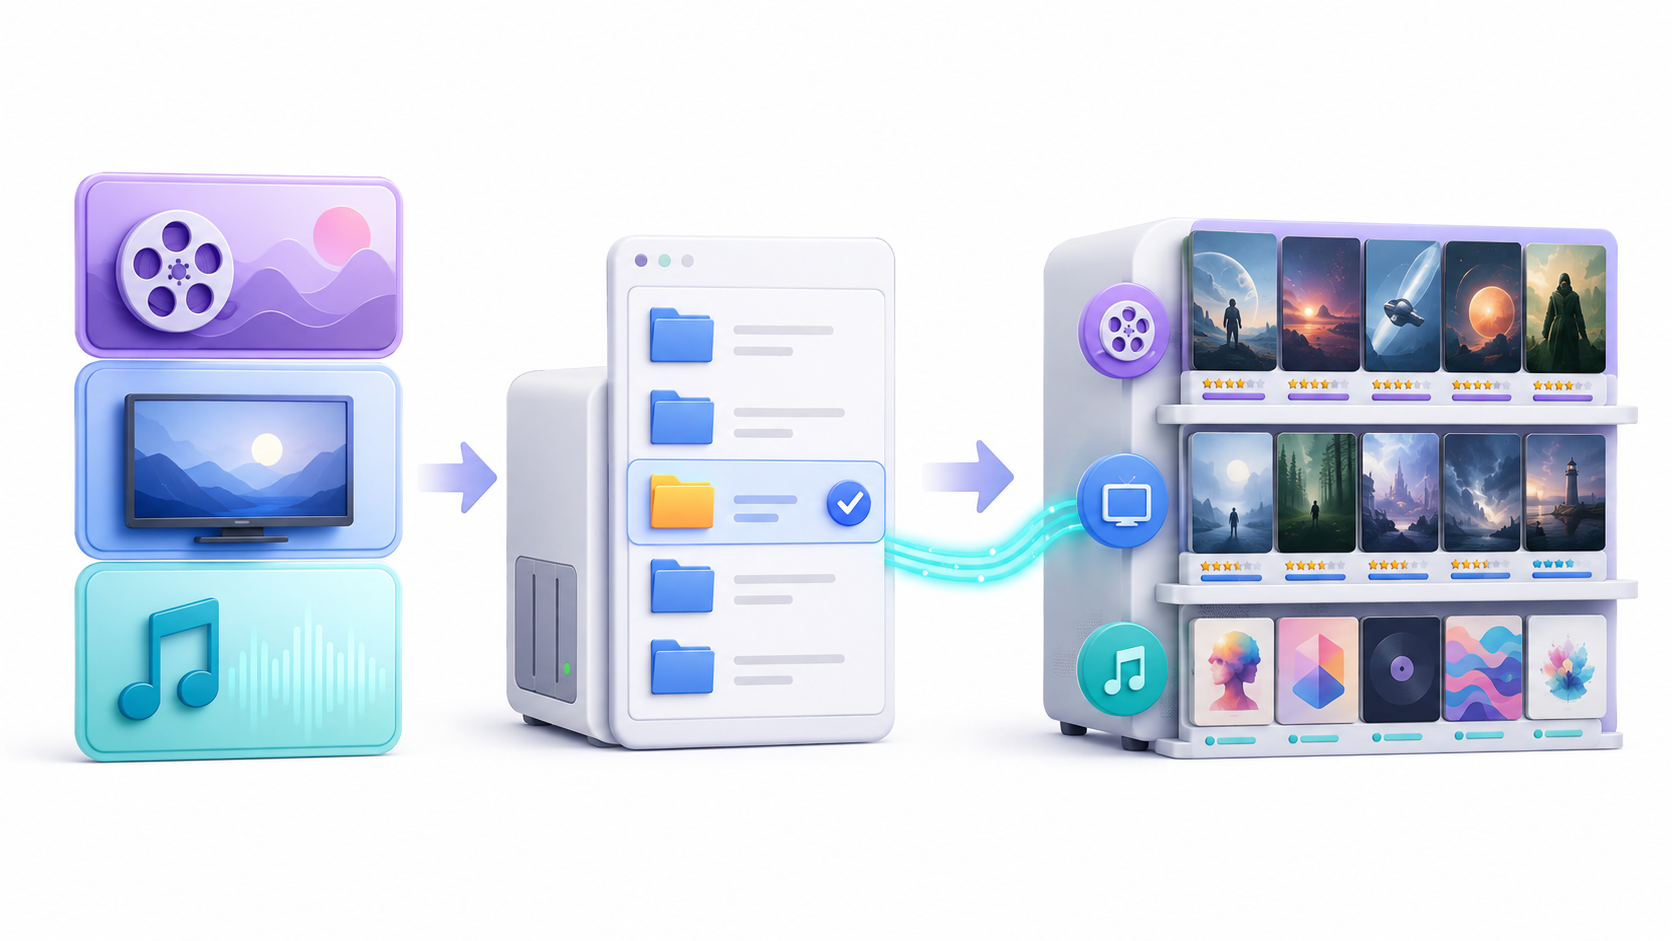
Once the folder is accessible, complete these steps from an administrator account:
- Open the Jellyfin web interface.
- Open the main menu.
- Enter Administration > Control Panel.
- Select Server > Libraries.
- Press Add media library.
- Select the content type.
- Enter the name that will appear on the interface.
- Press the symbol + to add a folder.
- Select the route or enter it manually.
- Configure the language and country of the metadata.
- Review the additional options and save the library.
Jellyfin will begin analyzing the files and will display a progress bar. Small libraries may appear almost immediately, while a large collection will need more time to identify the content and download images.
You can continue using the interface during the process, although the cover art, seasons, and synopses will appear gradually until the process is complete. first scan of the library.
What type of content should you select
The type determines how Jellyfin interprets the folder structure and which providers it uses. Choosing the wrong one can cause a movie to appear as an episode or an entire series to display as several separate videos.
| Type of library | Recommended content |
|---|---|
| Movies | Feature films organized individually by title and year. |
| Series | Programs divided into series, season and episode folders. |
| Music | Albums and songs with correctly completed internal tags. |
| Music videos | Music videos and performances that do not belong to a film or series. |
| Photographs | Personal images organized using folders. |
| Books | Books, comics and audiobooks via the corresponding add-on. |
| Home videos and photos | Personal recordings without automatic film identification. |
Do not use the type Mixed movies and seriesCurrent documentation considers this method obsolete and advises against its use because it produces unreliable results. If a folder contains both categories, separate them before creating the libraries.
How to organize movies, TV shows and music
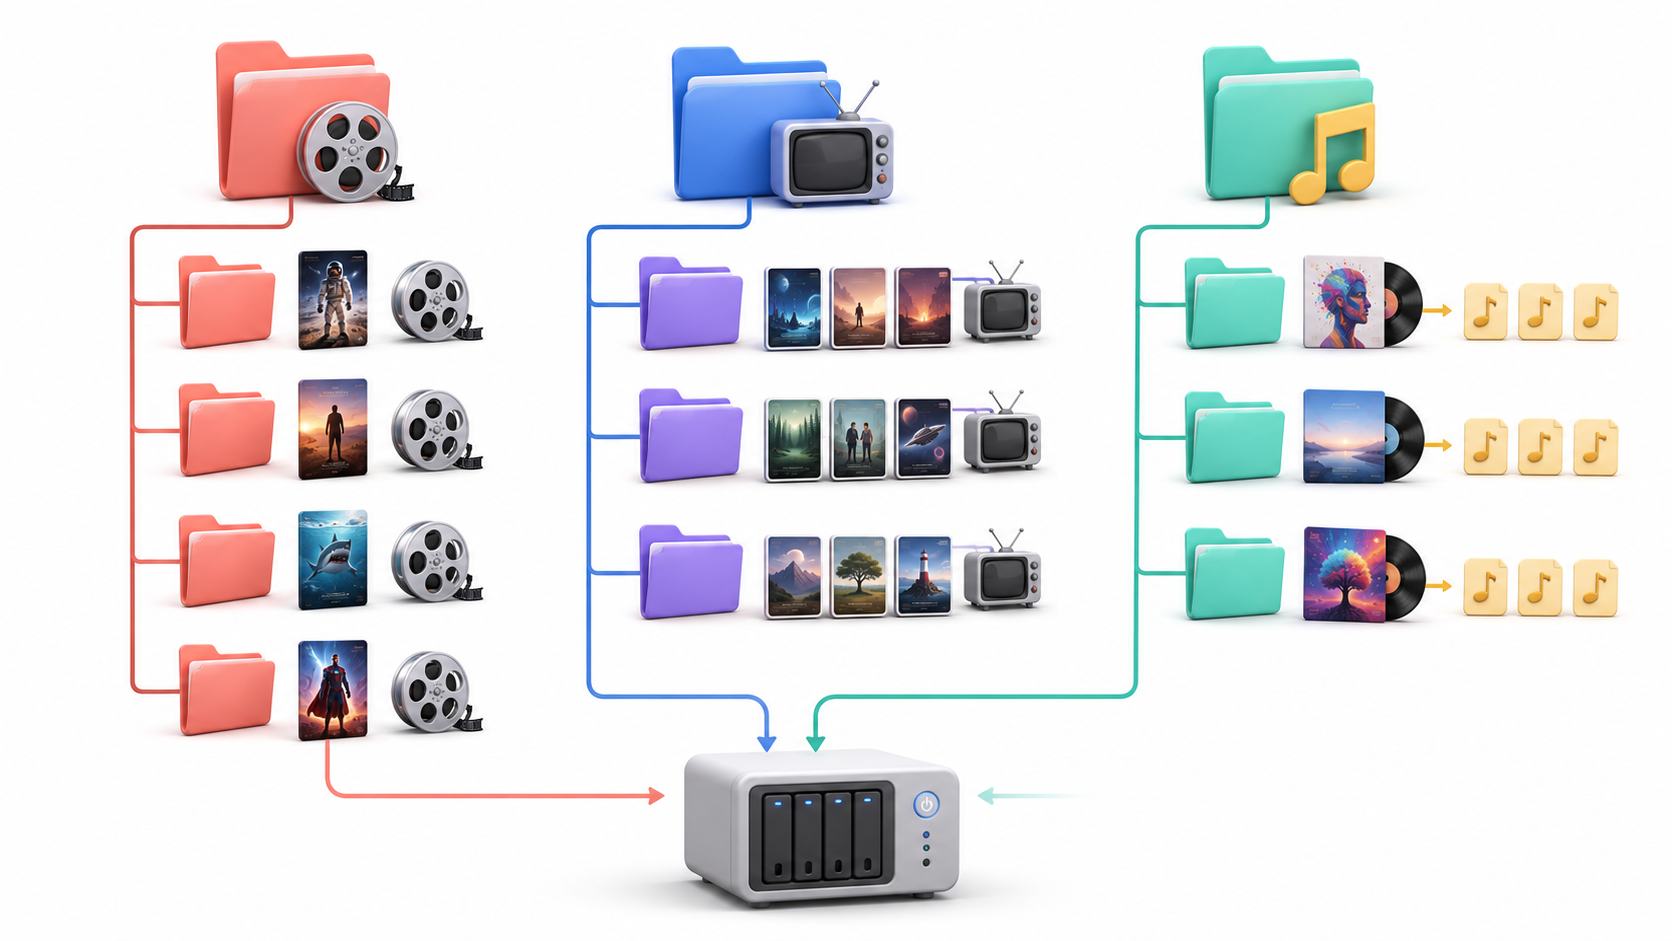
This guide focuses on adding routes to the server. The complete naming structure is explained in the article on how to Add and organize movies and TV shows in JellyfinBut these are the essential rules.
Movies
Each film should have its own folder and include, whenever possible, the title and year:
Peliculas/
└── Nombre de la película (2025)/
    └── Nombre de la película (2025).mkv
The year helps distinguish remakes and titles with identical names. You can also add the vendor identifier to improve the match:
Nombre de la película (2025) [tmdbid-ID]Series
Series should be divided into seasons and use recognizable episode numbers:
Series/
└── Nombre de la serie (2025)/
    ├── Season 01/
    │   ├── Nombre de la serie S01E01.mkv
    │   └── Nombre de la serie S01E02.mkv
    └── Season 02/
        └── Nombre de la serie S02E01.mkv
The season 00 It is normally reserved for specials. A file can contain several consecutive episodes using a pattern such as S01E01-E02.
Music
For music, the metadata embedded in the files is more important than their names. Each folder should contain only one album.
Musica/
└── Artista/
    └── Álbum/
        ├── Canción 01.flac
        └── Canción 02.flac
Check the fields for artist, album artist, album name, track number, and disc number before performing the first scan.
How to configure library metadata
Jellyfin obtains information from providers such as TMDb, OMDb, and local NFO files. During library creation, you can choose the preferred language and country used to download titles, synopses, and ratings.
The language can be configured for each library, so a collection of anime, Spanish cinema, or original version films can use different settings than the rest.
Local NFO files take precedence over remote providers. If Jellyfin continues to display outdated information after renaming a folder, check if a file exists. .nfo that is imposing that data.
If a title is associated with the wrong work, use the item identification tool or add an identifier to the folder name, such as [tmdbid-ID], [imdbid-ID] o [tvdbid-ID]Then it updates its metadata again.
For more complicated cases, see how Troubleshooting cover art and metadata issues in Jellyfin.
How to add multiple folders to the same library
You don't need to create a separate library for each disk. Jellyfin lets you add several routes of the same type and display them as a single collection.
For example, a movie library might include:
/media/disco-interno/peliculas
/media/nas/peliculas
/media/disco-usb/peliculas
All three locations will appear together under the chosen name. This setup is useful when your collection has grown and you need to distribute it across multiple drives.
Avoid adding a parent folder and one of its subfolders at the same time. If you add /media/peliculas and also /media/peliculas/animacionJellyfin can analyze the same content twice and generate duplicates.
How to allow users to see the new library
Users with access to all libraries will automatically receive the new collection. However, profiles configured to view only specific libraries will not receive the new collection. They do not gain access automatically..
To grant it:
- Open the control Panel.
- Enter Users.
- Select the corresponding profile.
- Open Access to libraries.
- Mark the new library.
- Save the changes.
This step is especially important when Configure child profiles in Jellyfinbecause a new library could remain hidden until it is reviewed and expressly authorized.
How to update or re-analyze a library
Jellyfin runs scheduled tasks to detect changes, but you can also initiate a manual scan. Open the library menu and select the option to analyze or update it.
Real-time monitoring allows you to detect new or modified files without waiting for the next scan. However, it doesn't work with all file systems. Resources like NFS or rclone may not generate the necessary events, so you'll have to rely on scheduled tasks or manual scans.
If you've only corrected the ID of one title, there's no need to re-analyze the entire collection. Update the metadata of the affected item to avoid unnecessary calls and processing.
How to modify or remove a library
From Control Panel > Libraries You can open a collection's options to change its name, add or remove folders, and review its metadata providers.
Before deleting a path, check that it's not the only location for certain files. If you're using a NAS or USB drive, also verify that it's connected: a temporarily unavailable drive might appear as a path that no longer exists.
Do not perform maintenance tasks or full scans while the network storage is disconnected. Jellyfin may remove items it cannot find from the catalog. The files will not be deleted from the NAS, but you will need to restore the connection and rescan the library.
Common mistakes when adding a library to Jellyfin
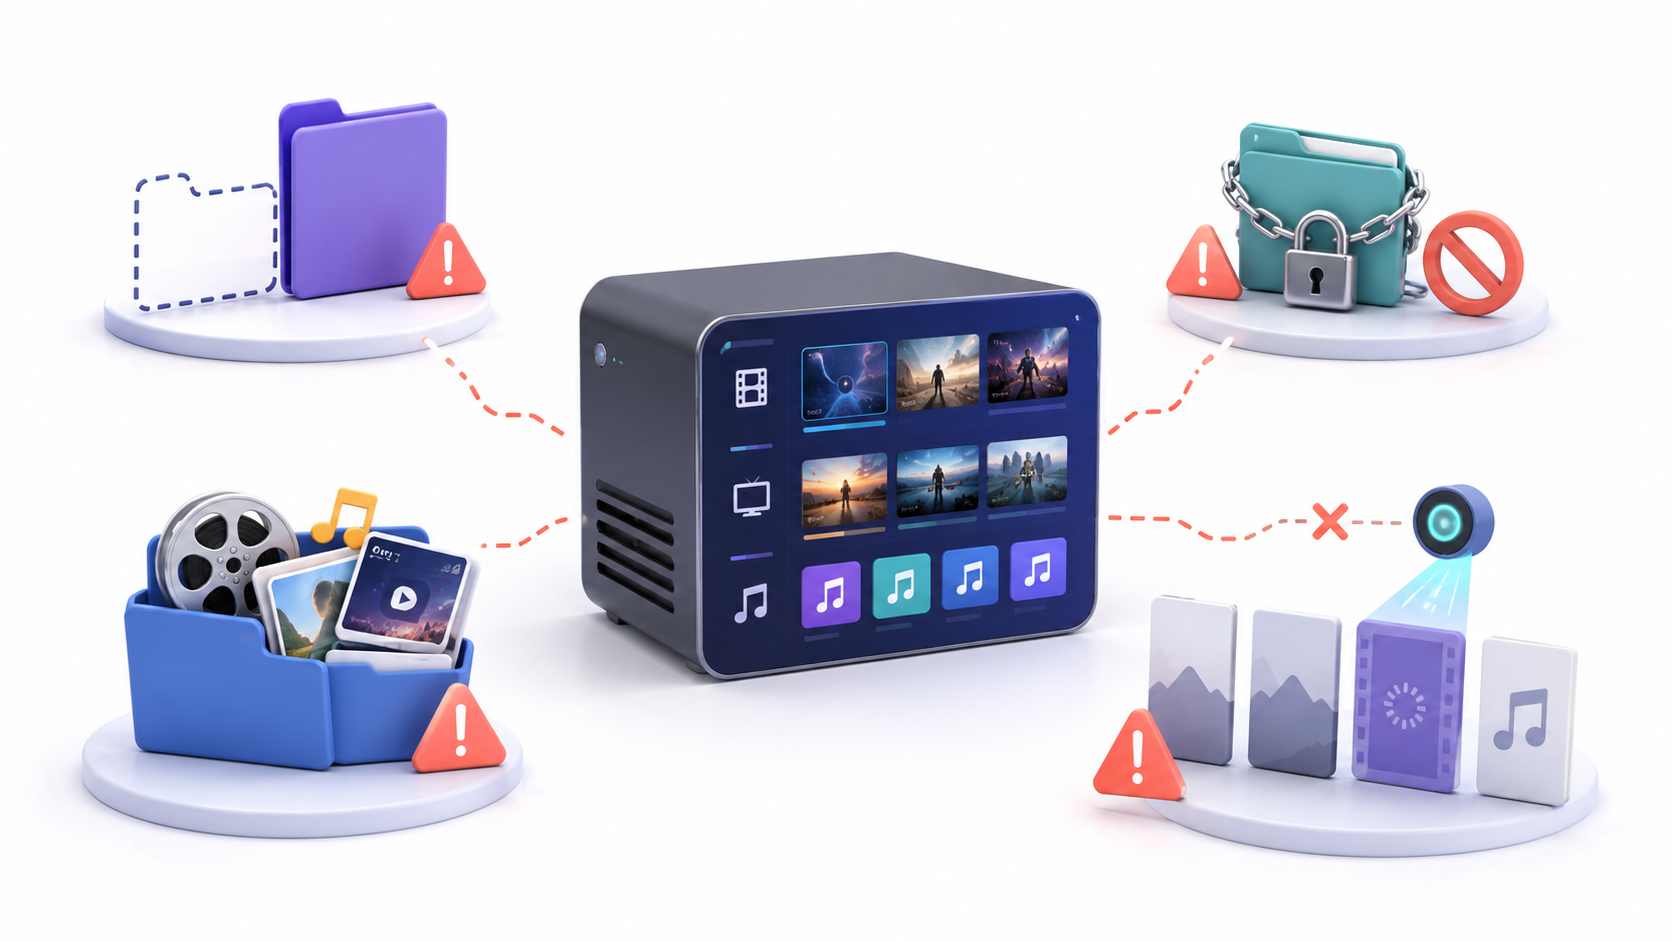
The folder does not appear in the selector.
The Jellyfin process cannot see that location. Verify that the drive is mounted and that the service user has permissions to traverse the folders and read the files.
The Docker path appears empty
You've probably entered the host path. Check the configured volume and select it in Jellyfin. internal route of the container.
The library is created, but it doesn't show any files.
Check the permissions, content type, and folder structure. According to the official documentation, the two most common reasons are incorrect permissions and an incompatible organization with the scanner.
The movies appear within the series
You've used a mixed folder or chosen the wrong type. Separate the categories and create specific libraries for movies and TV shows.
The same titles appear duplicated
Check if you've added overlapping paths, such as a parent folder and one of its subfolders. Also, check that the same resource isn't mounted using two different paths.
Jellyfin downloads an incorrect cover or synopsis
Correct the name and year, or add the vendor ID. Then update the metadata for the affected item.
New files do not appear automatically.
Start a manual scan and check the scheduled task. If the folder uses NFS, rclone, or another non-event-supported system, real-time monitoring may not work.
The content disappears when the NAS is disconnected
Jellyfin scanned the path while it was inaccessible. Restore the mount, confirm that the files are visible again, and rescan the library.
Some users cannot see the new library
Profiles with restricted access require manual authorization. Open the user account, go to Library Access, select the collection, and save the changes.
The music appears grouped incorrectly.
Check the internal tags of the files. Jellyfin primarily uses embedded metadata to identify artists, albums, discs, and tracks.
Properly adding a library to Jellyfin involves choosing the correct type, specifying a path accessible from the server, and adhering to the expected structure for each content class. Most problems are not caused by the player itself, but by... invisible paths, insufficient permissions, or incompatible names.
Before importing a large collection, try importing a folder containing two or three titles. If Jellyfin identifies them correctly, expand the path or move the remaining files. This check prevents you from having to correct hundreds of items after the initial scan.

I am a technology enthusiast who has turned his "geek" interests into a profession. I have spent more than 10 years of my life using cutting-edge technology and tinkering with all kinds of programs out of pure curiosity. Now I have specialized in computer technology and video games. This is because for more than 5 years I have been writing for various websites on technology and video games, creating articles that seek to give you the information you need in a language that is understandable to everyone.
If you have any questions, my knowledge ranges from everything related to the Windows operating system as well as Android for mobile phones. And my commitment is to you, I am always willing to spend a few minutes and help you resolve any questions you may have in this internet world.