- Cline can analyze projects, edit files, and run commands from Visual Studio Code.
- The Plan and Act modes separate the analysis from the execution of changes.
- You can use commercial providers or run local models using Ollama and LM Studio.
- Checkpoints, permissions, and MCP servers extend Cline while maintaining project control.

If you spend a good part of your day programming, you've probably already noticed that artificial intelligence is no longer limited to simply completing lines of code. New agents can Examine a project, modify files, run commands, and check the result. without forcing you to abandon your development environment.
One of the most interesting tools to achieve this is ClineCline is an open-source programming agent that can be installed directly in Visual Studio Code. Unlike standalone editors such as Cursor or Windsurf, Cline works as an extension, so You don't need to change editors or migrate your settings.
Furthermore, it allows you to choose between different providers and models. You can use Cline's integrated service, connect your own API key, or run certain models locally using tools like Ollama and LM Studio.
What is Cline and what can it do in VS Code?
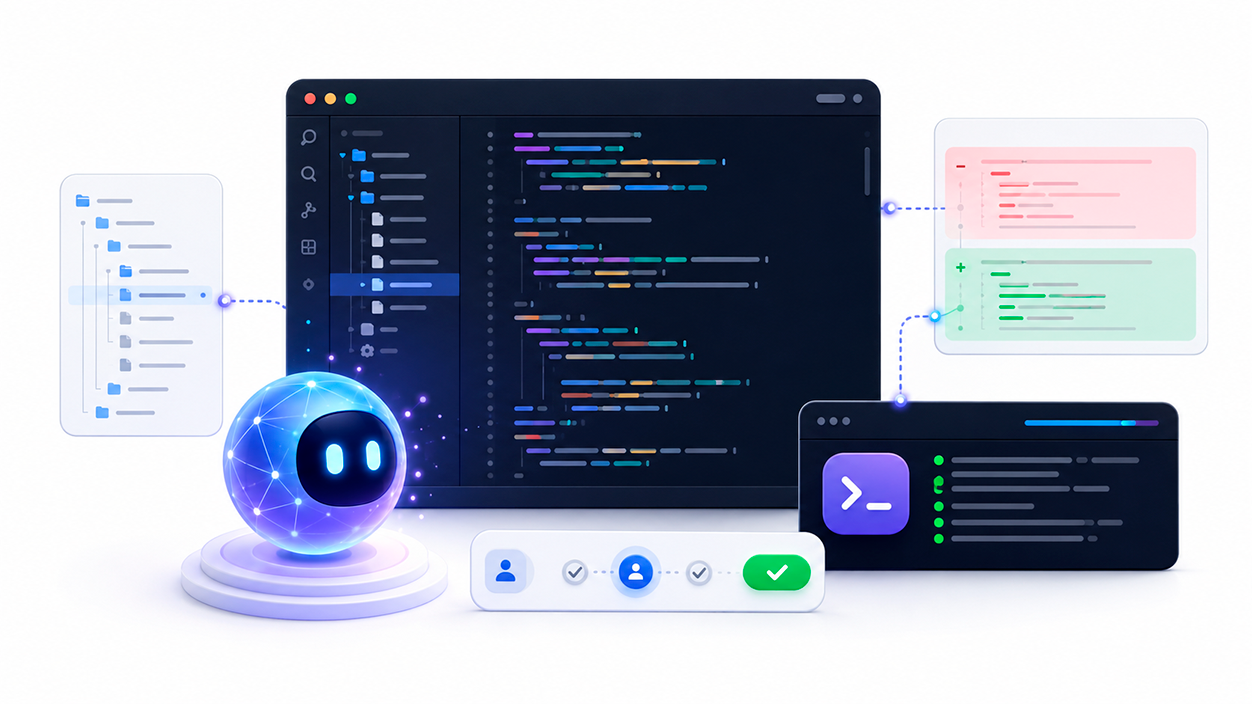
Cline is not just a chat program capable of generating code snippets. It is a agent that can examine the contents of the workspace, search for references, create and edit files, run commands in the terminal, and use additional tools to complete a task.
For example, you can ask it to analyze a bug, locate the affected files, propose a solution, modify the code, and run the necessary tests. Before performing any sensitive actions, Cline may request your authorization to do so. maintain control over the changes applied.
The extension is open source and uses the Apache 2.0 license. However, this does not mean that all connected models are free. The cost will depend on the provider, the model, and the chosen plan.
How to install Cline in Visual Studio Code
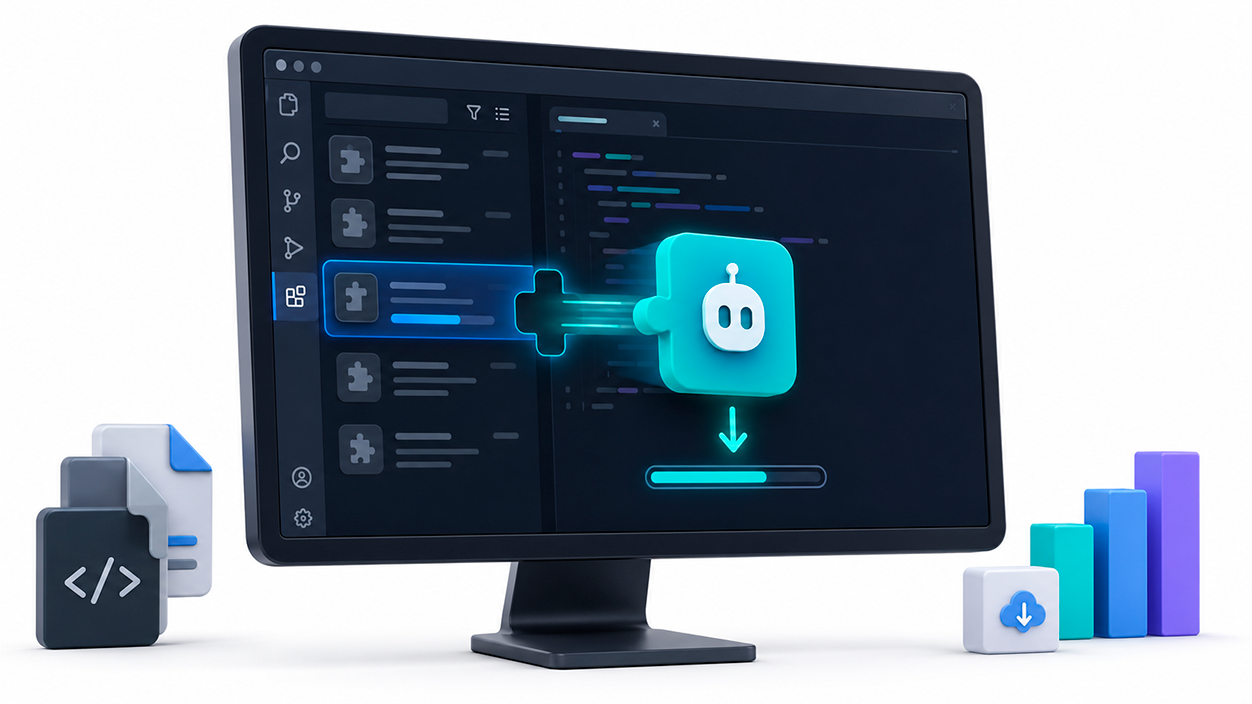
The easiest way to install Cline is to use the Visual Studio Code extensions marketplace:
- Open Visual Studio Code.
- Access the extensions section using Ctrl + Shift + X.
- Writes Cline in the search engine.
- Make sure you have selected the official extension.
- Press Install and wait for the process to finish.
You can also install it from the Visual Studio Code built-in terminal using this command:
code --install-extension saoudrizwan.claude-devOnce installed, the Cline icon will appear in the editor's activity bar. You can also open the command palette using Ctrl + Shift + P and find the corresponding command to open Cline in a new tab.
Before you begin, open the project folder you want to work on. Cline needs a workspace from which it can read files, propose modifications, and run authorized tools.
How to configure the provider and model
The first time you open Cline, you'll need to choose how to access the artificial intelligence model. There are currently several options:
- Integrated Cline Provider: It allows you to log in and use templates through a pay-per-use system.
- ClinePass: It offers access to a selection of models through a monthly subscription.
- Custom API key: It allows you to connect directly to compatible providers and pay for consumption according to their rates.
- Local models: You can use runtimes like Ollama or LM Studio without paying for each request.
To configure this, open the settings from the Cline dashboard, select the provider, and complete the requested authentication method. If you choose an external API, you will need to enter a valid key provided by that service.
Cline supports various providers, including Anthropic, OpenAI, Google Gemini, and OpenRouter. Specific model availability may change, so it's best to consult the built-in selector rather than recommending specific versions that could become obsolete.
OpenRouter is useful when you want to access routers from different companies through a single account. However, it acts as an intermediary and Cost, limits, and availability depend on the selected model.
How to use Plan and Act modes
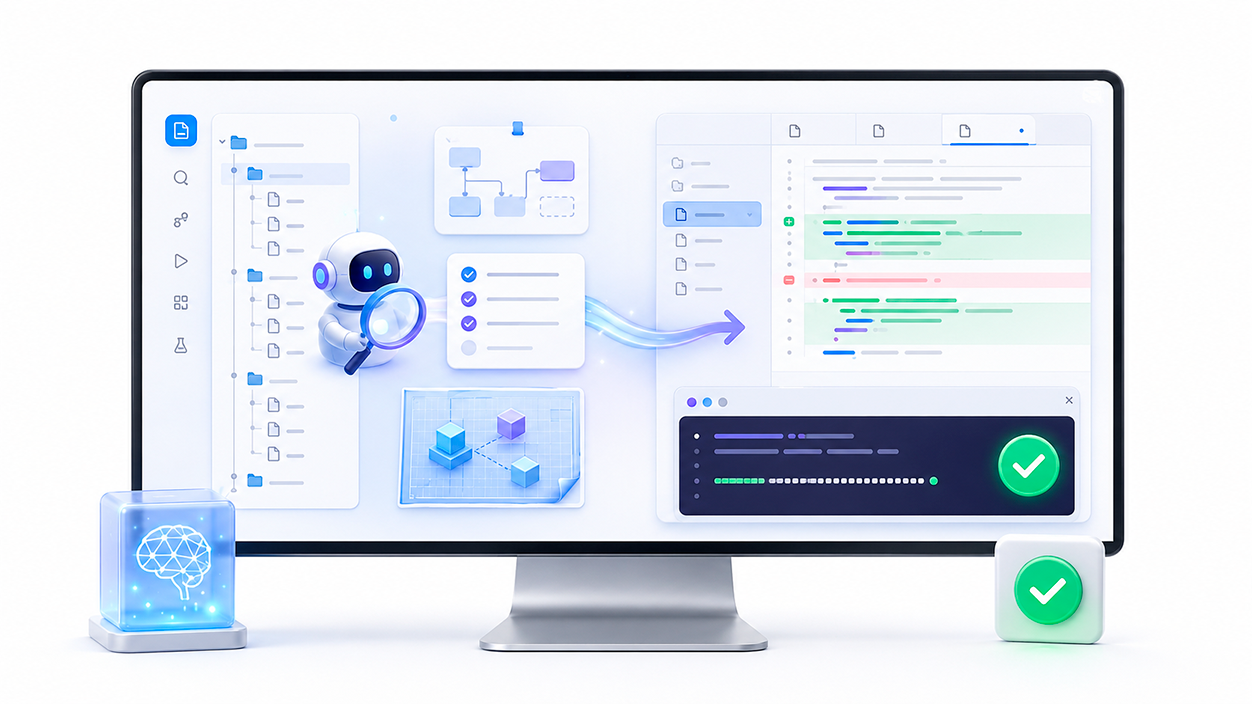
One of Cline's most useful features is the separation between modes Plan y ActEach one is designed for a different phase of the work.
In it Plan modeCline investigates the project, analyzes the requirements, asks questions, and prepares a strategy. They can read information necessary to understand the task, but should not modify the code or perform implementation actions.
This mode is recommended when you want to:
- Understanding a project you don't know.
- Locate the source of an error.
- Design a function before programming it.
- Evaluate different technical solutions.
- Define which files will need to be modified.
When you are happy with the strategy, you can switch to Act modeCline will then be able to edit files, create components, and run commands in the terminal to carry out the plan.
By default, creations, edits, and terminal commands may require your approval. There is also a feature to automatic approval which allows deciding what kinds of actions Cline can perform without stopping to ask for permission.
It's advisable to activate this option with caution. Reading files presents less risk than executing commands or modifying the project, so it's recommended. maintain manual confirmation for the most sensitive actions.
How to connect Cline with Ollama or LM Studio

If you prefer to run the model on your own computer, you can connect Cline with Ollama or LM StudioThis avoids paying for each request and allows you to keep the content processed by the model locally, as long as you don't enable external tools or services.
The general procedure is as follows:
- Install Ollama or LM Studio on the computer.
- Download a template suitable for programming and compatible with your hardware.
- Start the local server.
- Open the Cline settings.
- Select Ollama or LM Studio as a supplier.
- Check the server address and select the model.
Ollama usually uses the address:
http://localhost:11434The LM Studio address will depend on your local server configuration. Before connecting, you must upload a model and start the server compatible with the corresponding API.
Performance will depend on the RAM, VRAM, GPU, quantization, and context sizeCline typically recommends models with a good ability to follow instructions and use tools, since a small model may write acceptable code but fail to decide which files to query or what actions to perform.
Working locally doesn't automatically guarantee absolute privacy. If Cline uses web searches, remote MCP servers, or other APIs, some information may leave your computer.
How to provide context without spending unnecessary tokens
To get better answers, it's not always advisable to ask Cline to indiscriminately scan the entire project. You can add files, folders, errors, and other elements relevant to the conversation context.
Mentions through @ They allow you to specify particular information about the workspace. This way, you can direct the agent's attention to the controller, component, or configuration file related to the task.
In addition to reducing unnecessary context, this system helps prevent Cline Look in parts of the project that are unrelated to the problem.The clearer the initial request, the fewer iterations and tokens the agent will typically need.
A well-defined assignment should state:
- What problem do you need to solve?
- What should the correct behavior be?
- Which files or components are related?
- What restrictions must the solution respect?
- How can you verify that the result works?
How to recover the project using checkpoints
Cline has a system of checkpoints which records workspace states as the task progresses. These points allow you to compare changes made and revert to a previous state when an implementation does not produce the expected result.
This feature is especially useful when using automatic approval or commissioning a major revision. Even so, the checkpoints They do not replace a version control system like Git.
Before allowing significant changes, it's advisable to create a commit or save a copy of your work. This way, you'll have a separate history and can review exactly which files have been modified.
How to extend Cline using MCP
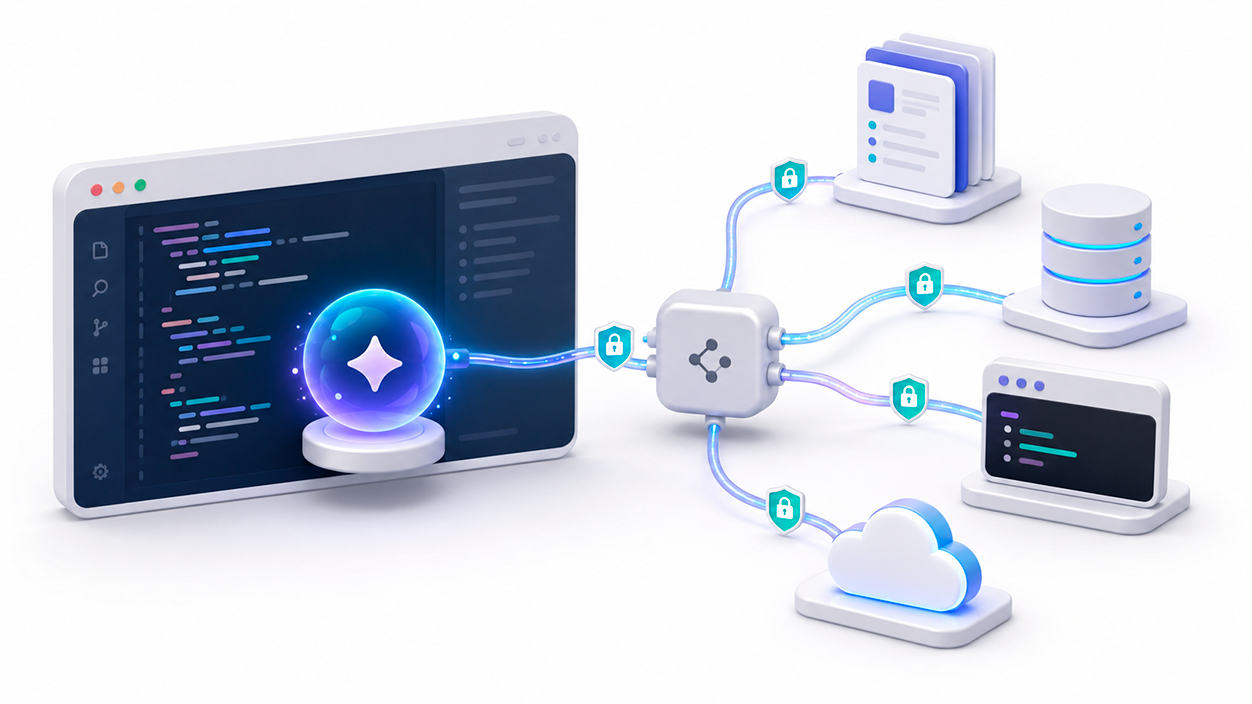
Cline can connect to servers compatible with the Model Context ProtocolMCP allows the agent to have access to new tools and sources of information, both local and remote.
Depending on the configured servers, Cline could consult documentation, work with a database, access an incident management system, or communicate with certain external services. The actual possibilities depend on... the tools exposed by each server and the permissions granted.
MCP servers can be configured from the corresponding section of Cline or via the following file:
.cline/mcp.jsonBefore installing a server, you should verify its origin and check what credentials, folders, and services it can use. A malicious MCP server or one configured with excessive permissions could access sensitive information.
It's also important to clarify that MCP doesn't automatically make Cline an administrator of Jira, AWS, or any other platform. To perform those actions, you need a compatible server, authorized credentials, and specifically prepared tools.
Is it worth combining Cline with Continue?
Cline and Continue can coexist in Visual Studio Code, although using both is not mandatory. Cline is primarily geared towards solve complete tasks using an agentive workflowwhile Continue can cover more frequent functions such as chat, assisted editing, and autocomplete.
Continue allows you to configure models, rules, context, instructions, prompts, and MCP servers using YAML files. The location and management of this configuration has changed over time, so it's preferable to open it from the agent selector from the Continue panel itself instead of assuming that it will always be on a specific route.
Your file config.yaml may include elements such as:
- Templates for chat, editing, and autocomplete.
- Rules that define how the assistant should respond.
- Context sources related to the project.
- Reusable prompts for frequent tasks.
- MCP servers with additional tools.
However, installing two extensions with similar functions can increase resource consumption and complicate configuration. The most sensible approach is to start with Cline and add Continue only if needed. an autocomplete system or a different daily workflow.
Cline versus Cursor and GitHub Copilot
Cline installs as an extension within VS Code, while Cursor is a standalone editor based on Visual Studio Code. This difference allows you to use Cline without leaving your existing environment, settings, and extensions.
GitHub Copilot integrates autocomplete, chat, and agent features within the GitHub and Visual Studio Code ecosystem. Cline, on the other hand, stands out for offering more freedom to select suppliers and models, including some that run locally.
This doesn't mean Cline is always cheaper. Agents can make numerous requests, read large files, and generate large amounts of tokens. With advanced models, a complex task can accumulate considerable costs. For this reason, it's advisable to check the resource consumption shown by the extension and set spending limits with the provider used.
Cline allows you to transform Visual Studio Code into an agentive development environment without installing a separate editor. Its combination of Plan and Act modes, model selection, checkpoints, and MCP compatibility offers a flexible system, although its security, performance, and cost will depend on how it is configured.
To begin with, the most advisable thing is Install the extension, choose a provider, keep automatic approval disabled, and test it on a controlled project.Once you understand how it works, you can gradually expand permissions, connect additional tools, and adapt the model to the needs of each task.

I am a technology enthusiast who has turned his "geek" interests into a profession. I have spent more than 10 years of my life using cutting-edge technology and tinkering with all kinds of programs out of pure curiosity. Now I have specialized in computer technology and video games. This is because for more than 5 years I have been writing for various websites on technology and video games, creating articles that seek to give you the information you need in a language that is understandable to everyone.
If you have any questions, my knowledge ranges from everything related to the Windows operating system as well as Android for mobile phones. And my commitment is to you, I am always willing to spend a few minutes and help you resolve any questions you may have in this internet world.