- The photo re-upload occurs when deleting files only from the web and not from the original device.
- To permanently delete photos without them reappearing, you must do so from the app on the device that uploaded them.
- It is essential to configure the battery in "Unrestricted" mode on Android to ensure background backups.
- The installation requires Docker, at least 6GB of RAM, and a PostgreSQL database on an SSD.
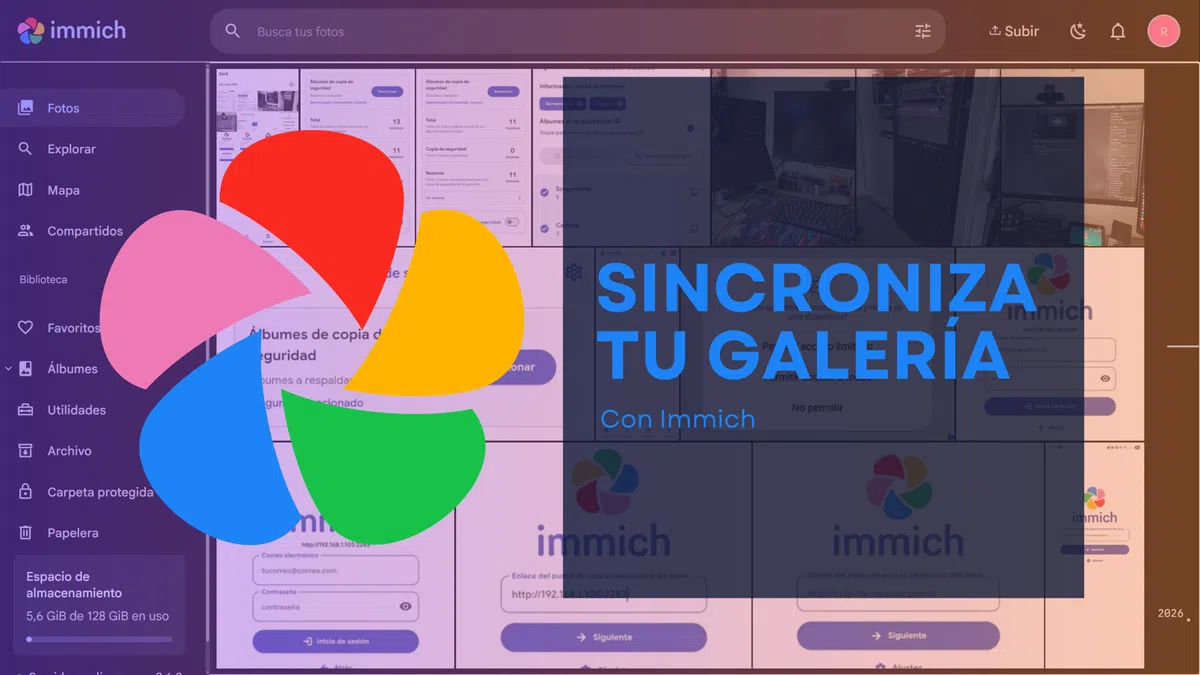
¿How can I prevent Immich from re-uploading photos that already exist? If you love having total control over your memories without relying on the cloud services of tech giants, you've probably come across Immich. It's a fantastic open-source tool that mimics the Google Photos experience, allowing you to centralize all your images and videos on your own NAS server, maintaining maximum privacy.
However, like any powerful application, it has its quirks. One of the most common headaches is when, after performing a cleanup, the system upload files again which you had already deleted. In this article, we'll break down why this happens and how you can set up your server from scratch so that everything runs smoothly.

The problem of photos that reappear
Imagine spending an entire afternoon deleting useless screenshots and old memes from Immich's web interface. Everything seems fine, but when you update the app on your iPhone or Android, suddenly The photos are brought back to life and they start uploading again. This happens because, if you delete the image only from the server, the mobile device still has the original file and, not finding it in the cloud, It interprets it as a new file that must be synchronized.
Even if you empty the Immich recycle bin, the mobile client doesn't always receive the signal that the file is no longer wanted. The reality is that, to avoid this file melee, the most effective way is delete the photo directly from the device who originally uploaded it. This deletes both the local copy and the server copy, preventing the application from repeatedly trying to create a backup.

Setting up your own Immich instance
For those wanting to start this adventure, Docker is ideal. You'll need a server with at least dual CPU cores and about 6GB of RAM This ensures that facial and object recognition doesn't run slowly. Additionally, ample storage is essential, preferably an SSD or NVMe drive for the PostgreSQL database, to prevent system slowdowns.

The deployment process begins by creating a specific directory and downloading the files docker-compose.yml and the environment variables file .envThis is where the magic happens, as you need to configure the storage path. UPLOAD_LOCATION to decide where your photos will live, either in a storage pool on your NAS or on a drive mounted via NFS.
Key configuration and startup
- Time zone: It is highly recommended to adjust the TZ variable to ensure your photos' timeline is consistent.
- Database: Change the default Postgres password to avoid security problems.
- Launch: With a simple command
docker compose up -dThe containers will be up and you will be able to access them using your server's IP address and port 2283.
Once inside the web interface, the welcome wizard will guide you through choosing the theme, language, and the privacy settingsHere you can activate the map or define the storage template, which by default organizes everything into folders by year and date, maintaining a logical and structured order on your hard drive.

Mobile application optimization and backups
When you install the app on your phone, the first step is to connect your server address and grant the necessary permissions to access your gallery. A crucial point is album selection: you can choose exactly which folders you want to sync so that the server doesn't get cluttered. unnecessary digital waste.
On Android, to prevent the upload from stopping when you close the app, you need to go to battery settings and mark the application as "Not restricted"If you don't do this, the operating system will kill the background process, and you'll find that the backup is incomplete. It's a slightly cumbersome step, but it's the only way to ensure that your memories are backed up automatically without you having to open the application every five minutes.
If you use systems like ZimaOS, the experience is even simpler, as they allow you to install Immich from an app store with just a few clicks, merging the power of Docker with a extremely intuitive interface to manage the data.
Having your own photo server allows you to enjoy advanced features such as fully local facial recognitionpreventing your private data from ending up in the hands of third parties. To keep the library clean, it's ideal to use the tool of duplicate detection and perform the deletions mainly from your mobile phone to prevent the files from being unexpectedly uploaded again.
Index

Passionate about technology since he was little. I love being up to date in the sector and, above all, communicating it. That is why I have been dedicated to communication on technology and video game websites for many years. You can find me writing about Android, Windows, MacOS, iOS, Nintendo or any other related topic that comes to mind.