- Snipping Tool in Windows 11 adds audio recording support and AI features to extract and hide text.
- Compatibility and format: the usual output is MP4 and the options depend on the version; check your build.
- Snipping Tool limitations: no annotations or built-in editor; for more features, use alternatives.

Recording what happens on your screen has become commonplace, whether to demonstrate a procedure, capture an online class, or show off an epic game. In Windows, the star of the show is the Snipping Tool, also known as Snipping Tool, which now adds screen recording and AI-powered features to extract and hide text.
If you're wondering how to record your screen with Snipping Tool and what else you can do without installing anything, here's how. complete guideIn it we explain how to use Snipping Tool to capture video, you'll find its limitations depending on the Windows version, keyboard shortcuts, useful tricks and the fine print you should know.
What is Snipping Tool and what new features does it offer?
Cutouts It is the built-in Windows utility for taking screenshots that, in its recent versions, adds screen recording and AI-based text actions. These actions allow you to extract text from an image and apply redactions to hide sensitive data in the post-capture view.It's ideal for copying snippets of articles, information from a video call, or any content and pasting it directly into documents, presentations, or a browser for searching.
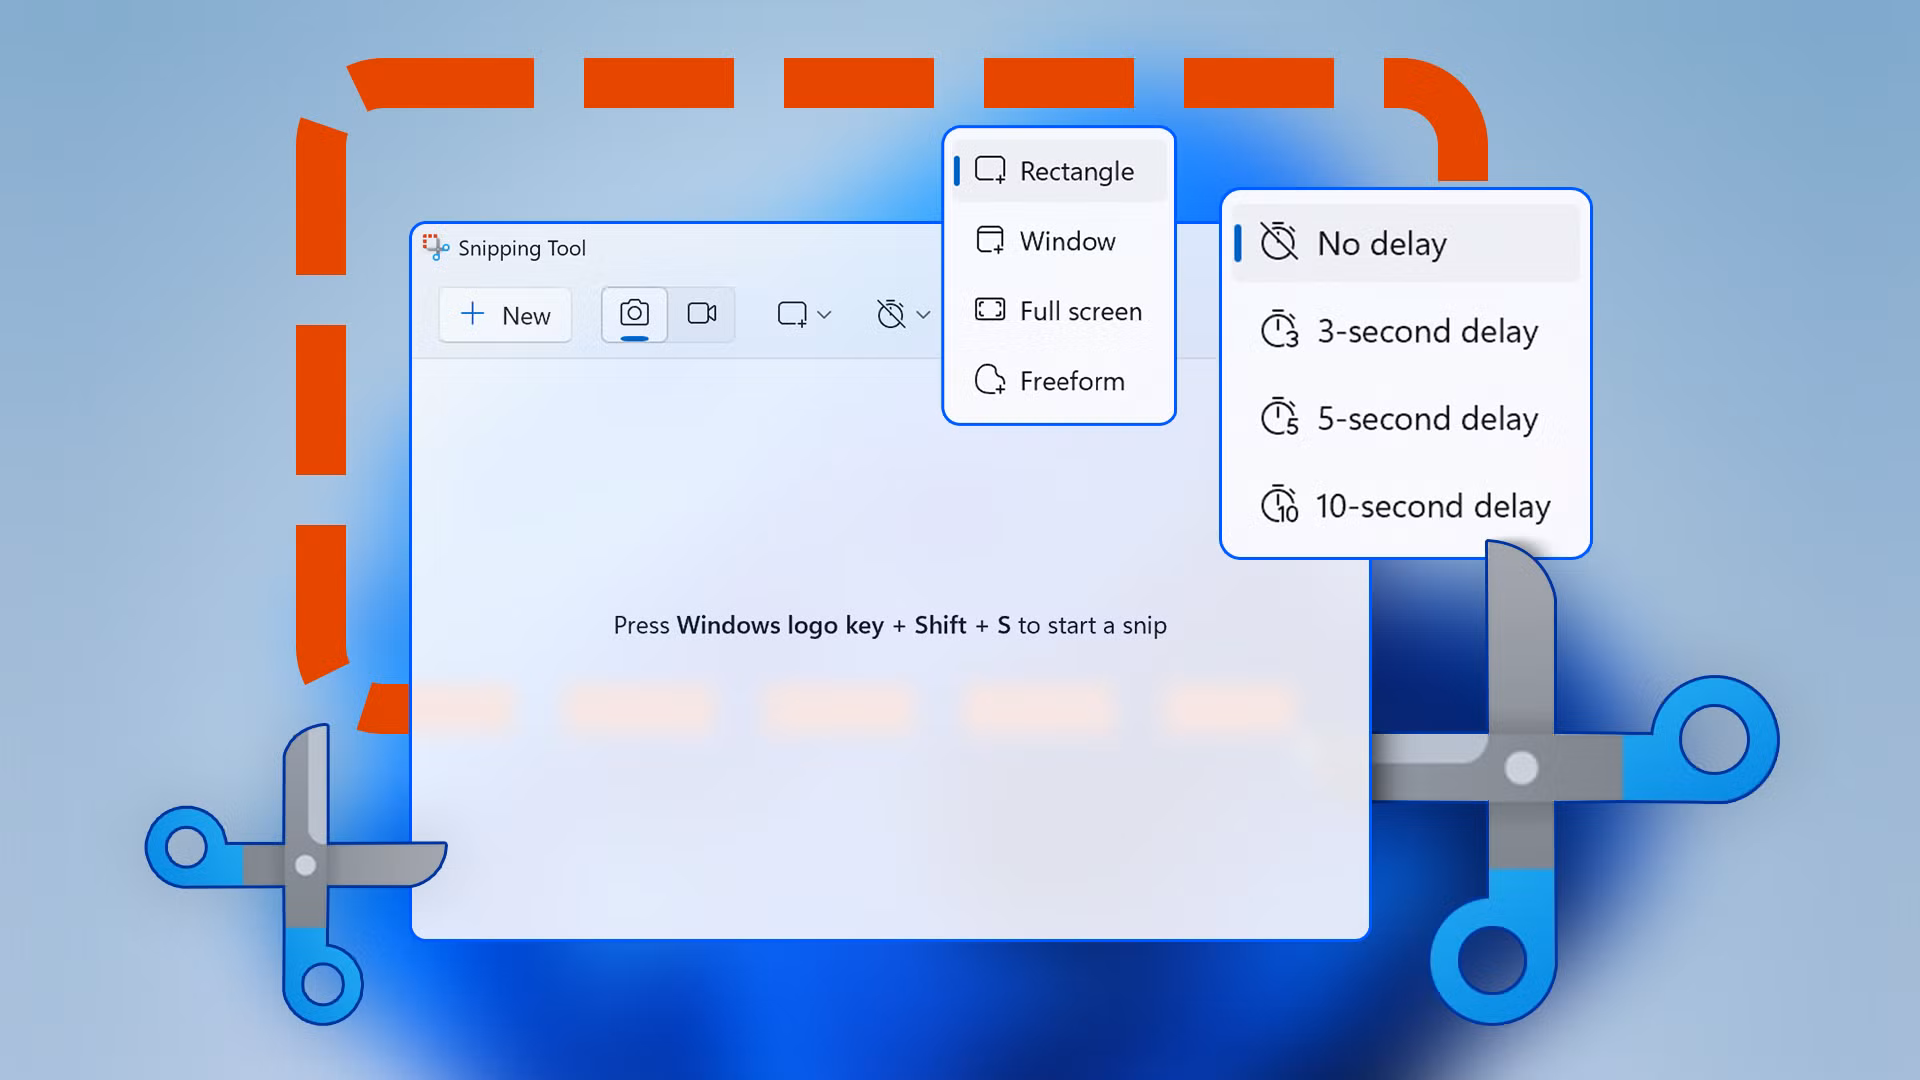
To start Snipping Tool in static snipping mode, you can use the shortcut Win + Shift + S. For screen recording, Microsoft indicates that it can be started with Win + Shift + R or with the Print Screen key in supported versions.Alternatively, you can open the app from the Start menu by typing Snipping Tool, or download and update it from the Microsoft Store.
Please note the requirements: Microsoft places the screen recording function with Snipping Tool and AI features on Windows 11 23H2 or later.
Screen recording with Snipping Tool: compatibility, sound and formats
The ability to record your screen with Snipping Tool has been rolled out in stages, so you'll see different information depending on the version and channel of your system. In modern Windows 11, the tool can capture system and microphone audio directly from the interface..
If you're on the channel Windows Insider Or in recent builds, you may have more audio controls and improvements. Some sources indicate MP4 output by default, while others also mention AVI and MOV in certain test builds; MP4 is the standard format today.If in doubt, run a short test and check the output format on your computer.
In Windows 10, native recording support within Snipping Tool is more limited and may not be available without upgrading. If your version doesn't offer the video tab, update the app from the Microsoft Store or consider integrated alternatives like Xbox Game Bar..
How to record your screen with Snipping Tool step by step
Here's how you can record your screen with Snipping Tool, explained in detail:
- Open Snipping Tool from the Start menu or with the appropriate shortcut and make sure you see the switch for Video.
- On the main bar, select the Camcorder mode.
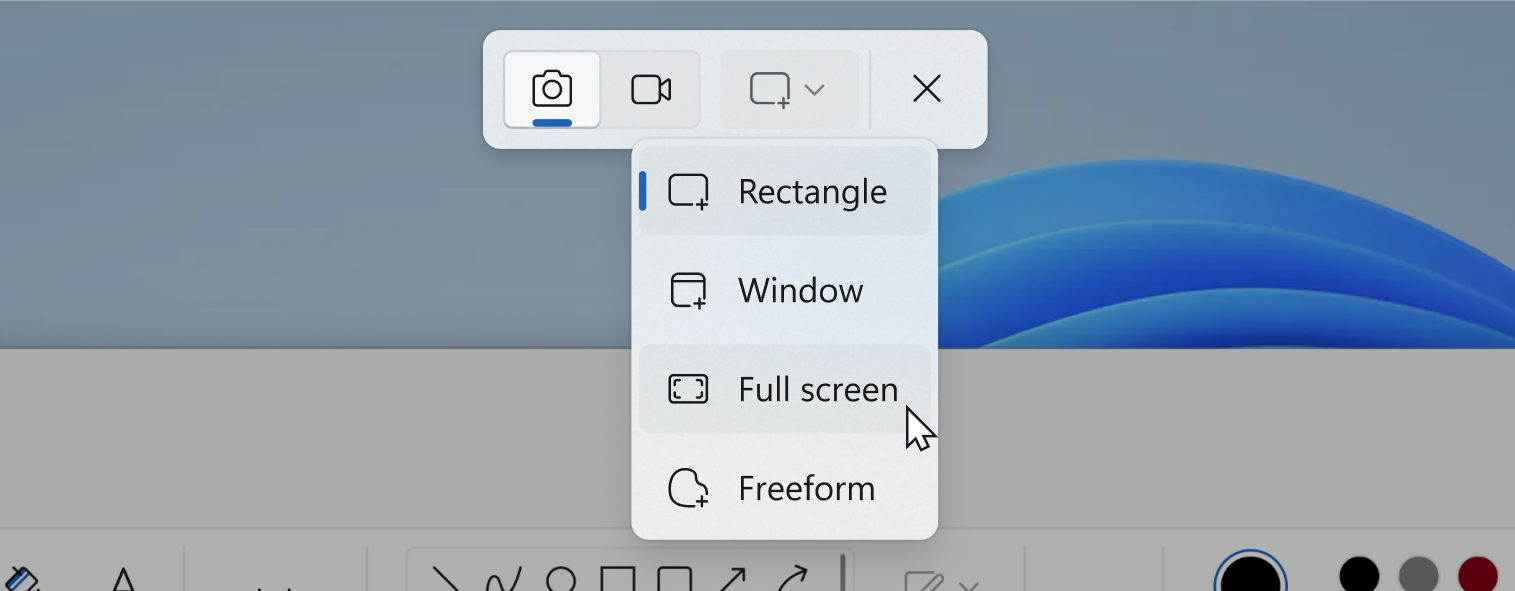
- Click on "New" to begin selecting the area you are going to capture.
- Drag with the mouse to define the recording region Or choose the entire screen if you prefer. When you're happy with your selection, you'll see a brief five-second countdown before the capture starts, giving you time to prepare the scene.
- Configure the audio if your version allows it.: Activates or deactivates microphone and system sound from the control bar.
- Start recording Use the corresponding button and the controls to pause or stop when you're finished. When you're done, a preview will open where you can play the recording, save it using the floppy disk icon, or copy it to paste into another app.
The file is normally saved in MP4 format. and, depending on your settings, in the folder you choose or in the default video location.
Limitations and differences by version
When recording your screen with Snipping Tool, there are some aspects to keep in mind:
- Audio: Early versions indicated that Snipping Tool didn't capture sound, but in the updated version of Windows 11, it does record microphone audio and system audio. Check your Windows version and the app to see exactly what options are available to you.
- Notes and webcamSnipping Tool doesn't include real-time video drawing tools or picture-in-picture webcam overlays. For that, you're better off using alternatives with annotations and picture-in-picture.
- EditionIt doesn't include a built-in video editor; if you need to cut silences, join clips, or clean up noise, you'll have to edit with another application. This workflow works well if the capture is short and error-free, but it falls short for more elaborate productions.
- FormatsMP4 is the most common default output format, although AVI and MOV have been mentioned in certain builds on test channels. Try testing to confirm the container format in your environment.
- CompatibilityThe full experience is available on Windows 11 23H2 or later; on Windows 10, the recording feature may be partial or nonexistent depending on the build. If you don't see video mode, update from the Microsoft Store or use another tool.
AI functions: text extraction and writing
Beyond recording, Snipping Tool incorporates Text Actions on the screen after static capture. You can detect text in an image to copy and paste it into Word, PowerPoint, or another app, and also hide sensitive information with redactions..
This function is useful for documenting processes, sharing notes from a video call, or preparing class material without exposing personal data. If you work in support or training, it saves you a lot of time by quickly converting screenshots into editable text..
Frequently Asked Questions
- Which resolution is recommended? 1080p is a good standard for most recordings; if your equipment allows it and the content requires it, go up to 1440p or 4K. Remember that higher resolution and frame rates will result in a larger file size.
- Can I record only a window or a specific area? Yes, both the Snipping Tool and other tools allow you to delimit a specific area of the desktop or select a window. This helps focus attention and protect information unrelated to the tutorial.
- 30 or 60 fps? For tutorials and videos with moderate movement, 30 fps is sufficient; for video games or demos with a lot of movement, 60 fps offers greater smoothness. Consider the balance between smoothness and file size.
- How do I edit what I've recorded? The clip doesn't include an editor, but you can open the clip in a simple editor to trim and clean up the audio.
Snipping Tool has taken a significant leap forward with AI-powered screen recording and text capture, especially on Windows 11 23H2 and later, and can be sufficient for quick captures with audio and preview. With the right shortcuts, microphone permissions, and a good quality setting, recording your screen on Windows is now a breeze.
Editor specialized in technology and internet issues with more than ten years of experience in different digital media. I have worked as an editor and content creator for e-commerce, communication, online marketing and advertising companies. I have also written on economics, finance and other sectors websites. My work is also my passion. Now, through my articles in Tecnobits, I try to explore all the news and new opportunities that the world of technology offers us every day to improve our lives.