- Gigabyte's DualBIOS uses two independent chips to allow restoring the main BIOS from a backup when a flash fails.
- Combinations of power supply switch, power button, and physical switches can force the use of the backup BIOS and reflashing of the damaged BIOS.
- ClearCMOS, CLR_BIOS jumpers, and battery removal help clear corrupted settings and restore boot on many models.
- Recovery methods vary depending on the plate, so it is advisable to combine these techniques with official documentation and act at your own risk.
¿How to restore the BIOS on Gigabyte motherboards with DualBIOS? When a BIOS update goes wrong on a Gigabyte motherboard with DualBIOS technology, it can be quite a scare: black screen, looping restarts, and the feeling that you've fried your motherboardLuckily, in many cases it's not the end of the world and there are several ways to bring it back to life using the backup BIOS, button combinations and some additional tricks.
In the following lines you will find a very complete guide based on Real-world cases with Gigabyte motherboards (GA-Z68X-UD3-B3, AX370, G1.Sniper B5 and older models with CLR_BIOS)This guide includes clear explanations of how DualBIOS works and what you can do step-by-step to try and recover your motherboard. However, please note: everything described here is done at your own risk; we're talking about firmware and electronics, and there's always a risk involved.
What is DualBIOS on Gigabyte motherboards and why can it save your motherboard?
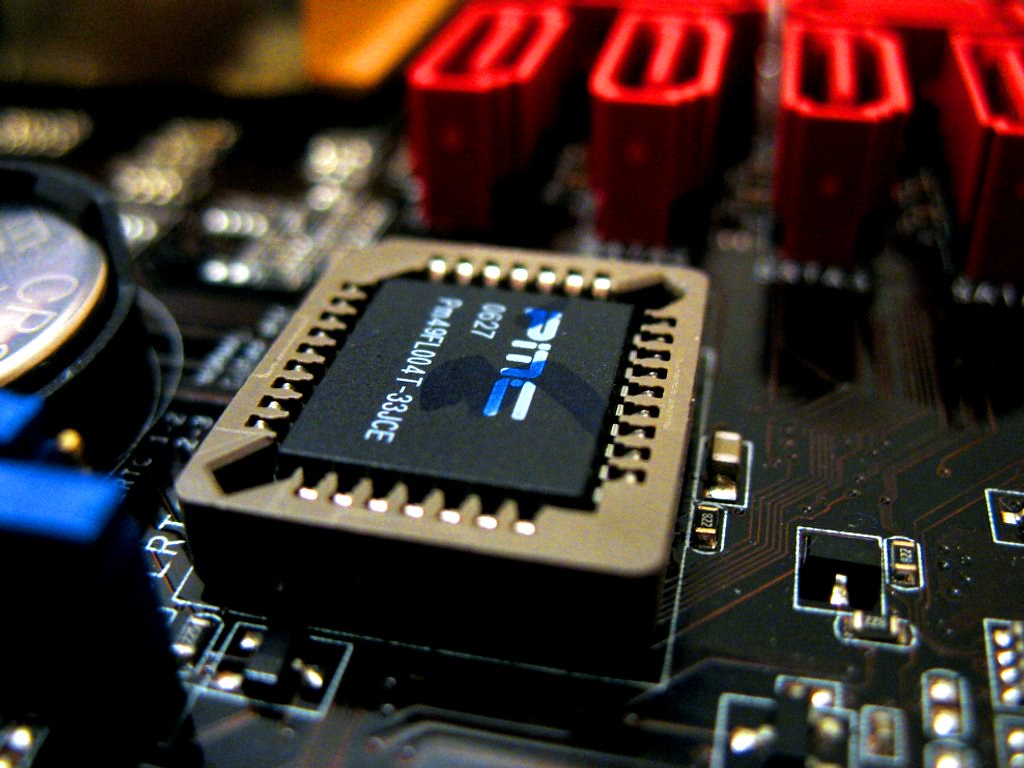
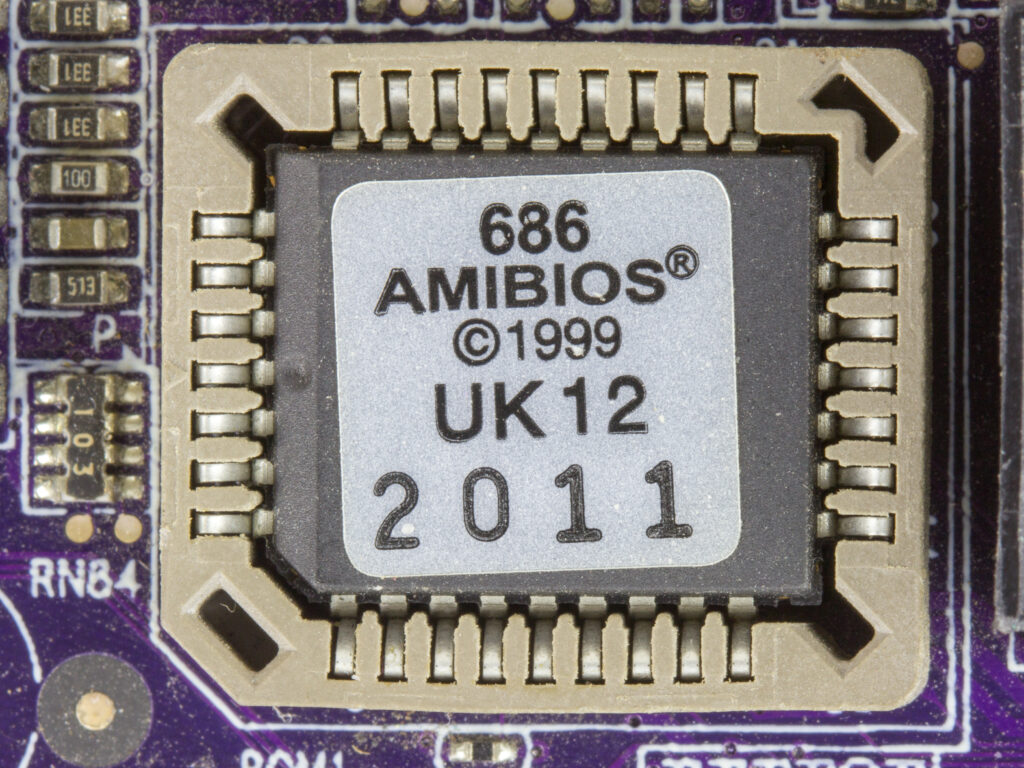
Modern Gigabyte motherboards incorporate a technology called DualBIOS, which consists of two independent flash memory chipsOne chip contains the main BIOS, and the other stores a backup BIOS with the last version that booted successfully. The idea is that if the main BIOS is corrupted during a flash, the system can be restored from the backup.
In practice, this means that your motherboard no longer relies on a single BIOS chip as it did before, when A failed flash could literally turn the motherboard into a brick.Previously, the "solution" involved physically replacing the chip with a healthy one or performing "electronic surgery" maneuvers with two identical boards, with all the risks that this entailed.
Gigabyte explains on its website that, under normal conditions, The Backup BIOS is automatically activated if it detects that the Main BIOS is corrupt.The problem is that this doesn't always happen as it should, and some manuals don't even properly document manual recovery methods, which is why many users end up resorting to forums and blind testing.
In addition to this automatic switching, several Gigabyte motherboards also have physical switches to select between primary and secondary BIOS and another to activate or deactivate Dual BIOS Recovery mode (Dual Mode / Single Mode). Not all motherboards have these, but when they do, they are key to forcing the use of the backup BIOS.
Typical symptoms of a damaged BIOS after flashing
When a BIOS or UEFI update goes wrong, the symptoms are usually quite clear: black screen, continuous restarts, or a loop of turning the computer on and off.Sometimes, a blue screen of death (BSOD) even appears briefly before the system restarts again without loading any operating system, and this can cause a memory.dmp file that helps with the diagnosis.
A very illustrative case is that of a Gigabyte GA-Z68X-UD3-B3 motherboard from 2011, which initially ran the classic BIOS version F13. Its owner decided to update to the new UEFI (version U1F) to use Clover EFI Bootloader with OS X El Capitan and verify the CSM in the BIOS in a Hackintosh environment with multi-booting (Windows, macOS, and Linux). The first UEFI flash was completed, but something was wrong: the USB 3.0 ports disappeared completely for all systems.
Trying to fix it, he performed a second flash from the UEFI itself using the utility Integrated Q-FLASH, reading the BIOS file from the hard drive instead of a USB driveThe procedure apparently finished well, but upon restarting, the computer failed to boot. No access to BIOS, no visible POST, and no ability to adjust settingsThe computer was stuck in a cycle of powering on and off, which pointed directly to a corrupted BIOS.
Essentially, what had happened was that the contents of the flash memory where the BIOS program resided were incorrectly written and The motherboard could no longer complete the boot processIt's a classic flashing failure: the system is "completely bricked," as many users say, because the base firmware that initializes the hardware has become corrupted.
Key differences between a power supply switch and a power button
To activate some recovery modes on Gigabyte motherboards with DualBIOS, you have to use a very specific combination of physical controls: the power supply unit (PSU) switch and the chassis power buttonAlthough they are often confused, they do not do the same thing or work the same way.
El The power supply switch is a physical cutoff of current It's usually located at the back of the computer case, next to the power cable connector. It's typically marked with "0" and "I" and controls the flow of electricity to the motherboard. Many people rarely use it on a daily basis because they rely on a power strip with a switch to turn off the entire system.
Instead, The power button on the box is a logic push button that always sends the same signal to the motherboard. Depending on the state of the equipment and the duration of the press, the electronics interpret that signal as an order to turn on, turn off, or restart the system, but the button itself does not physically cut off the power.
This difference is important because some methods for recovering a backup BIOS involve play with the time we hold down the power button while activating or deactivating the rear switch of the PSUBy doing so, we force certain behaviors in the motherboard's boot logic that can trigger the copy mechanism from the Backup BIOS.
Practical method: force restoration from BIOS Backup without booting into the system
In the case of the GA-Z68X-UD3-B3 motherboard that was stuck in a loop after a failed flash, the solution came from a poorly documented procedure found on a specialized forum, also applicable to other Gigabyte models with DualBIOS. The goal was forcing the motherboard to restore the main BIOS from the backup when it doesn't even display the BIOS screen.
The "magic recipe" is based on a sequence of power cycles, combining the power supply switch with the chassis power button. The process, summarized and explained, is as follows:
1. Turn off the board using the power supply switch
With the PC turned off, turn the power supply's rear switch to the off (0) position. Leave the computer like this for 10 to 15 seconds to allow the capacitors discharge completely and any remaining energy is lost on the plate.
2. Press and hold the power button and reactivate the power supply
Press and hold the power button on the box. While holding it down, turn the power supply switch to the ON (I) position. This will ensure that as soon as power is supplied, The board attempts to start while it detects that the button is permanently pressed..
3. Release the button and quickly cut off the power upon startup.
The moment you see the motherboard start up (fans, LEDs, etc.), release the power button and almost immediately turn the power supply off again using its rear switch. This maneuver, performed quickly, This causes the motherboard to perceive an "abnormal" interrupted boot attempt..
4. Let the board turn off and turn the power supply back on.
Once the power is cut off, the board will turn off completely. Now Return the power supply switch to the ON position to restore power, but without yet touching the chassis power button.
5. Turn on the device using the power button
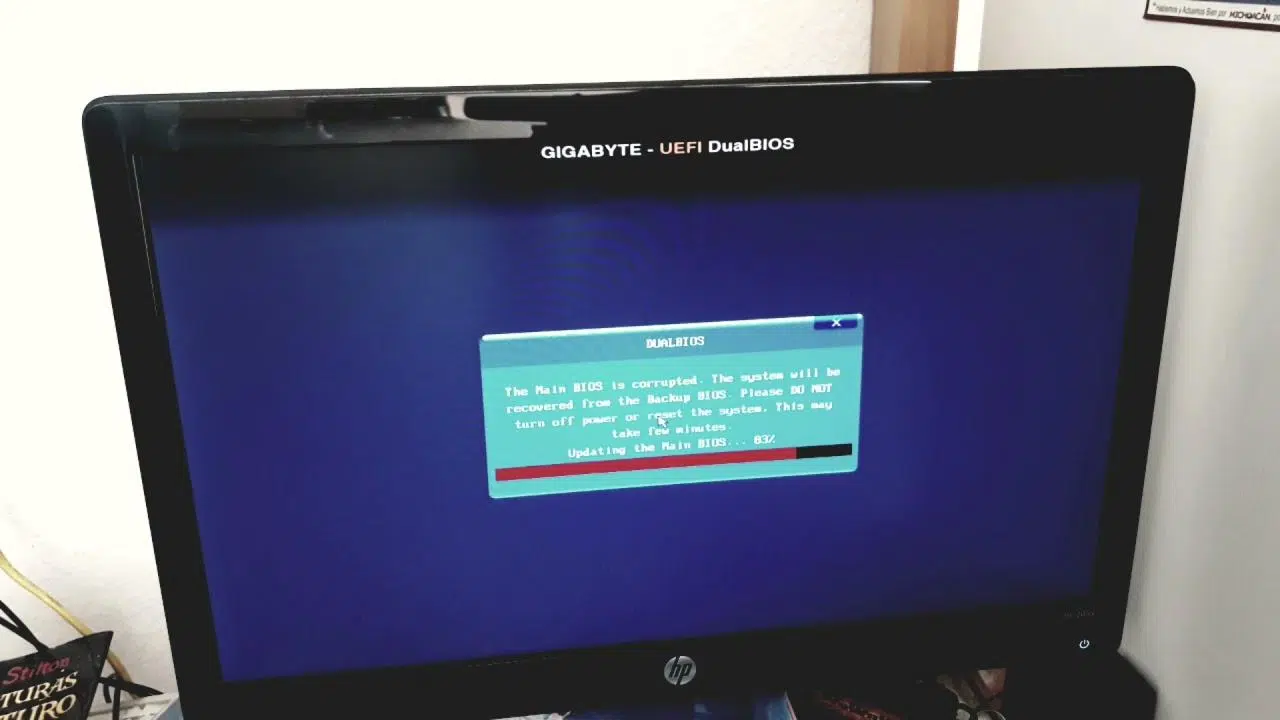
Now press the power button on the case as you normally would. If the board has correctly interpreted the above sequence, A message should appear on the screen indicating that the main BIOS will be re-recorded using the contents of the Backup BIOS..
At that point, simply accept the on-screen notification to start the internal reflashing process: The backup BIOS copies its contents to the main BIOSWhen the process is complete, the motherboard restarts and, if everything has gone well, a functional BIOS or UEFI is available again, ready to configure parameters such as boot mode, XMP profiles, device order, etc.
This type of procedure has been demonstrated in videos (many in English) where the power-on, the DualBIOS restoration message, and the subsequent normal boot are shown in detail. It is not a technique that is clearly documented in all manualsBut in practice, it has saved more than one Gigabyte motherboard with problematic flashes from being recycled.
Using physical BIOS switches on Gigabyte motherboards with DualBIOS
Some more advanced motherboards, such as certain models with the X370 chipset for AMD (for example, a Gigabyte AX370), add this functionality directly to the motherboard. Physical switches to manage the primary BIOS, backup BIOS, and Dual BIOS modeTaking advantage of these switches can make all the difference when it comes to reviving a motherboard that seems dead.
In these types of models, it is advisable, before touching anything, Prepare a USB flash drive formatted in FAT32 and save on it a BIOS file suitable for the exact revision of the motherboardIn the example mentioned, for an AX370 rev. 1.0, a BIOS version identified as F10 was available on the official Gigabyte website, but it is always advisable to check the physical revision and download the correct version.
The typical procedure would be:
1. Disconnect the equipment and delete the current configuration.
Disconnect all cables, turn off the power supply and Remove the battery from the motherboardNext, locate the button or jumper of Clear CMOS (ClearCMOS)This button is usually located next to other buttons, such as the reset and power buttons on high-end models. In the case described, the black button was the ClearCMOS button (the white one was the reset button), although you should always verify this with the manual.
2. Switch to the secondary BIOS chip
In the area of the switches you will see Two small switches: one selects which BIOS chip is used (1 or 2) and the other activates or deactivates Dual BIOS RecoveryThe most important one at this point is the one that selects BIOS 1 / BIOS 2. You have to move it to position 2 to force the use of the secondary or backup BIOS, while the Dual Mode switch is usually left in position 1 (Dual mode), provided you haven't touched it before.
3. Replace the battery and prepare the boot using BIOS 2
Once chip 2 is selected, return to Place the battery in its slot and connect the USB drive with the appropriate BIOS file.Before copying anything, it's good practice analyze a USB flash drive To avoid damaging or corrupting files, reconnect all cables, turn on the power supply, and boot the PC. With any luck, the motherboard will POST using BIOS 2 (backup) and allow you to access the firmware or at least the flashing utility.
4. If it doesn't start, try starting it without the battery.
If the system still gets stuck in a loop or doesn't start at all, repeat the procedure by disconnecting the cables again and removing the battery, but this time Try turning on the device without inserting the battery yet.In some cases, booting without a battery causes the motherboard to use the backup BIOS with default values and be able to complete the POST.
When you finally boot up (with or without the battery in place), you will be running on BIOS 2, that is, the backup BIOSAt this point, you're not interested in flashing it, but rather in using it to restore BIOS 1, which is the main one and the one used by default under normal conditions.
5. Use Q-Flash to rewrite the main BIOS
During POST, press the key END to enter the Q-Flash utilityQ-Flash is Gigabyte's built-in BIOS update tool. Once inside Q-Flash, wait a moment before flashing anything: you're still using BIOS 2 based on the switch position.
6. Change the switch back to the BIOS 1 position
With Q-Flash now loaded on screen, change the switch that selects the BIOS chip From position 2 to position 1, to use the main BIOSThis maneuver ensures that the next flash is applied to the BIOS 1 chip, keeping the backup intact.
7. Flash BIOS 1 from the USB file
Now, from Q-Flash, select the updated BIOS file that you saved on the FAT32 USB drive and launches the main BIOS update process 1Do not touch anything, do not turn off the power supply, and do not interrupt the process. When it finishes and the computer restarts, if everything goes well, you will be booting from a restored and functional BIOS 1.
It is important to keep in mind that two scenarios are possible: that you managed to boot and flash with or without the battery inIf the procedure was done without the battery, after confirming that the system now starts correctly, it is advisable to turn off the PC, disconnect it from the network again, put the battery in and turn it back on to leave everything in a stable state.
Resetting the BIOS on older motherboards: CLR_BIOS and battery removal
Before DualBIOS became widespread, many Gigabyte (and other manufacturers') motherboards relied solely on a method of erasing configuration using a jumper or bridge CLR_BIOS / CLR_CMOSIn one example with a GigaByte 8IK-1100 motherboard, a faulty BIOS update left the system with a black screen and no apparent activity, and the user thought they had permanently damaged the motherboard.
The solution, in that case, was to locate a small connector on the PCB labeled as CLR_BIOS (or sometimes CLR_PASSWD, when it also serves to erase forgotten BIOS passwords)By bridging it as indicated in the manual, the configuration stored in the NVRAM was erased and the board It restored the BIOS to its factory settings.That is, with the default values of the original version.
An equivalent alternative, especially when you don't want to touch the jumper or it's not clear which one it is, is to Completely turn off the computer, unplug it from the power outlet, and remove the motherboard battery for several minutes.After about 5 minutes, when the battery is replaced and the computer is powered on, the BIOS restarts with its initial parameters, as if it were newly installed.
This method does not reinstall a new BIOS or fix a truly corrupted chip, but Yes, it can fix incorrect configuration problems or minor glitches after incomplete flashing., returning the firmware to a "clean" state with which many boards are able to boot and allow a new update.
Additional methods to try to activate the backup BIOS
In other models such as the Gigabyte G1.Sniper B5, which also features DualBIOSSome users have tried various combinations to force a backup from the BIOS when the motherboard doesn't respond through normal means. They don't always work, but they're worth trying before giving up on the motherboard.
A first attempt consists of a very simple procedure: Turn off the PC and hold down the power button until the computer turns on and then turns off again.Then the power button is pressed again so that, theoretically, the backup BIOS detects the failure and recreates the main BIOS if it finds corruption in it.
A second method also starts with the device turned off: They hold down the power and reset buttons simultaneously for about 10 seconds. and then they are released. On some motherboards, this sequence triggers the Main BIOS integrity check, and if something doesn't look right, The Backup BIOS automatically kicks in..
The third method is very similar to the one described earlier involving the power supply switch and the power button: turn off the PSU using the rear switch, wait 10-15 seconds, press and hold the power button on the case, turn on the PSU while still holding the button, let the motherboard begin to power up, release the button, and turn the PSU off again as quickly as possible. Then turn the power supply back on and boot the computer using the power button as usual. The idea is to reproduce a pattern of failed boots that forces the controller to resort to the backup BIOS..
However, some users have tried these combinations without success, suggesting that Not all models react the same way, or the BIOS corruption may be so deep that even the recovery logic fails to execute.In such extreme cases, the real chances of saving the board are greatly reduced, and it may be necessary to resort to an external SPI chip programmer or a specialized technical service.
In any case, before giving up on the license plate, it's always worth trying the different options. button sequences, playing with the PSU switch, changing BIOS switches, and clearing CMOS using ClearCMOS or battery removalThese are relatively simple actions that, in many documented cases, have brought back to life equipment that was seemingly completely dead.
Although this whole process may sound like an arcane ritual, the truth is that it is based on behaviors predicted (although sometimes poorly explained) by the manufacturer himself: DualBIOS is specifically designed to rescue the motherboard when the main firmware fails.And knowing these techniques can save you from buying a new motherboard after an unfortunate flash.
Index
- 1 What is DualBIOS on Gigabyte motherboards and why can it save your motherboard?
- 2 Typical symptoms of a damaged BIOS after flashing
- 3 Key differences between a power supply switch and a power button
- 4 Practical method: force restoration from BIOS Backup without booting into the system
- 5 Using physical BIOS switches on Gigabyte motherboards with DualBIOS
- 6 Resetting the BIOS on older motherboards: CLR_BIOS and battery removal
- 7 Additional methods to try to activate the backup BIOS

Passionate about technology since he was little. I love being up to date in the sector and, above all, communicating it. That is why I have been dedicated to communication on technology and video game websites for many years. You can find me writing about Android, Windows, MacOS, iOS, Nintendo or any other related topic that comes to mind.