- Discover all the options for creating a private cloud tailored to your needs.
- Advantages, disadvantages, and security of personal servers, NAS, Raspberry Pi, and hosting
- Current differences compared to commercial services: savings, privacy and total control

More and more people are looking for absolute control over their information and are opting for have your own cloud at home or on your own server, leaving behind concerns about monthly fees and ambiguous privacy policies.
Is this possible? In this article, we'll explain in detail how to set up your own cloud, analyzing all the real alternatives based on your needs, budget, and knowledge, so you can decide which method best suits you.
What is a cloud of your own, and why should you consider having one?
El concept of own cloud It involves having a file storage system accessible from anywhere, but managed by yourself, at home or on a private server. Unlike well-known services such as Google Drive, Dropbox, or iCloud, You have control of both the hardware and the software, permissions, and the security of your data, avoiding intermediaries and limitations imposed by third parties.
Nowadays, home broadband connections (100Mbps or more) and the variety of accessible hardware have made it easier to have your own home file server, making the experience similar to that of large commercial platforms, but without the strings attached. The result is a highly customizable storage system, with upfront costs but no recurring fees, and a real and tangible privacy.
Main advantages of having your own cloud:
- Privacy and total control over your files.
- No recurring payments (only initial investment in hardware and electricity).
- Ability to expand your storage as you wish.
- Remote and multi-device access.
- Improved security and protection against external policies.
Nevertheless, There are also some drawbacks to consider, such as the initial investment, responsibility for security and updates, and, depending on the configuration, higher power consumption and the need for certain technical knowledge.
Who should set up a personal cloud?
The option of a private cloud is Ideal for those who prioritize privacy, personalization, and long-term savingsIt's especially useful if you have a lot of data, photos, or videos, if you work remotely and need to share files securely, or if you simply want to forget about space restrictions and unclear terms of commercial services.
If you already have an old computer, a Raspberry Pi or are you willing to invest in a Home NAS, you can create a cloud tailored to your needs, managing personal files, photos, and backups of all your devices with local and remote access.
Main methods to create your private cloud
Options for having your own cloud range from simple solutions to professional alternatives. These are the most common and recommended:
- Use a NAS (Network Attached Storage)
- Use a dedicated computer (Old PC, laptop or miniPC)
- Riding a cloud with one Raspberry Pi
- Configure a network disk or smart external storage
- Opt for a web hosting with cloud tools
- Use Advanced routers with cloud capabilities

NAS: The most popular and versatile system for setting up your cloud
Currently, the NAS It has become the preferred option for creating a home cloud. These are compact devices, specifically designed for network-attached storage, that integrate one or more hard drives, their own operating system, and a simple interface for remote management and access.
The Current home NAS offer similar features to professional servers. but with prices starting from around 100 euros for basic models. Its main advantage is that you don't need advanced knowledge: Most manufacturers provide setup wizards, mobile apps, and systems to access your files from anywhere.
Advantages of a home NAS
- Easy and centralized access for all your devices
- Optimal transfer speed via local network and secure remote access
- Ability to create automatic backups, share multimedia or build a video, photo and music library
- Advanced configuration options (RAID, permissions, users, VPN)
- Easy storage expansion with more disks or bays
How do I install and configure a NAS?
The process is very similar among different manufacturers (Synology, QNAP, Asustor, TerraMaster, WD, among others):
- Connect the NAS to the router via Ethernet cable for maximum speed and stability.
- Install the hard drives corresponding (they can be HDD or SSD, but it is recommended to choose specific disks for NAS, such as Seagate IronWolf or WD Red).
- Access the web interface for the initial configuration.
- Create users and shared folders, define permissions, and configure access from outside the home using DDNS and SSL encryption (HTTPS security).
- Install additional applications: from synchronization clients, backup, to multimedia or access via mobile apps.
Different RAID configurations: what do they mean and what are they for?
NAS allows you to create RAID arrays to protect your data and improve access speed. The most common methods are:
- RAID 0: combines several disks as if they were one, increasing speed but without redundancy (if one fails, data is lost).
- RAID 1: Mirrors data across two disks; if one fails, the information is retained on the second.
- RAID 5/6/10: combine the advantages of speed and security, requiring three or more disks.
La configuration depends on your needs: speed, redundancy or both.

Setting up a cloud with a personal computer (PC or old laptop)
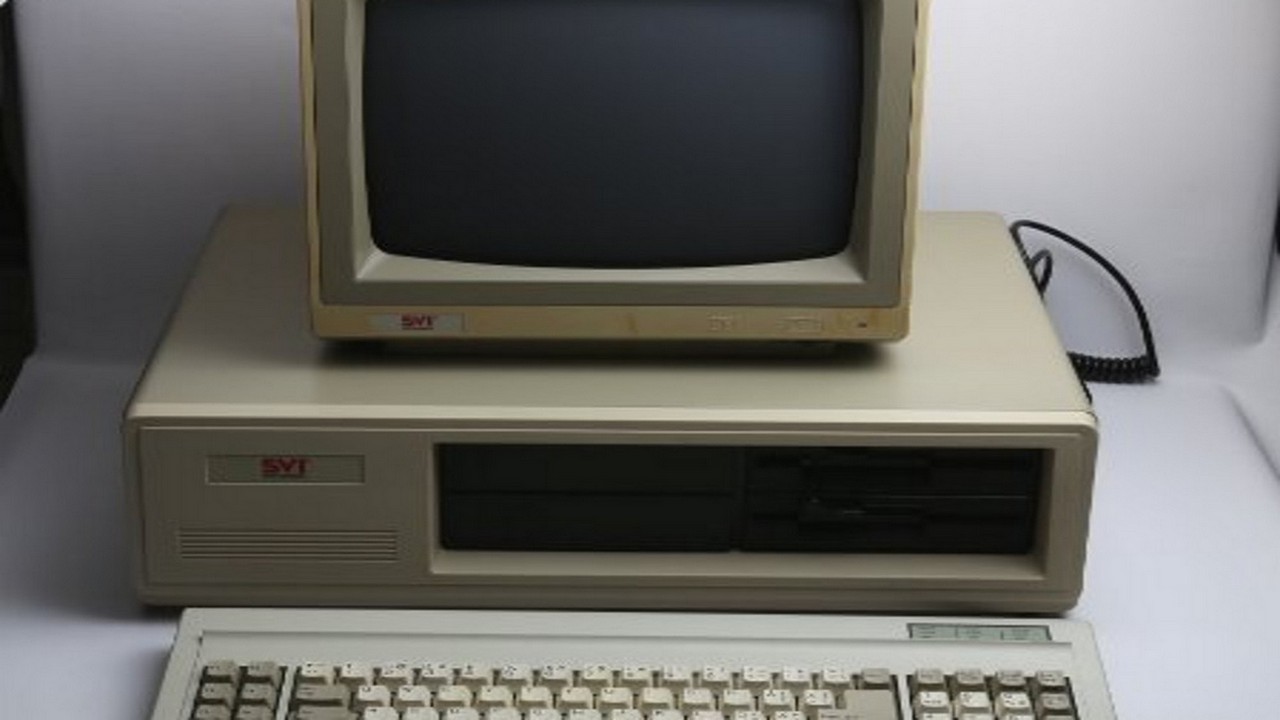
Another very popular alternative, especially if you want to take advantage of hardware you have at home or are looking for one free solution, is to use a PC as a cloud serverYou don't need to buy a NAS: simply repurpose an old computer that's always connected to the network, and you can add external drives to increase storage capacity.
The process goes through install cloud software, generally open source, that turns the PC into a server accessible from the home network and also from the Internet.
What software can I use? Main options
- OwnCloud: Robust, cross-platform, and ideal for personal and professional use. It offers client apps for Windows, macOS, Linux, Android, and iOS.
- Nextcloud: One of the most powerful and popular options, it allows you to access and synchronize files, contacts and calendars, with HTTPS encryption support.
- SeaFile: focused on fast and efficient synchronization.
- Syncthing: Ideal for real-time synchronization between multiple devices, without external servers (P2P), very secure thanks to TLS encryption.
The installation process is simple: Download the software compatible with your operating system, install the server, and follow the wizards to create users, define shared folders, and enable remote access (usually by configuring your router to securely expose the server to the Internet).
Setting up a cloud with Raspberry Pi: the most compact and economical option
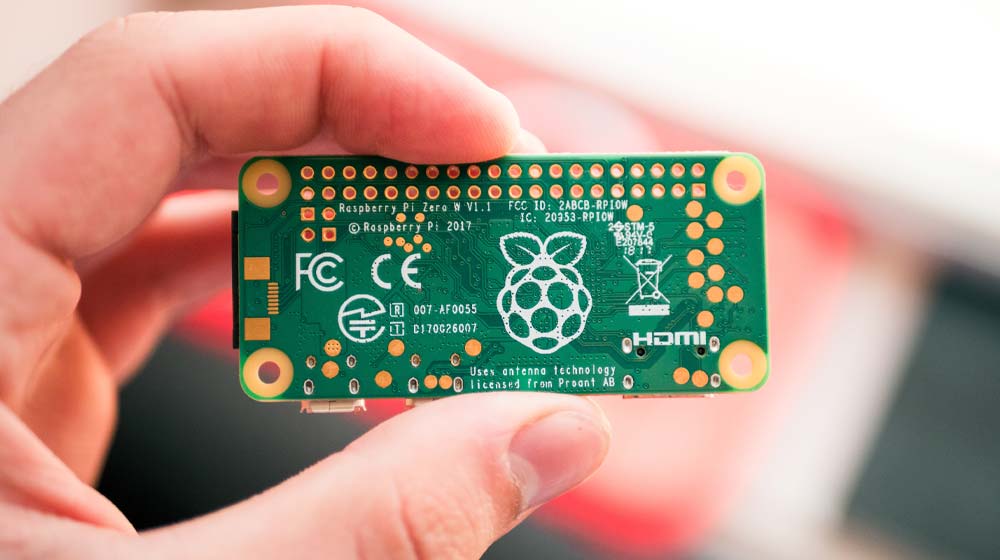
The Raspberry Pi They have revolutionized the world of home servers. They are low-power computers, small and cheap (from about 50 euros), but powerful enough to serve as personal mini cloud server.
If you're looking for a quiet, portable and economical option, the Raspberry Pi is perfect for having a basic private cloud at home or even to take with you.
Step by step to set up your cloud with Raspberry Pi
- Acquire one Raspberry Pi (preferably Pi 4 or higher) and a microSD card of at least 16GB.
- Install Raspberry Pi OS and connect it to the local network via Ethernet cable for greater performance.
- Install cloud software like OpenMediaVault o Nextcloud (There are specific images and tutorials for Raspberry Pi).
- Connect external hard drives or SSDs via USB to expand capacity.
- Configure users, permissions, and secure access (HTTPS, VPN, or DDNS).
Other solutions
- Western Digital My Cloud Home a plug-and-play solution that allow us to set up a private cloud by simply plugging the device into the router and following a few steps. It doesn't offer as many customization options, but it does offer remote access, mobile apps, and the ability to create automatic backups.
- Private cloud using high-end routers, thanks to the connection of a USB hard drive and the use of apps like iCloud. This way, you can access your files from outside the home using dedicated apps or a secure web interface, without having to purchase a dedicated NAS.
- CHire a hosting service or a virtual private server (VPS) and set up your cloud there using applications like OwnCloud, Nextcloud or similar. This option requires some technical knowledge and has an associated monthly cost (usually low), but it allows you to have your own cloud accessible 24/7 and, if you choose a reliable provider, with good security and backup guarantees.
What to choose? It depends on your profile and needs.
The decision between a NAS, a PC, a Raspberry Pi, a network drive or private hosting depends mainly on:
- Your budget (NAS is usually the most balanced in terms of features and price-installation, Raspberry Pi is the cheapest option, hosting requires monthly fees).
- Your technical knowledge (NAS and network drives are the easiest, hosting and PC require more experience, Raspberry Pi is medium level).
- Capacity and speed you need.
- Information sensitivity and desire for privacy.
- Future scalability and the ability to add more users or features.
In general, The home NAS is the most balanced alternative for most users for simplicity, reliability and security, but if you want to save as much as possible and have the knowledge, an old PC or a Raspberry Pi can give you a fully adapted cloud at a low cost.
Setting up your own cloud is a smart way to gain autonomy, privacy, and complete control over your files. The alternatives are becoming simpler, more affordable, and more secure, depending solely on your actual needs and the amount of time you're willing to dedicate to the setup.
Editor specialized in technology and internet issues with more than ten years of experience in different digital media. I have worked as an editor and content creator for e-commerce, communication, online marketing and advertising companies. I have also written on economics, finance and other sectors websites. My work is also my passion. Now, through my articles in Tecnobits, I try to explore all the news and new opportunities that the world of technology offers us every day to improve our lives.

