- A BootTrace with ETW reveals kernel, driver, and service activity to detect boot bottlenecks.
- BootVis visualizes and optimizes startup; BootRacer measures real-world times to objectively validate improvements.
- Clean boot isolates software conflicts; Windows RE with Bootrec.exe repairs the MBR, boot sector, and BCD.
- Pre-system diagnostics rule out hardware failures and guide subsequent troubleshooting steps.
¿How to analyze Windows boot with BootTrace? When your PC takes longer than expected to boot up, it's likely that something in the startup process is hindering this. In the Windows world, we can take a closer look at this with a BootTrace, in addition to measuring time, isolating conflicts, and, if necessary, repairing the boot loader. If this sounds like gibberish to you, don't worry: there are very clear tools that guide you step by step, from veteran utilities that draw graphs to pre-system diagnostics that check the hardware.
In the following lines I will tell you, with a practical approach, how to analyze the start with techniques of event tracking (ETW), what programs like BootVis offer to see bottlenecks and optimize, how to measure real-time seconds with BootRacer, when it's a good idea to perform a clean boot to find software conflicts, and if all else fails, how to use Windows RE with Bootrec.exe to repair the startup. You'll also see how to run pre-boot diagnostics and what to do when faced with messages like "no boot medium found».
What is a BootTrace and why you might care
A BootTrace is nothing more than recording, with millimetric precision, what Windows does from the moment you press the power button until it leaves you on the desktop. This record is based on the capabilities of Event Tracing for Windows (ETW), which capture kernel activity, drivers, and other event providers during the boot process.
The idea isn't magic: the trace shows you who's consuming time (drivers, services, applications that start with the system) so you can act accordingly. It's an invaluable method that takes advantage of existing tracking tools, without the need to invent anything new, and which complements well with utilities with a graphical interface to interpret the data.
In this area there is a specific session called "Global Logger», which can be used to capture events from the start. It's great, but it's worth keeping in mind its limitations: Not everything can be caught, nor at any cost, and enabling too many providers can (temporarily) slow down the boot while the trace is recorded.
In day-to-day use, combining the boot trace with time measurements and a clean boot gives you a pretty complete map: first you see where it gets stuck the system, then you measure the impact of your changes and, finally, by isolating external services and programs you discover if the problem is a software problem or a stubbornly misconfigured driver.

Analyze and optimize startup with BootVis
Among the classic utilities, BootVis was for years the "house" tool to visualize how Windows boots at the process and driver level (This guide on How to prevent Steam from starting automatically on Windows 11 It helps you know what starts when you enter Windows). With it you can observe the times in graphics, see the behavior of the drivers and, in addition, launch a automatic boot optimizationAlthough she's a veteran, her approach is still useful for understanding what's going on under the hood.
The basic procedure, explained clearly and with modern nuances, is this: installs the tool, run it, and create a boot trace. For a more in-depth analysis, you can record not only the boot but also the loading of system drivers.
- Download and install the program as usual. When you open it, you'll see its main menu, where the trace is created. It's important to remember that the system may run a little slower during the capture. totally normal.
- Go to the file menu and choose to create a new boot trace: options like "Next Boot" or "Next Boot + Drivers" (the latter for a more detailed analysis of controllers).
- Upon confirmation, you'll see a countdown: the device will reboot to begin capturing from the beginning of the boot process, allowing the trace to be complete.
- During the reboot, the tool will go recording events of the kernel, services, and drivers. Don't be alarmed if it takes a little longer than usual; it's saving data.
- Once Windows loads, BootVis will display graphs with the collected times. You can take your time there: identify slow processes, drivers that slow down loading, and services that should be disabled.
- When you're done reviewing, try the "Optimize System" feature within the trace menu. The utility reorganizes and prioritizes the component loading to improve startup times.
- Reboot if prompted and measure again. The goal is to check if the startup has become faster after the optimization and, if not, manually address any issues detected.
One way to validate the change is to compare the "before" and "after" scenarios. Back in the day, even on modest computers (e.g., a 1,4 GHz Pentium 4 with 512 MB of RAM), the improvement was noticeable. Today, with modern hardware, the margin is often a matter of removing software ballast and control drivers that get stuck at boot.
Measure real boot time with BootRacer
It's one thing to look at graphs, but another to set a timer to see how long it takes you to reach the login screen and the desktop. For that, BootRacer is a little ally that tells you how many seconds you spend on each boot phase and saves them. measurement histories so you can compare results after the changes.
Its strengths include measuring loading time and desktop access time, recording readings on the system, offering a simple interface, and allowing the test to be run in "invisible». As counterpoints, don't expect spectacular comparative graphs, the data export is not the most comfortable in the world and the translation it may be somewhat improvable.
It's straightforward to use: download it (for example, from a well-known website) and install it. Upon first launch, you can run a "Full Boot Test" to perform the complete measurement. The wizard will prompt you to restart: click "Start Test" and let the PC run through the cycle. It will then suggest a "Clean Boot Test" to measure a clean boot, without the usual startup programs, and compare. Both require consecutive restarts, but they are done in a flash.
- Startup: Choose "Full Boot Test" to measure a standard boot. The system will reboot automatically, and the app will record key times.
- Clean mode: After the first batch, select "Clean Boot Test" to repeat the measurement with a "clean" boot. Press "Start Test" and let it do the work.
- Results: Use “Check Results” to view both metrics and “Find Slowdown” to identify the arrival at the desktop.
At the end, you'll see your total and split times, your best time, and the starting elements that are most penalizing. With this information, it's very easy to decide. what to disable below or if a clean boot is worth it to further isolate the problem.
Clean boot in Windows 10 and 11 to hunt for conflicts
Troubleshooting modern Windows can be complicated by the mix of drivers, settings, and programs that coexist. A "clean start» is perfect for ruling out software conflicts: Windows starts only with its essential services and drivers, leaving out the rest.
Do the following in Windows 10 or 11: Open search from the Start button, type "msconfig," and go to System Configuration. On the Services tab, select "Hide all Microsoft services" and then click "Disable all." On the Startup tab, open Task Manager and disable suspicious startup programs; close it and confirm with OK. Finally, Restart the computer.
- Right-click Start > Search > type “msconfig” and press Enter to open System Configuration.
- Go to “Services,” select “Hide all Microsoft services,” and then select “Disable all” to disable third-party services.
- Go to "Start" and click "Open Task Manager." Locate startup programs that might be interfering and click "Disable." Repeat for any others you consider. troublesome.
- Close Task Manager (X), return to the System Configuration window, and click OK. Restart.
When you want to restore normal behavior, repeat the process in reverse: go back to "msconfig", under Services check "Hide all Microsoft services" and this time choose "Enable all". Then, enable the startup programs again from the Task Manager (only the ones you need) and restart. This way you'll have the system back. usual start without losing control.
- Open “msconfig” > Services > “Hide all Microsoft services” > “Enable all” and uncheck only the service that you detected as having a conflict.
- In "Start" > "Open Task Manager", reactivate startup programs with "Enable" according to your needs.
- Close everything and confirm with "OK". Finally, press "Restart" to apply the changes and verify that the error does not reappear. conflict.
Fix serious startup problems with Windows RE and Bootrec.exe
If your computer won't boot into Windows at all, you can use the Windows Recovery Environment (Windows RE). First, try the Startup repairIf that doesn't fix the problem or you need to intervene manually, move on to the Bootrec.exe tool, which repairs the MBR, boot sector, and BCD storage.
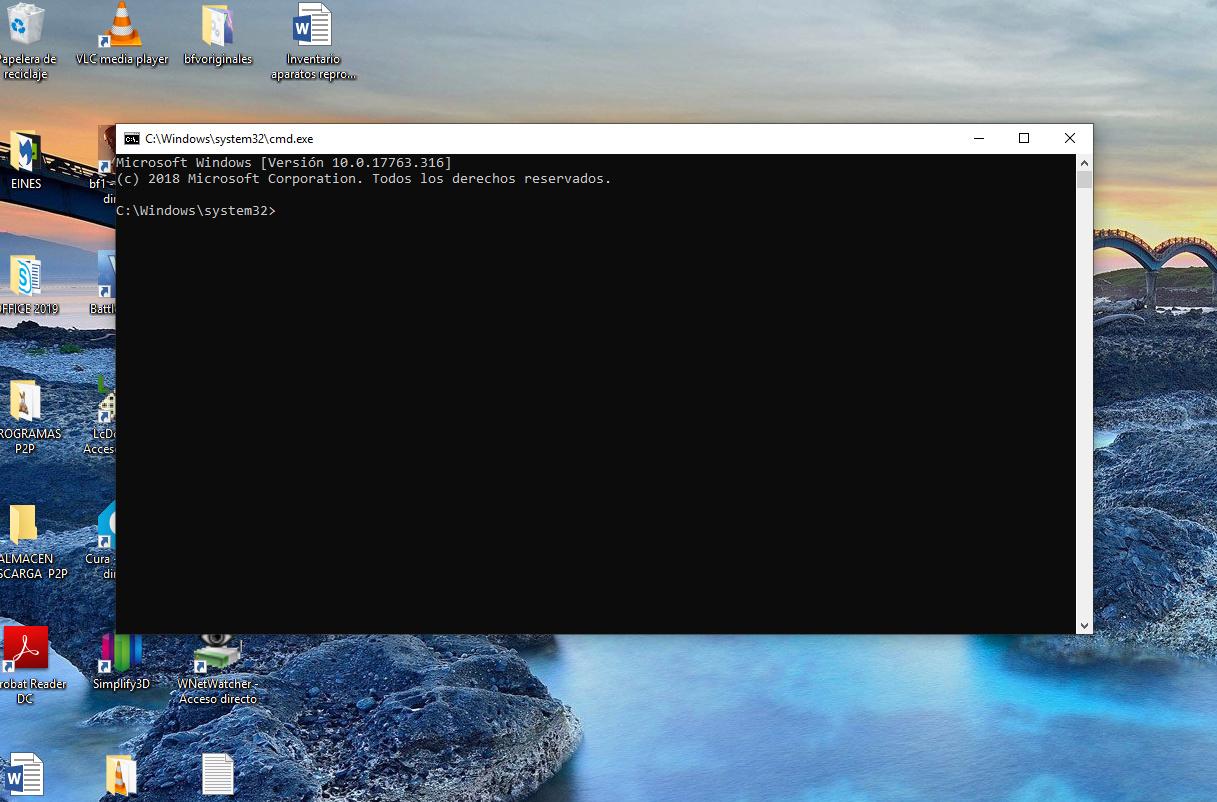
To get to Bootrec.exe: Boot from the installation DVD/USB for your version of Windows (e.g., Windows 7 or Vista), choose your language and keyboard layout, click "Repair your computer," and select the operating system you want to repair. In System Recovery Options, go to "Command Prompt" and type bootrec.exe.
- Boot from the installation media, press a key when prompted, and select your language, time/currency, and input method before continuing with "Next."
- Click "Repair your computer," select the target Windows installation, and open "Command Prompt."
- Run Bootrec.exe and use the appropriate options as appropriate: you will see that each parameter covers a different need of the start.
Key options from Bootrec.exe:
- / FixMbr: Writes an MBR compatible with the current version of Windows without touching the partition table. Use this for damaged MBRs or to remove non-standard code from the MBR.
- /FixBoot- Generates a new, compatible boot sector. Use this if your boot sector is corrupt, if it was replaced with a non-standard one, or if, after installing modern Windows, your computer tries to start with NTLDR instead of bootmgr.
- / ScanOs: Searches for compatible Windows installations on all disks and displays those not listed in the BCD store. Very useful when an installation "disappears» from the boot menu.
- / RebuildBcd: Scans, allows you to select installations, and completely rebuilds the BCD. If rebuilding isn't enough to fix the "Missing Bootmgr" error, you can export and delete the BCD and restart. / RebuildBcd to force its comprehensive recreation.
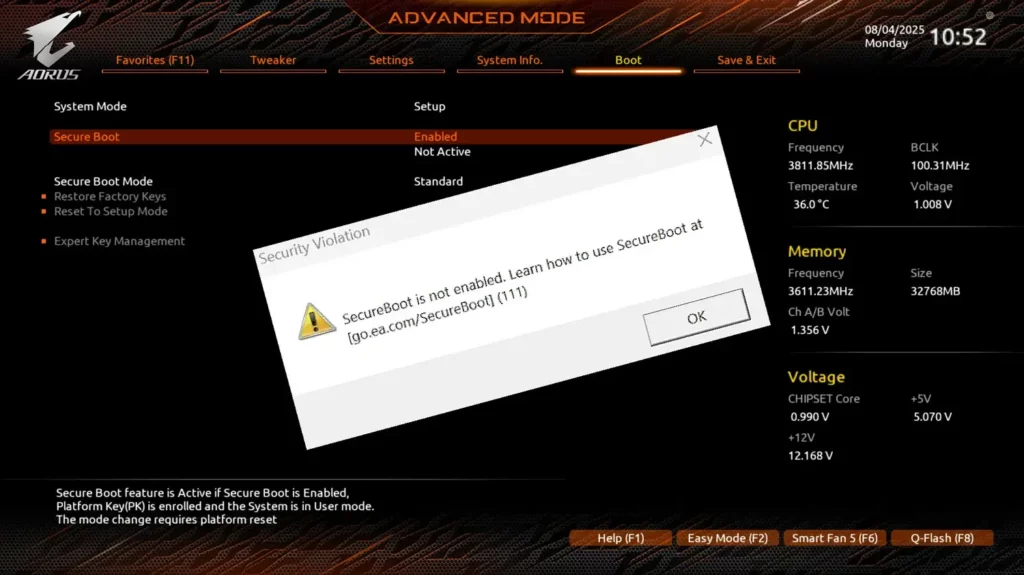
Important: To boot from the DVD/USB, configure the BIOS/UEFI to set that media as the first boot device. If you don't know how to do this, consult your computer's documentation or contact the manufacturer. This preliminary step is crucial to accessing Windows RE and run Bootrec.exe.
Pre-boot diagnostics: hardware checks
Before blaming Windows, it's wise to check your hardware with pre-boot tests. Many manufacturers include a diagnostic system that you can run even when the operating system won't load. In Dell's case, the diagnostic tool SupportAssist Pre-Boot offers a “Quick Test” and an “Advanced Test” with clear results and next steps.
After completing the quick test, you'll see two options: everything is correct or a fault is detected. If all tests pass, you can scan a QR code for more information, exit with "EXIT" to restart, or access "ADVANCED TEST" to run a specific test. If a hardware error appears, you'll have links to articles with solutions, the option to report the problem via QR code and the path to register the case with your service tag, error code, and validation code.
In the advanced test, the default is usually "Select all." If you want to test something specific, uncheck that box and choose only the tests you're interested in. For a more in-depth review, activate "Thorough mode" and press "RUN TEST." Note on laptops: user interaction may be required during the LCD test. Upon completion, if everything went well, you can return to Quick Start or exit; if not, you'll see a message detailing which component. failure and how to proceed.
These utilities also display additional information in tabs such as "System Info" (Configuration, Status/Health and Firmware) and a "Logs" history with the results of previous testsBrowsing these sections helps you understand the overall status of your equipment and document issues for technical support.
In terms of scope, these manufacturers' tools typically cover a wide range of desktop, tower, AIO, and laptop computers. In the Dell universe, for example, you can expect compatibility with families such as Alienware, Dell All-in-One, Dell Pro (including Plus, Max, Premium, and Rugged variants), Inspiron, Latitude, OptiPlex, Vostro, XPS, as well as fixed and mobile workstations, and configurations. professionals specific (such as the XE series and various Micro, Slim, Tower and Plus versions). The list is long, but the idea is the same: pre-system diagnostics to rule out physical problems.
When "No boot media found" appears
It can happen: you turn it off, turn it back on, and the computer displays a message like "no boot media found." After a few attempts, it boots normally, and you're left wondering. It's easy to think that a configuration change in a graphics panel (for example, limiting FPS in your GPU's control panel) caused the failure, but more often than not, this message is related to the boot order BIOS/UEFI, temporary disk detection, or a connector that does not make good contact.
If this happens to you, you should check that the system disk appears first in the boot order, that the drive is recognized correctly, and that no external devices are "stealing" priority. It's also advisable to run a hardware test system (such as those mentioned) to confirm that the storage is healthy. From there, if the problem persists, it is worth applying a clean boot to rule out software and, ultimately, go to bootrec.exe from Windows RE.
Practical tips to improve pain-free starting
Aside from tools, there are habits that help. Avoid having too many programs at startup: many installers add resident components that contribute nothing to startup. Using BootRacer to measure, followed by a clean boot and a manual check in Task Manager, usually gives a quick return. little effort.
If you're investigating a complicated case, alternate between analysis and action: capture a boot trace (BootTrace) to objectively see the problem; run BootVis optimization to gain "free" seconds; measure the real impact with BootRacer; and finally, clean third-party services and programs to verify that the problem is not a conflict If you detect damaged boot sectors or BCDs, upgrade to Windows RE with Bootrec.exe without delay.
On branded computers with diagnostic utilities, don't underestimate the pre-boot: it saves you time if there's a failing memory module, a disk with bad sectors, or a laptop battery that's affecting performance. In the end, optimizing is one thing, and arrange what's broken: without healthy hardware, any improvement will be a flash in the pan.
When you're ready to document the case (for yourself or for support), note the boot time before and after, the specific steps (what you disabled and in what order), the diagnostic error codes, and whether you ran /FixMbr, /FixBoot, /ScanOs, or /RebuildBcd. This traceability saves you from repeating tests and gives you insight. clear what has really worked.
With an orderly approach—boot tracing with ETW, visual inspection with BootVis, measurement with BootRacer, clean boot to isolate, repair with Bootrec.exe when necessary, and pre-system diagnostics—it's possible to understand and improve Windows startup without going crazy. With these pieces, you'll be able to identify where you waste your time your PC, apply corrections judiciously and verify with data if things are getting better, which is what is important.
Passionate about technology since he was little. I love being up to date in the sector and, above all, communicating it. That is why I have been dedicated to communication on technology and video game websites for many years. You can find me writing about Android, Windows, MacOS, iOS, Nintendo or any other related topic that comes to mind.