- Use of detailed prompts to guide the generation of accurate visual structures.
- Ability to modify layers, colors, and fonts independently after creation.
- Integration of specific styles and retouching tools to professionalize the result.
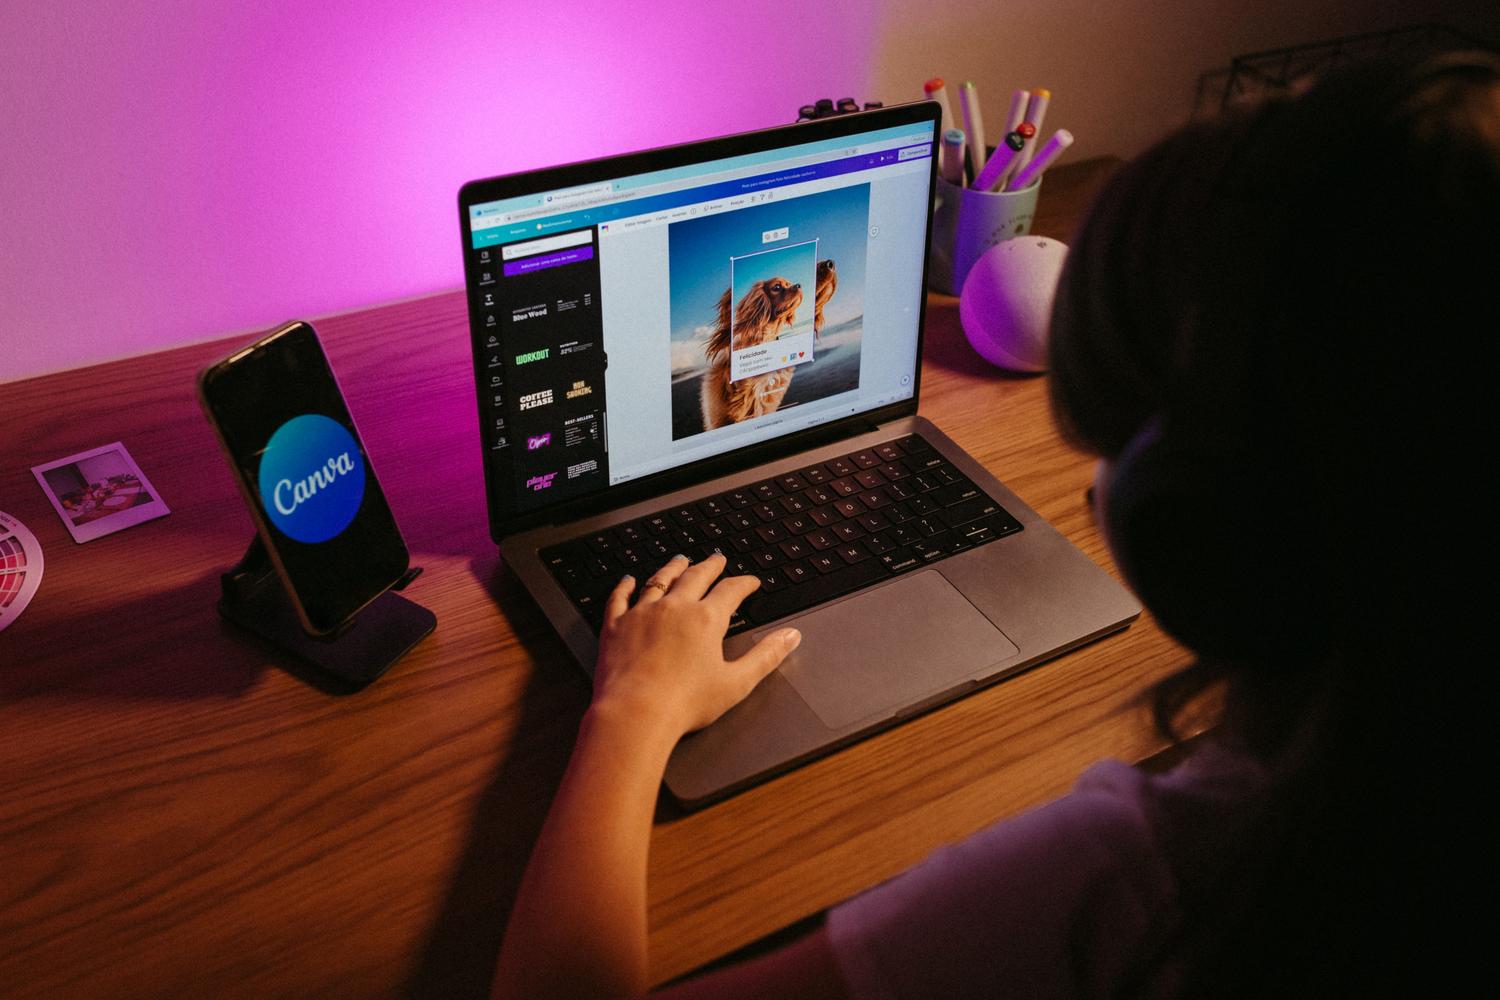
How to create a fully editable design from a prompt with Canva AI 2.0? If you've spent your life struggling with design layers or feeling like you lack the artistic eye to create something impactful, get ready because things have changed. With the arrival of Canva AI 2.0The barrier between a crazy idea in your head and a professional design has collapsed, allowing you to generate complete visual pieces by simply writing a few sentences.
The most amazing thing about this tool is not just that it creates an image for you, but that it delivers a fully editable designForget those static images you can't touch; here we're talking about being able to change every font, move elements around, and adjust colors so that the final result is exactly what you had in mind, but without racking your brain in the process.
How the magic of prompts works in Canva

To get the most out of this technology, the first thing you need to understand is that AI feeds on your words. Simply posting "an Instagram post" isn't enough; if you want something that truly stands out, you have to be... specific and detailed in your promptThe more information you give it about the style, color palette, and design objective, the less time you'll spend tweaking the result.
A good prompt should include the type of format you're looking for, the target audience, and the atmosphere you want to convey. For example, instead of something generic, try asking for a "minimalist design for an artisanal coffee shop, with earth tones and elegant typography." This way, the AI has a clear roadmap to generate elements that fit together from the very first second.

Steps to create your editable design from scratch
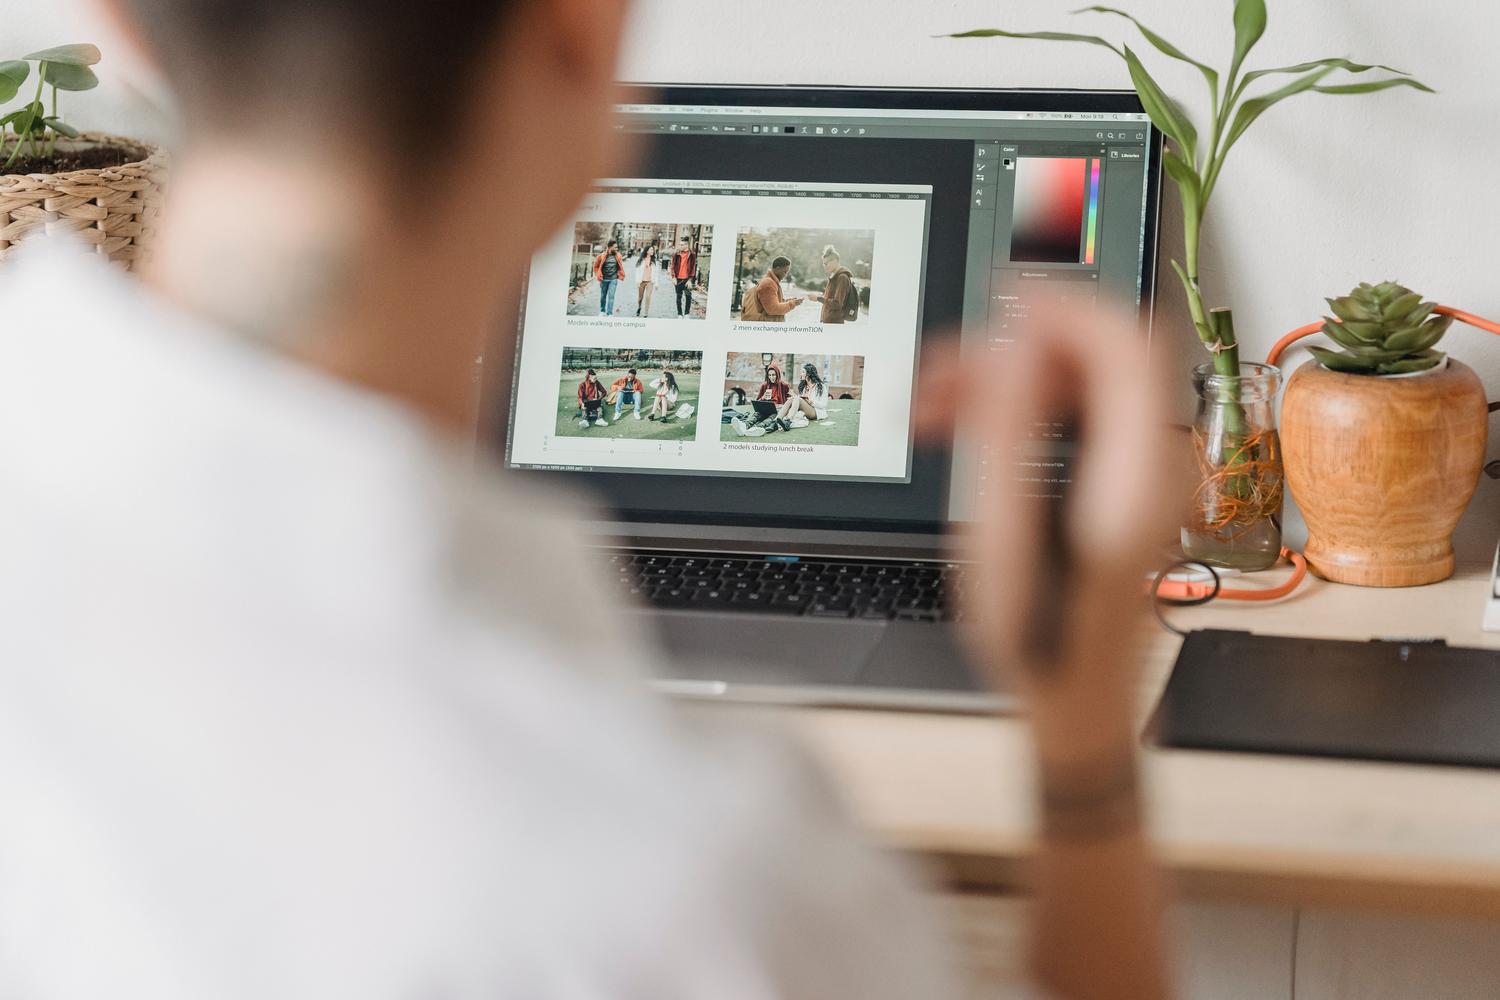
- Access the Canva home panel and look for the tool. Magic Generation or Magic Design, which is the heart of version 2.0.
- Write your detailed description in the text box, making sure to mention the design purpose and the essential visual elements.
- Choose from the various options that the AI will suggest; remember that you can regenerate the content if the first attempt doesn't completely convince you.
- Once you've chosen your design, enter the editor to customize each layer, change the photos to your own or adjust the texts according to your brand.
The key here is that the system doesn't create a flat image, but rather organizes the canvas with independent objectsThis means you can click on a circle and change it to a square, or replace a boring font with one that has more personality, always maintaining the visual consistency that artificial intelligence has already established for you.

Tips for optimizing the final result
Sometimes, AI can overreact or fall short. To avoid this, I recommend using style keywords such as "cyberpunk aesthetic," "Bauhaus style," or "organic look." These terms act as triggers that force the tool to search for much more precise and professional visual references.
Furthermore, don't be afraid to combine AI with manual tools. CanvaYou can use the magic eraser to remove elements you don't like or use the magic expansion if you need the design background to be wider. The real power lies in the hybrid between automation and your own creative judgment, thus ensuring that the piece doesn't look like it was made by a robot, but by a designer with good taste.
Mastering the workflow with Canva AI 2.0 allows anyone, regardless of their technical skills, to launch visual campaigns that look like they came from an advertising agency, leveraging the flexibility of editable elements and the processing speed of artificial intelligence to save hours of tedious work.


Passionate about technology since he was little. I love being up to date in the sector and, above all, communicating it. That is why I have been dedicated to communication on technology and video game websites for many years. You can find me writing about Android, Windows, MacOS, iOS, Nintendo or any other related topic that comes to mind.