
If you're using Windows and want to create automated workflows, AI agents, or RAG systems, Langflow is the tool you need. This post will guide you through installing Langflow on Windows step by step. using the three most common routes: with Langflow Desktop, with Python, and with DockerWe also listed the most frequent errors during the process and their solutions.
How to install Langflow on Windows step by step
Langflow has established itself as one of the most powerful low-code platforms for building AI agents and workflows without requiring programming expertise. It offers a visual tool that allows Build artificial intelligence applications by connecting blocks, like a Lego game. You drag the components (nodes), connect them with lines to indicate the flow of information, and test them instantly.
Want Try Langflow on your Windows computerFirst, you need to install it, and you have several options for doing so. The easiest way is to download the executable from its official website. If you need more control, you can install Langflow on Windows using Python. And for more isolated development environments, using Docker is the best alternative.
Route 1: Langflow Desktop
Let's start with the simplest way to install Langflow on Windows and avoid dealing with terminals and Python dependencies. This involves... Langflow Desktop versionIt includes all the necessary dependencies and is easy to update. To use it, you'll need Windows 10 or 11 and, in some cases, Microsoft C++ Build Tools if the installer requests it.
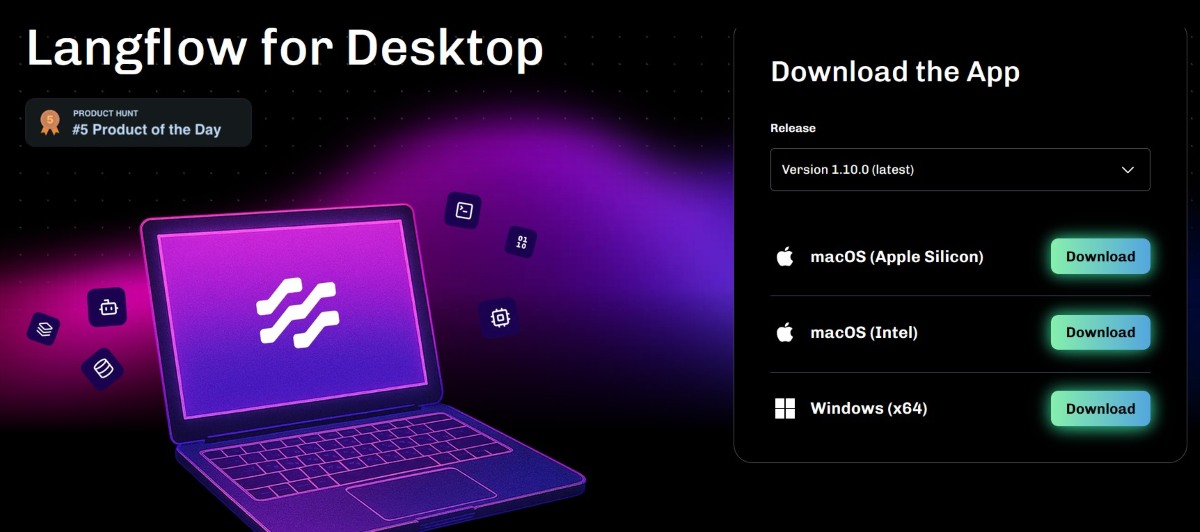
The first thing is download the installerTo do this, go to the official Langflow website at www.langflow.org/desktop Fill out the form with your first and last name, email address, country, and company name. Check the box to agree to receive updates from IBM about products, services, and offers, and click Download.
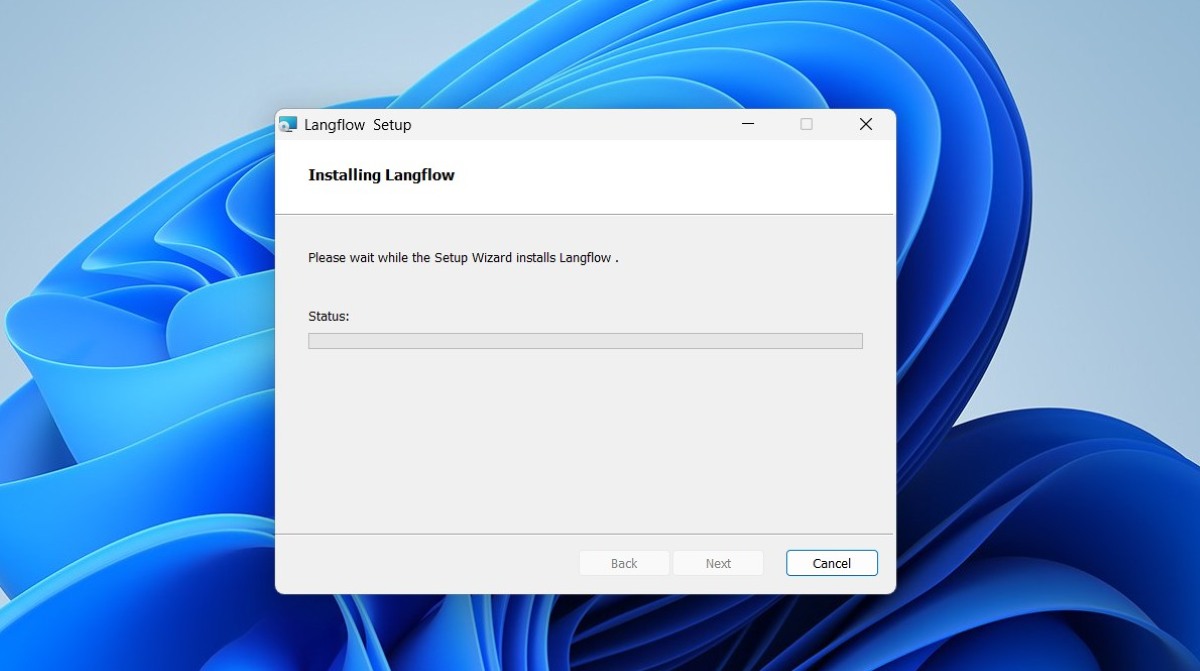
Then, click on the Download button for Windows (x64) Wait for the executable to download to your storage. Once downloaded, open File Explorer, go to your Downloads folder, and double-click the .msi file you just downloaded. Then, follow the instructions in the installation wizard.
Be careful with the C++ compiler
This is the point that usually causes problems. Langflow Desktop requires a C++ compiler to run on Windows. If your system doesn't have it, the installer will display the “C++ Build Tools Required” error.
Solution? The error screen will offer you the option to install Microsoft C++ Build Tools or Microsoft Visual StudioI recommend the first option, as it's lighter. Follow the on-screen instructions to complete this installation, and once finished, run the Langflow installer again.
Finally, complete the installation. Once the installer has finished without errors, look for the Langflow shortcut In your Start menu, open it. That's it! Now you can start creating your first flow from the visual interface. This is the easiest way to install Langflow on Windows, but it's not the only way.
Route 2: Install Langflow on Windows with Python

The second way to install Langflow on Windows is with Python, which gives you greater control over the environment and versions. Langflow recommends use Python 3.10 or higher, as well as a package manager called uv because of its speed. To find out which version of Python you have installed, open the Windows terminal and type the command python –version and press Enter.
If the returned version is lower than 3.10 or the command is not recognized, go to the official website (python.org) and Download the latest stable version of PythonDuring Python installation, it's important to check the box "ADD python.exe to PATH". If you don't, the commands Python y pip They will not work globally on your device.
Likewise, it is advisable Download the Astral uv package managerTo do this, you can go to the official website and follow the installation instructions. Or, with Python already installed, open the terminal and run the command pip install uvOnce this is done, simply open the terminal in Windows and navigate to the folder where you want to create your project.
Create a virtual environment and install Langflow on Windows
You probably already know that create an isolated virtual environment Using a virtual environment is an essential best practice in Python. This allows you to install Langflow on Windows and its many dependencies (such as Pydantic, FastAPI, and LangChain) without affecting your system's global libraries or conflicting with other projects. To do this, open the terminal and follow these steps:
- Create the virtual environment with the command uv venv langflow-env
- For activate it On Windows, use the command langflow-env\Scripts\activate
- You will see the environment name (langflow-env) at the beginning of the command line.
- With the environment enabled, run the following command to install the latest stable version of Langflow: uv pip install langflow -U
- Once the installation is complete, start the server from Langflow with uv run langflow run
- Once you've done this, open your favorite browser and go to http://127.0.0.1:7860 or http://localhost:7860. You'll see the Langflow interface ready to use!
Route 3: Docker for isolated environments
A third way to install Langflow on Windows is with Docker. Here The installation is just as simple and guarantees a clean and reproducible environment. Just follow these steps (for more details, see the topic How to install Langflow with Docker step by step):
- Make sure you have Docker Desktop installed and running on your Windows system.
- Open your terminal and run the following command to download the image and run the container: docker run -p 7860:7860 langflowai/langflow:latest
- Once the container is running, open your browser and go to http://localhost:7860
- Done! Langflow installed and running with Docker on Windows.
What to do after installing Langflow on Windows?
How to see, install Langflow on Windows It is a process accessible to all levelsThe desktop version is the undisputed choice for getting started quickly and without worrying about configurations. And if you're an experienced developer, installation via Python or Docker will give you the flexibility you need.
Once you have Langflow running on your computer, the next step is to explore the interface. You can Start with the default "Simple Agent".Configure your API keys for services like OpenAI in the settings and start building your own AI flows. The potential of this tool is enormous!
