- Steam Deck can run Windows without losing SteamOS if you use a microSD or external SSD with Windows To Go.
- Dual booting on the internal SSD is possible, but it requires partitioning and using unofficial boot managers.
- Valve's official drivers are essential for Wi-Fi, audio, controllers, and GPU to function correctly.
- Tools like Playnite, Steam Deck Tools, or Handheld Companion bring the Windows experience closer to that of a console.
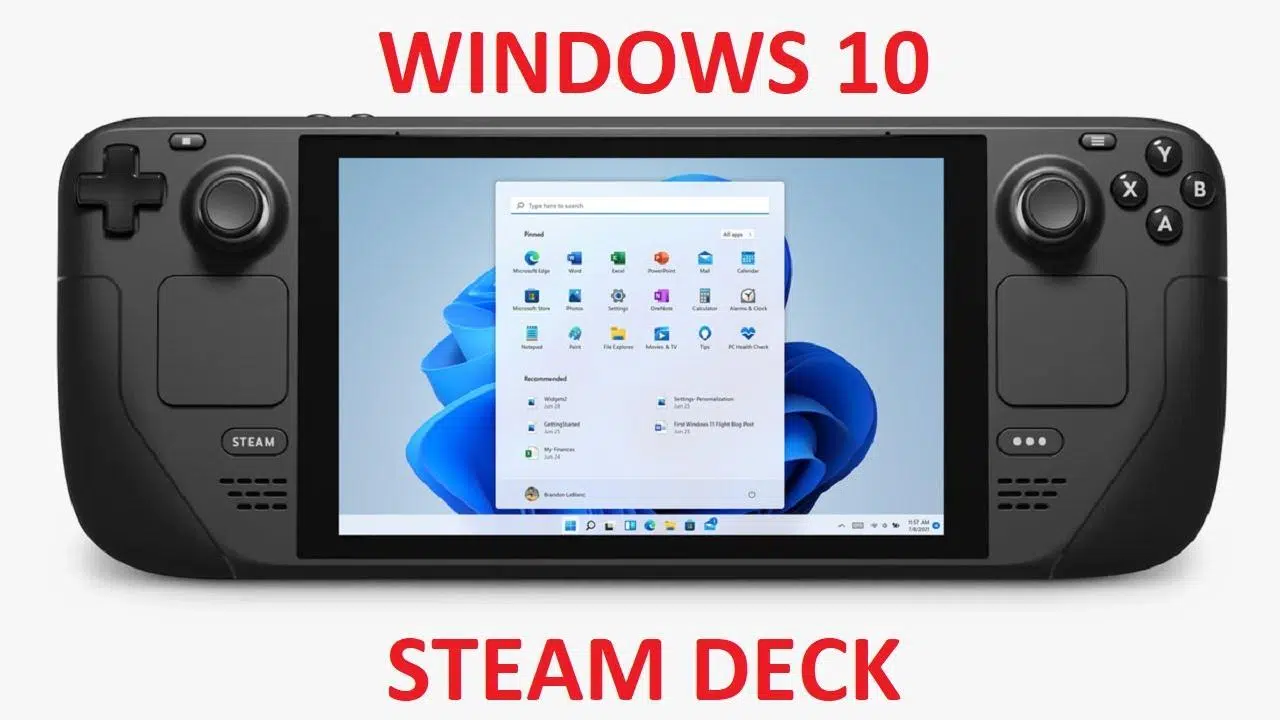
¿How to install Windows 10 on Steam Deck? If there's one thing that needs to be clear from the very beginning, it's that the Steam Deck is still... a PC in portable console formatOn the outside it resembles a Nintendo Switch or a PS Vita on steroids, but inside we're talking about a complete x86 computer capable of running desktop operating systems, emulators and virtually any software you would use on a laptop or desktop.
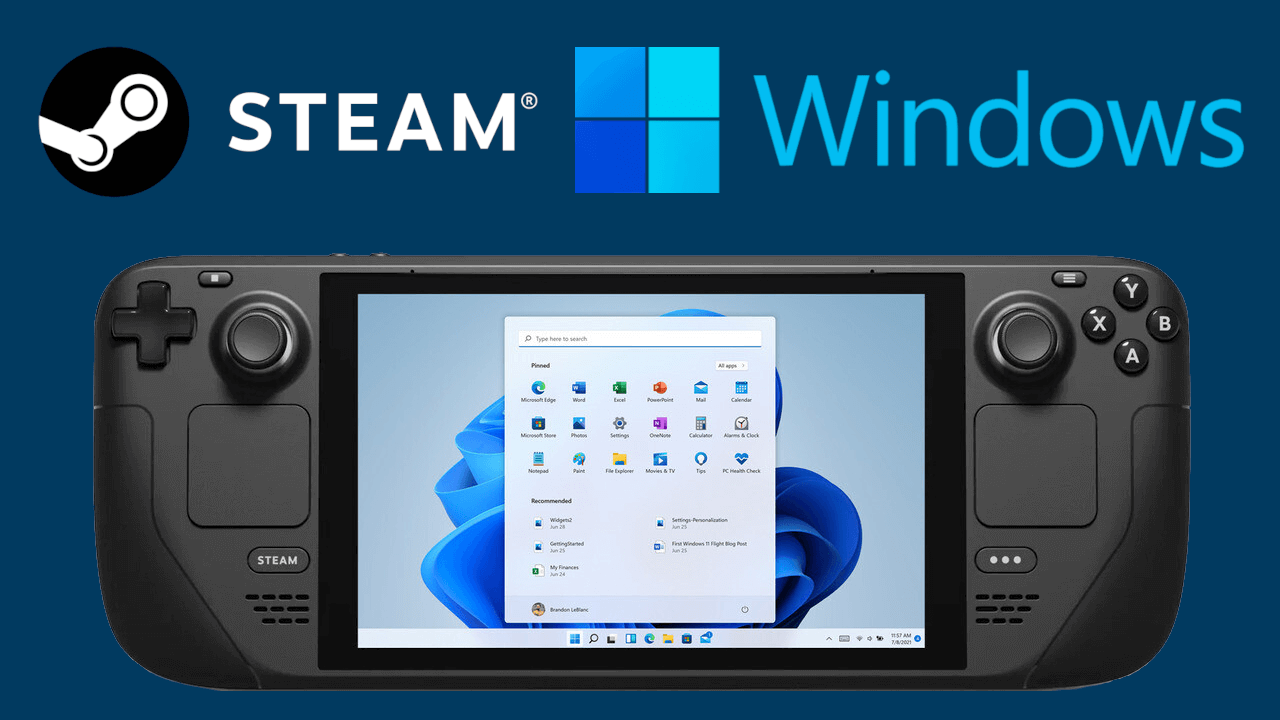
That means that, in addition to SteamOS, we can install Windows 10 or Windows 11 on the Steam Deck (for example, find out what happens if you decide) Install Windows without a Microsoft accountand use it as a pocket-sized mini PC: launch games only compatible with Windows, use alternative launchers (Epic, GOG, Ubisoft Connect…), office applications, browsers, streaming apps, and much more. However, you have to do it wisely, because the console is optimized out of the box for SteamOS and there are several tricky points you should be aware of before jumping in.
What you should know before installing Windows on Steam Deck
The first thing to assume is that Steam Deck is designed down to the last detail so that everything works perfectly with SteamOS, a Linux customized by ValveThe system finely manages the battery, screen refresh rate, TDP, ventilation, integrated controls, sleep mode, and game overlay. All this functionality isn't available by default in Windows, and we'll have to replicate much of it using third-party tools.
Besides, SteamOS is LinuxProton is a very flexible system where you can install applications, emulators, and many open-source alternatives to almost any Windows program. Many people are surprised to find they can play most of their Steam library with Proton without changing any settings, or even use services like Xbox Game Pass via streaming without leaving the original system. Also, if you plan to run native Windows games, be aware of potential issues such as crashes without a message when using DirectX 12.
Another sensitive issue is storage. Valve doesn't offer official support for it. Install Windows on the same internal SSD drive as SteamOSDual booting on the SSD is possible, but it requires tinkering with partitions yourself, and there's a risk that a future SteamOS or Windows update could break the shared boot setup, forcing you to restore everything.
For this reason, many users and guides recommend installing as the safest option Windows directly on a microSD card or an external SSDThis way you keep SteamOS intact on the internal SSD, achieve a simple dual boot using the BIOS boot manager, and if something goes wrong, you can simply remove or remake the card without touching the main system.
In any case, before partitioning disks, formatting drives, or changing systems, it is very wise to back up your important data: local saves, screenshots, settings, and any other files you don't want to lose if something goes wrong during the process.
Basic requirements for installing Windows on Steam Deck
Gather some hardware and software components This is necessary to add Windows 10 or 11 to your Steam Deck. Nothing unusual is required, but it's best to have it ready for a smooth process.
- A Windows PC (laptop or desktop) to download the ISO and prepare the boot drive.
- Un USB 3.0 flash drive of at least 8-16 GB If you're going to install Windows on the internal SSD, or a fast microSD (preferably 256 GB or more) to use it as a system disk.
- Un USB‑C hub or dock compatible with Steam Deck to connect external pendrives, keyboards, mice or SSDs to the console.
- La Official Windows 10 or Windows 11 ISOwhich can be obtained from the Microsoft website or using the media creation tool.
- The program Rufus (A recent version, such as 3.22 or higher, is recommended) to create Windows To Go drives or installation USB drives.
- The Official Steam Deck drivers for Windows (APU, Wi-Fi, Bluetooth, microSD reader, audio, etc.), downloaded from Valve's support page.
It is highly recommended that you also have a USB or wireless keyboard and mouseBecause some parts of the Windows installation and configuration are much more convenient this way, especially the first time you log into the desktop and haven't yet configured the Deck controls properly.
Install Windows 10 or 11 on a microSD or external SSD (Windows To Go)
The most conservative way to install Windows on the Steam Deck is to use a microSD card or an external SSD as if they were the Windows system hard driveThe idea is to create a Windows To Go-type installation using Rufus, so that the Deck boots from that drive and SteamOS remains untouched on the internal SSD.
On your Windows PC, start by downloading the Windows 10 or 11 ISO image from MicrosoftYou can use the Media Creation Tool to generate the ISO (in Windows 10) or download it directly (in Windows 11), choosing the appropriate language and edition and saving it somewhere easy to find, such as the Desktop.
Next, download and install RufusInsert the microSD card you're going to use (or an external SSD/USB drive if you prefer) into your PC and open it. In the Rufus interface, you'll need to select a few specific options for it to work correctly on Steam Deck.
In the device section, choose the unit corresponding to your microSD or external SSDIn "Boot selection," indicate that you will be using an ISO disk or image, and when you click "Select," choose the Windows ISO you just downloaded. In "Image options," check the option Windows To Go so that Rufus prepares a portable installation instead of a simple installer.
The partitioning scheme must be MBR and the destination system, BIOS (or UEFI-CSM)which best matches the Steam Deck's BIOS in this type of configuration. In the file system, select NTFSLeave the default cluster size and, if you want, add a simple volume label without spaces (for example, WINDOWS).
Within Rufus' advanced options, it is common to enable the use of "RUFUS MBR with BIOS ID" Check the boxes for "Quick format" and "Create an extended label and icon file" to speed up the process. Once everything is configured, simply click "Start" and wait. Rufus will format the drive and install Windows automatically.
When the program finishes, your microSD card (or external SSD) will be ready to boot the Steam Deck with Windows. Before removing it from your PC, take this opportunity to... Copy all driver folders to the root of the drive that you downloaded from the Valve website, because you'll need them as soon as you log into Windows for the first time.
Booting Steam Deck from Windows on a microSD or external SSD
With the Windows microSD card ready, completely power off the Steam Deck, insert the card into the console (or connect the external SSD to the USB-C port via the hub), and we're going to use the BIOS boot manager to select the new system.
To access that menu, turn on the Deck by holding down the volume down button along with the power buttonYou will hear the startup sound; at that moment you can release the power button, but keep pressing the volume button until you see the boot options on the screen.
The list will show the internal drive with SteamOS and, in addition, the microSD or SSD with WindowsUse the D-pad or trackpad to highlight it and confirm with the A button. The console will then boot from that drive and enter the final phase of the Windows installation.
It is completely normal that during this process the the screen is displayed verticallyThis isn't a problem with the Deck; Windows simply doesn't yet know how to orient the screen on this particular panel. Just follow the usual steps in the installation wizard: language, keyboard layout, user account, network connection if available, etc.
When you get to the Windows desktop, go to Settings > System > Display and, in the orientation section, choose Horizontal to return everything to its normal position. Keep in mind that until you install the Valve drivers, features like Wi-Fi, sound, or microSD card reading may have limited functionality or not work at all.
One important detail: every time Windows restarts during installation or initial updates, the Steam Deck will tend to Reboot into SteamOS By default. That's fine; in those cases, turn off the console, restart the Boot Manager with Volume Down + Power, and select the Windows drive again. You'll have to repeat this step every time you want to use Windows if you don't install a more advanced dual-boot manager.
Dual boot on the internal SSD: SteamOS and Windows on the same disk
If you want to go a step further, it's possible to create a true dual boot on the Steam Deck's internal SSDOne part of the hard drive is for SteamOS and another for Windows, allowing you to choose the operating system when you turn on the console. It's an unofficial process and somewhat more delicate than using a microSD card, because it involves resizing partitions and modifying the boot process, but it offers significantly faster loading speeds.
First of all, it is essential to create a SteamOS recovery USB driveValve provides an official image that you can burn to a USB drive using tools like Rufus (on Windows) or Balena Etcher (on Linux or macOS). Booting the Deck from that USB drive will give you a complete recovery environment, allowing you to resize the SSD, reinstall SteamOS in case of disaster, and generally salvage the situation if something goes wrong.
With the recovery USB drive ready, connect it to the Steam Deck's USB-C hub, turn off the console, and turn it back on. Volume- + Power to open Boot ManagerSelect the EFI device corresponding to the USB drive and wait. Don't be surprised if it takes a while to boot from the USB drive; depending on the speed of your hub and your USB drive, it may display a black screen for several minutes before loading the SteamOS desktop from the external media.
Once inside, access desktop mode and open the tool. KDE Partition ManagerThere you'll see a list of all your storage devices: the USB drive you're running SteamOS from, the internal SSD, and, if you have one, the microSD card. The microSD card will usually appear as something like mmcblk0, while the internal SSD will be identified by its brand and capacity.
Inside the SSD, locate the SteamOS main partitionThis is usually the largest slot (on a 512 GB model you'll see something close to 566 GB). Select it and use the "Resize/Move" option to reduce its size from the right side of the graphical bar. The blue space indicates what SteamOS will continue to use; the dark space that is freed up will be the area you dedicate to Windows.
The amount you should reserve for Windows depends on what you plan to install. As a guideline, many users leave between 100 and 200 GB For Windows. Keep in mind that very large games, such as certain shooters like Warzone, can easily exceed 150 GB on their own, so if you plan to install titles of that type, it makes sense to aim for 200 GB or even more.
When you adjust the size, accept the changes and, back in the partition list, select the new unallocated space you created. Create a new partition with a file system NTFS (This will be the one Windows uses) and applies the pending operations. The process takes a while, as the manager has to move data and rewrite partition tables; do not interrupt or turn off the console while it does this.
With the new partition now ready, it's time to prepare a traditional Windows installation USB driveThis is different from the previous Windows To Go. On your PC, use the Windows 10 Media Creation Tool (or the equivalent tool in Windows 11), select the "USB flash drive" option, and let the wizard convert your USB drive into a Windows installer.
Now, connect that USB drive to the Steam Deck via the hub, turn off the console, and then launch the Boot Manager again using Volume Down + Power. Select the Windows USB device, and after a few seconds, the installation wizard will appear, also in portrait orientation. Proceed to the part where you're asked to choose where to install Windows, and you'll see all the partitions on the internal SSD listed there.
The critical point here is correctly identify the partition you just created for Windows (due to its size and NTFS format). Select it, format it if necessary, and choose to install there. Be careful not to touch the SteamOS partitions to avoid deleting the original system. From that point on, the installer will copy the files and restart several times until it reaches the Windows desktop.
By default, the Steam Deck will still boot into SteamOS, and you'll have to use the Boot Manager to manually select Windows each time. If you want something more convenient, you can install a small boot manager, such as rEFInd adapted for Steam Deck, which adds a graphical menu when you turn on the console from which you can choose whether to enter SteamOS or Windows without having to press button combinations.
Installing official Steam Deck drivers on Windows
Once inside Windows (whether from a microSD card, external SSD, or internal partition), the next essential step is Install the specific drivers for Steam DeckWithout them, the console will only work partially: you might not have sound, the Wi-Fi might drop, the microSD card might not appear, or the GPU performance might be much worse than expected.
Valve maintains a support page where it offers official packages for the APU (CPU+GPU), the Wi-Fi adapter, the Bluetooth module, the microSD card reader, and the audio codecsThey all download as ZIP files, so you can download them to your PC and copy them to your Windows drive, or download them directly from the Steam Deck once you have a working network connection. Also, check out how to tell if your headphones are compatible with Bluetooth LE Audio before trusting wireless audio.
The basic installation usually follows this order: first the APU driver (running its setup.exe so that Windows properly recognizes the integrated graphics and activates its optimizations), then the card reader driver (corresponding setup.exe), followed by the drivers of Wi-Fi and Bluetooth (usually using install.bat or installdriver.cmd scripts included in their folders).
The trickiest part is usually the audio. Valve provides several .inf files that you have to install manually from File Explorer. The usual way is to right-click on each one (for example, cs35l41.inf, NAU88L21.inf and amdi2scodec.inf) and choose the "Install" option. In Windows 11, you may need to click "Show more options" first when using the right-click menu for the installation action to appear.
When finished, it's advisable to restart the system and, once back up, check the Windows Device Manager To confirm that there are no items with yellow exclamation marks. If everything is in order, the Deck should now have sound, stable wireless connectivity, full microSD support, and adequate graphics acceleration for gaming.
Recommended settings after installing Windows on Steam Deck
With Windows up and running and the drivers in place, it's time to make a series of adjustments that, although they may seem secondary, significantly affect the day-to-day experience: performance, power consumption, sleep stability, and small details like the correct system time.
The first thing is to let Windows catch up with all system updatesGo to Settings > Update & Security (or Windows Update) and let it download patches, additional drivers, and optional updates. Be patient: write speeds are slower on a microSD card, and the process may take a while, requiring several restarts.
It's also wise to do a light system cleanup by uninstalling bloatware and pre-installed applications that you won't use on a portable console: duplicate office apps, generic manufacturer tools, unnecessary widgets, etc. You'll gain some space and avoid background processes that waste resources.
Another important adjustment has to do with how SteamOS and Windows manage the system timeLinux and Windows don't use exactly the same criteria for interpreting the BIOS clock, so if you don't do anything, you might find that the time is out of sync when switching between systems. To prevent this, in Windows you can open Command Prompt as administrator and run a registry command that tells the system to treat the clock as universal.
Regarding the behavior when suspending the console, many people are interested Disable hibernation in Windows To make sleep mode more predictable on the Steam Deck. Hibernation saves the memory state to disk and can cause conflicts or failed resumes in some games, especially if the system is installed on a microSD card.
More VRAM for the APU: Change the dedicated graphics memory
The Steam Deck APU uses the RAM as shared video memoryIn the default configuration, the BIOS typically allocates 1 GB of VRAM for the graphics, which is sufficient for SteamOS, where Proton and the system are highly optimized for performance. However, in Windows, increasing this allocation might be beneficial if you experience bottlenecks in certain games (see also the comparison between integrated and dedicated graphics).
To change this value, turn off the console and turn it on while holding down the power button. increase volume next to the power buttonYou will enter the BIOS setup utility. From there, navigate to Advanced > UMA Frame Buffer Size and change the value from 1G to 4G. This will allocate 4 GB of memory as dedicated VRAM for the integrated GPU.
This change can improve graphics performance on Windows in some titles, especially those that load heavy textures, at the cost of reducing system memory. If you notice that other aspects worsen or that the SteamOS experience suffers, you can always... Re-enter the BIOS and restore the value to 1G to return it to its factory condition.
Quality of life tips: related to sleep, keyboard, and refresh rate
When moving from SteamOS to Windows, we lose many of the console's built-in conveniences, but we can compensate with a combination of tweaks and tools. One of the most useful things is limiting the screen refresh rate of 40 HzThis is something that in SteamOS is done from the official overlay and helps a lot to save battery while maintaining a smooth visual experience.
In Windows, these types of tricks can be implemented with programs like CRU (Custom Resolution Utility) and specific profiles for the Deck's display. Basically, custom configurations are imported that add 1280x800 40Hz modes and then selected from the advanced properties of the display adapter in Windows, capping games at a fairly stable 40 FPS.
Another key point in a portable console is having a comfortable and accessible virtual keyboardThe Windows 11 touch keyboard isn't to everyone's liking, and many users prefer the Windows 10 keyboard style. This can be achieved by modifying a registry key (DisableNewKeyboardExperience) and enabling the touch keyboard shortcut in the taskbar, so that a simple tap brings up the old keyboard, which is more practical on a smaller screen.
In terms of suspension, as already mentioned, it's worth completely disabling the hibernation using the powercfg command This is to prevent situations where the game doesn't resume properly or where the system and game conflict upon waking. The idea is to get as close as possible to the quick suspend logic offered by SteamOS, although Windows will never be able to replicate it perfectly.
Console-like interfaces: Playnite and unified launchers
Once you have Windows on your Steam Deck, you'll probably want a console-style interface to launch your games without having to deal with windows, mice, and desktops every time. A very popular option is Playnite, a free front-end that allows you to unify libraries from Steam, Epic Games Store, GOG, Ubisoft Connect, EA App, Xbox Game Pass, etc., into a single full-screen interface.
By installing Playnite in fullscreen mode and linking all your stores, you can have a game browsing experience very similar to SteamOS, with large cover art, a list of titles, and the ability to adjust settings per game thanks to extensions like Resolution Changerwhich allow assigning specific resolutions and refresh rates to each title.
To make the Deck's native controls work properly within Playnite and non-Steam games, it's common to use tools like GloSC/GloSIThese tools create virtual controllers compatible with the Steam API and allow you to integrate third-party applications into your Steam library with overlay support, controller profiles, and more. You can also Connect the PS5 controller to Steam Deck as a physical alternative or to test different mappings.
The typical workflow involves configuring a shortcut in GloSC that launches Playnite Fullscreen, enabling the overlay and virtual controllers, and adding that entry to your Steam library. From then on, simply opening that "game" from Steam launches Playnite in fullscreen mode with the Steam Deck controls mapped correctlyso you can navigate the interface and open titles from other stores as if they were native games.
If you want the experience to be even more automated, you can place shortcuts to Playnite (and associated tools) in the Windows startup folder so that are executed when the console startsThus, when you turn on the Deck and choose to boot Windows, in a few seconds you will find yourself directly inside the game interface without going through the classic desktop.
Advanced Management: Steam Deck Tools and Handheld Companion
SteamOS includes a powerful overlay as standard, allowing you to regulate TDP, FPS, fan curve, brightness, control maps, and more with a couple of taps. On Windows, to get close to that level of control we need to rely on projects like Steam Deck Tools or Handheld Companion, which have been gaining popularity among Windows handheld console users.
Steam Deck Tools bundles several utilities that integrate with the console's hardware: TDP and frequency management, real-time monitoring via RivaTuner, per-game performance profiles, fan control, fine-tuning of controllers, and more. After installing it from its GitHub repository, you'll have several shortcuts that minimize to the system tray and that you can configure to start automatically with Windows.
It is important to review each module and activate only what is necessaryEspecially if you're worried about compatibility with anti-cheat systems in online games. Any tool that modifies the kernel or injects overlays can raise suspicions in some competitive titles, so it's a good idea to limit yourself to features like power consumption, fan speed, or brightness when you're about to enter multiplayer matches.
Handheld Companion, for its part, follows a similar "all-in-one" philosophy for portable devices. It offers Dynamic FPS and Hz control, TDP settings, controller profiles, virtual keyboard integration, and shortcutsMany users prefer it for its more polished interface and the ease of creating profiles per game and changing parameters on the fly without having to open several different applications.
In any case, both Steam Deck Tools and Handheld Companion are constantly evolving projects, so it's advisable to thoroughly review the documentation for each, install the latest versions, and Avoid mixing too many solutions at once. (for example, it's not a good idea to leave GloSI, SWICD, HidHide and assets active) Steam Deck Tools all at once, because they can generate conflicts in the detection of controls).
Installing Windows 10 or 11 on the Steam Deck opens the door to a much more versatile consoleIt's capable of running titles that don't work on Proton, productivity applications, and even serving as a mini desktop PC when connected to a monitor, keyboard, and mouse; in return, you'll have to invest time in configuring drivers, dual boot, controls, and management tools to approach the comfort and refinement that SteamOS offers out of the box.
Passionate about technology since he was little. I love being up to date in the sector and, above all, communicating it. That is why I have been dedicated to communication on technology and video game websites for many years. You can find me writing about Android, Windows, MacOS, iOS, Nintendo or any other related topic that comes to mind.