- In Windows 11 you can disable automatic login using netplwiz, the Registry, group policies, or PowerShell to always return to the user screen.
- Windows Hello (PIN, face) can cause near-instant logins; removing the PIN and prioritizing the password prevents an account from opening itself.
- The Windows app for Azure Virtual Desktop and Windows 365 has specific Registry keys to control automatic logoff and local data deletion.
- Distinguishing between system login and launching applications like OneDrive helps you fine-tune what actually runs when you turn on your computer.

Does your Windows 11 PC fit directly to an account without being able to choose a user? Then it's quite likely you have some kind of automatic login enabled, whether by Windows HelloThis can be due to a system setting or changes in the Registry. Is it advisable to disable automatic login in Windows 11? Yes, if you use more than one profile or multiple accounts.
In this guide you will find a very detailed explanation of All the ways to disable automatic login in Windows 11How to recover the user selection screen at startup, what to do if you use facial recognition or PIN with Windows Hello, and also how to control automatic login and logout at a more advanced level using Registry, group policies and PowerShell, always with clear and approachable language.
Typical problem: Windows 11 always starts in the same account
One of the most common scenarios is having two local or Microsoft accounts on the same PCOne personal and one professional. In many cases, the main account has Windows Hello configured with facial recognition, while the second account only allows the use of a different password or PIN, because the system does not accept the same face for two different profiles.
The result is that, as soon as you turn on the computer, Windows 11 automatically logs you into your account using facial recognition. without displaying the usual screen where you can choose a user. If you want to access the other session, you are forced to cover the camera, quickly press the Esc key, and manually select the second user.
To make matters worse, in some cases, even if you change users, The default account session remains logged in the background.When you try to shut down your computer, Windows alerts you that another user is logged in, even though you're only using one account. This is not only annoying, but it can also lead to unnecessary resource consumption.
What is usually desired in these situations is something as simple as, when turning on the PC, a login screen where you can select which account to use, without any one entering automatically on its own, regardless of whether you use facial recognition or PIN or not.
How to disable automatic login with netplwiz
One of the easiest ways to control whether Windows 11 automatically logs you into an account is through the User Accounts dialog boxThis is accessible using the classic tool netplwiz. From here you can force the system to always require a username and password at startup.
To use this method, follow these steps carefully, especially if you have more than one user set up on the system and want to restore the account selection screen at every startup.
- Open the Run dialog box: Press the Windows + R key combination to bring up the "Run" window, where you can launch advanced tools by typing their name.
- Launch netplwiz: in the text box write netplwiz and press the Enter key. The window will open User accounts, where you can see all local and Microsoft users who have permission to use the computer.
- Select your account: Within the "Users" tab, click on the account that normally logs in automatically (this is usually your primary account). Make sure to clearly identify each profile, especially if there are multiple Microsoft email addresses or similar logins.
- Enable the credential request: To completely disable automatic login, check the box «Users must enter their name and password to use the equipment»If it was unchecked at some point, that would explain why Windows logged in without asking for data.
- Apply the changes: Click the "Apply" button and, if prompted, enter the password for the selected account to confirm the change. This ensures Windows saves the credential settings correctly.
After doing this, The next time you restart your computer, the login screen with the user list will be displayed. available, and you will have to manually choose which account you want to log in with and enter the password or use the appropriate authentication method.
Control automatic login using the Windows Registry
If you need finer control, or if the User Accounts panel isn't behaving as expected, you can manage the Automatic login directly from the Windows RegistryThis method is more advanced and should be done carefully to avoid causing problems in the system.
Before touching anything, it is advisable to create a Registry backup or a system restore point, so you can revert if you make a mistake editing sensitive boot-related values.
- Open the Registry Editor: Press Windows + R, type regedit and confirm with Enter. If User Account Control (UAC) appears, accept to allow the editor to run with elevated privileges.
- Navigate to the Winlogon key: In the left panel, scroll to the path:
HKEY_LOCAL_MACHINE\SOFTWARE\Microsoft\Windows NT\CurrentVersion\Winlogon
This is where Windows stores many of the options related to the login process. - Review the AutoAdminLogon value: searches for a string entry called AutoAdminLogonIf it exists and is set to 1, the system is configured to automatically log in with a default userIf it doesn't appear, you can create it by right-clicking, selecting "New" > "String Value" and assigning it the exact name.
- Disable automatic login: Double-click on AutoAdminLogon and change the value to 0Setting this value will cause Windows to stop using automatic administrator login and will again request credentials on the welcome screen.
Optionally, if you had values configured such as DefaultUserName or "DefaultPassword" (sometimes it appears as "DefaultPassword" or "Default Password" depending on the translation), you can check that are not misconfigured or that there are no passwords stored in plain text if you are no longer going to use this feature.
Once the changes have been made, simply Close the Registry Editor and restart your computer.Upon restarting, the system will behave as if there was no automatic startup, again displaying the login screen with the available users.
Advanced management with group policies in Windows 11 Pro and Enterprise
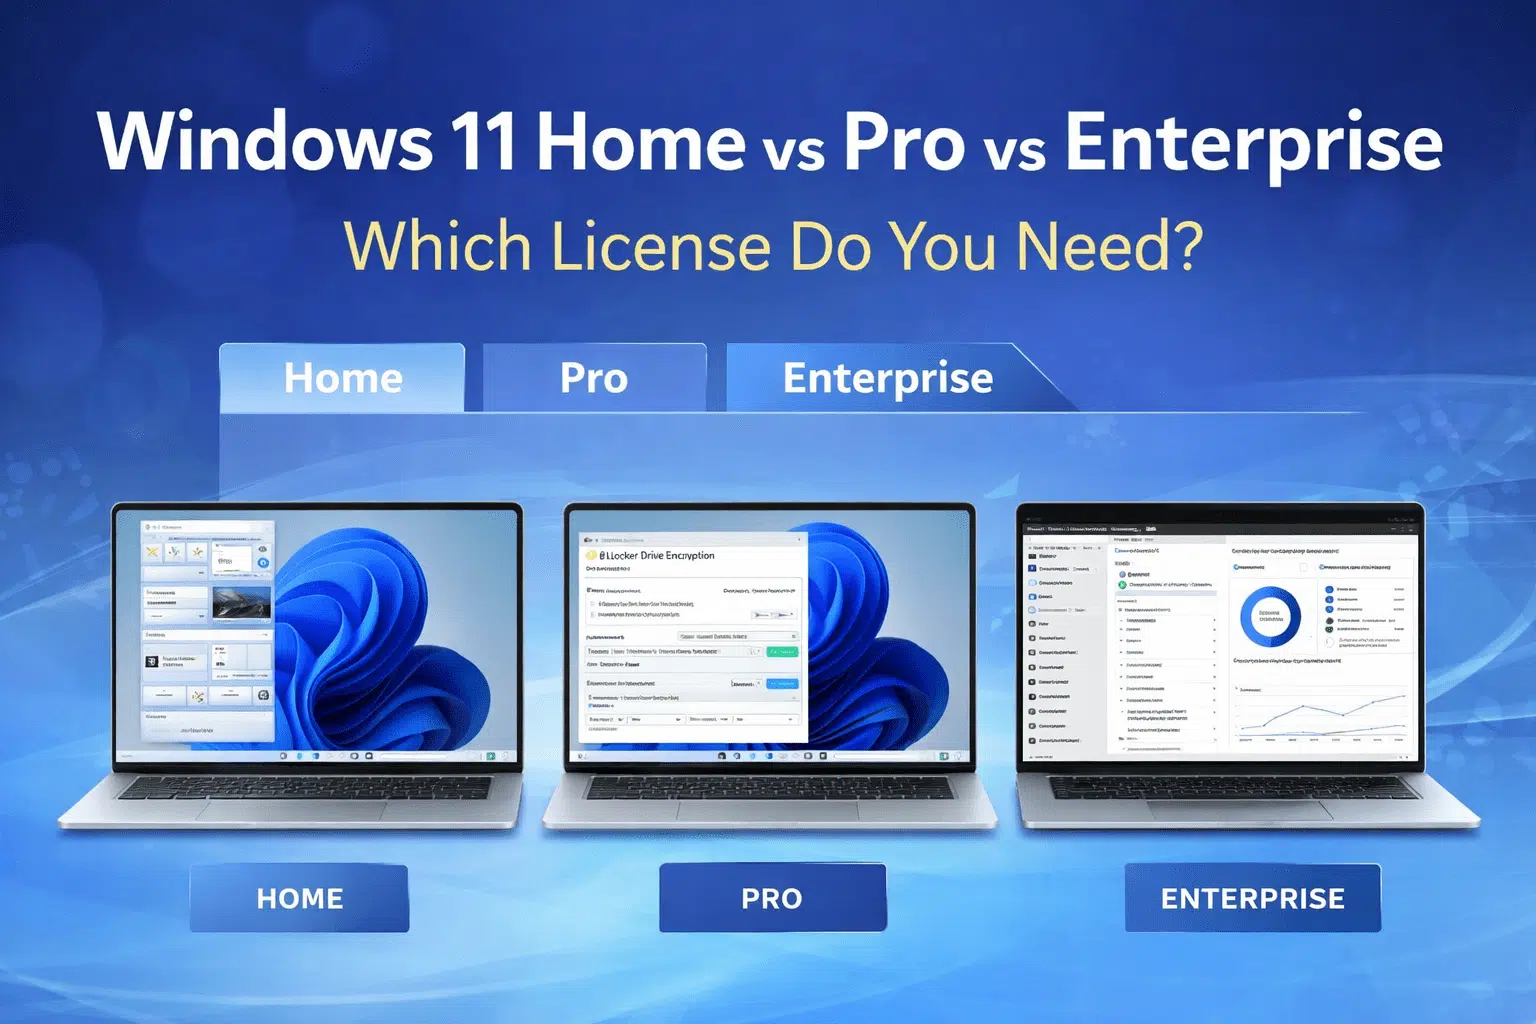
If you use Windows 11 Pro or Enterprise, you can also use the Local Group Policy Editor to control aspects related to login, including certain automatic login behaviors and default domains.
This approach is often used in business environments, where administrators want to centrally define which credentials are used by default, whether to allow skipping the login screen, or how computers connecting to a domain should behave.
- Open the Group Policy Editor: Press Windows + R, type gpedit.msc and press Enter. The "Local Group Policy Editor" module will open if your edition of Windows includes it.
- Go to the login section: In the left panel, navigate through the route:
Computer configuration > Administrative templates > System > Log on
This section groups together several policies that determine the system's behavior at startup. - Review the default domain policy: Some organizations use the directive "Assign a default domain for logging in" This allows users to automatically log into a specific domain. If you want to prevent automatic behavior, you can leave this setting blank or undefined.
- Disable the use of a default domain: Double-click on the policy mentioned and change the status to "Disabled" or "Not configured"This prevents Windows from forcing a login context and can help ensure that the user selection screen is always displayed neutrally.
After closing the Group Policy Editor, it is recommended restart the computer so that the new policies are applied correctly and affect the next login cycle.
Using PowerShell to enable or disable automatic startup
If you prefer the command line or want to automate configuration across multiple computers, you can use PowerShell to modify Registry values related to automatic loginThis is very useful in environments where changes need to be replicated across many machines.
The concept is the same as in the Registry section, but instead of manually editing keys, commands are executed that directly create or modify entries, reducing manual errors when you have experience with the console.
- Open PowerShell as administrator: Search for "PowerShell" in the Start menu, right-click on the result, and select "Run as administrator"Accept the UAC prompt when asked if you want to allow the application to make changes."
- Enable automatic login (if needed): If at any point you wanted to reconfigure automatic startup, you could use a command like:
New-ItemProperty -Path «HKLM:\SOFTWARE\Microsoft\Windows NT\CurrentVersion\Winlogon» -Name «AutoAdminLogon» -Value «1» -PropertyType «String» -Force
This command creates or updates the AutoAdminLogon value to 1, thus enabling automatic login with the configured user data. - Disable automatic startup: To ensure that Windows doesn't automatically log into any account at startup, you can run:
Set-ItemProperty -Path «HKLM:\SOFTWARE\Microsoft\Windows NT\CurrentVersion\Winlogon» -Name «AutoAdminLogon» -Value «0»
With this, the system will stop using automatic administrator login and will again require credentials on the welcome screen.
Once you have executed the commands that correspond to your case, you just have to Restart your PC to verify that the startup behavior is as expected.That is, the login screen appears and you can choose a user without the system automatically putting you into any session.

Relationship between Windows Hello (PIN, face) and automatic startup
In Windows 11, many people use Windows Hello for logging in with PIN, facial recognition, or fingerprintThis method is much more convenient than typing a long password each time, but it can also make it seem like the system is logging into the account "on its own".
When facial recognition is enabled and configured, upon turning on the device, The camera activates automatically and, if it detects you, logs you in without asking for anything else.Although technically there is still a Start screen, it disappears so quickly that it can give the impression that Windows skips that step. If you're concerned about privacy, you can detect if your webcam is being accessed to make sure that nobody is using the camera without permission.
Furthermore, Windows requires that the same face not be linked to two different accounts, which means that You can't use the same face for two completely different profilesIf you have a work account and a personal account, only one of them can have facial recognition associated with it, which usually makes it the "default" for practical purposes.
If your goal is to always have the user selection screen at startup, and prevent an account with facial recognition from starting automatically, this might interest you. Change your primary login method to classic password instead of using the PIN or biometrics in that specific profile.
To do this, you can access Windows 11 settings with Windows + I, go to "Accounts" and then to the "Login options", where all authentication methods and their settings are grouped.
Remove the Windows Hello PIN and switch to a password.
If you want to remove the direct startup behavior caused by Windows Hello, you can Remove the PIN and leave your account password as the primary method.This will prevent the system from logging in immediately, forcing you to interact with the login screen.
- Open Windows settings: Press Windows + I to open the settings panel. Here you can control, among other things, user accounts and their login methods.
- Go to Accounts and Login Options: In the side menu, select "Accounts" and then go to the section "Login options"where you'll see options like PIN, facial recognition, picture password, and the standard password.
- Remove Windows Hello PIN: locate the section "Windows Hello PIN" and go into its settings. From there you can select the option to remove the current PIN. Windows may ask you for your account password to confirm the operation.
- Set password as preferred method: Once the PIN is removed, make sure that the The primary login method is password-based.This way, every time you start the device, it will ask you to enter it on the welcome screen, preventing automatic login with your face or PIN.
After making these adjustments, the system's behavior at startup will be more classic: You will see the login screen, select the account, and enter the password.This makes it easier for multiple users to use the same computer without Windows "skipping" the default configuration or facial recognition settings.
Automatic logout control in the Windows app (Windows 365 and AVD)
In addition to the classic Windows 11 login, Microsoft offers a Windows application used to connect to environments such as Azure Virtual Desktop and Windows 365In this context, there is another feature called automatic login or logout, designed for scenarios where the user logs in from a connection center.
It is important to understand that this Automatic Windows app sign-in is not intended for Windows 365 startup, the Windows 365 switcher, or pinned taskbar connections.Its scope is, above all, the application itself that acts as a client of these cloud services.
The app's automatic logout feature supports several methods to initiate the process, primarily based on Signs of operating system inactivity, manual application closures, or successful connections to remote resourcesAll of this is controlled through specific registration keys.
When an automatic session logout occurs in the app, All credentials, RDP files, and identifiable data are removed from the local computer. related to the Windows application, so that no traces of the session remain on the physical device.
Furthermore, once automatic closure is enabled, when the Windows app is reopened, The user will be directed to the application's login screen., being able to skip the first execution experience (FRE) if it is configured to do so using the corresponding keys.
Registry keys to configure the automatic startup and shutdown of the Windows app
The management of the automatic startup and shutdown behavior of the Windows app is performed through several Registry keys located primarily under HKEY_LOCAL_MACHINE\SOFTWARE\Microsoft\WindowsApp and, in some cases, under HKEY_LOCAL_MACHINE\SOFTWARE\Microsoft\Windows365.
These keys allow you to enable or disable all automatic login behavior, and even determine How often is inactivity checked? or whether the first run experience should be skipped each time the application is restarted.
The parameter that takes precedence over the rest is AutoLogoffEnableWhen enabled, closing the Windows app will also log out all users of that application and reset their data, without affecting active Azure Virtual Desktop or Windows 365 sessions.
If instead of reacting to the closure you want the app to act when a Successful connection to an Azure Virtual Desktop session host or a Windows 365 Cloud PCThe key factor is AutoLogoffOnSuccessfulConnect, which causes the app session to close after the first successful connection.
On the other hand, when what interests you is Log out of the app after a period of inactivityThe AutoLogoffTimeInterval key is used, where the interval in minutes is defined for the application to check for operating system inactivity signals and, if they are met, trigger the shutdown and reset.
Finally, to prevent the user from having to repeat initial setup steps each time an automatic logout is applied, there is a key SkipFRE under HKEY_LOCAL_MACHINE\SOFTWARE\Microsoft\Windows365, whose objective is to omit that first experience of forced execution.
Key values: AutoLogoffEnable, AutoLogoffOnSuccessfulConnect, and AutoLogoffTimeInterval
The key AutoLogoffEnable (AutoLogoffEnable in the Registry) It acts as a master switch for automatic login behavior. It is located in the path HKEY_LOCAL_MACHINE\SOFTWARE\Microsoft\WindowsApp, is of type REG_DWORD, and is called "AutoLogoffEnable".
If its value is 0, all behavior associated with the automatic start and close of the app is completely disabledThis also overrides any values configured in AutoLogoffOnSuccessfulConnect and AutoLogoffTimeInterval if present. If the value is 1, the behavior is enabled.
The key AutoLogoffOnSuccessfulConnect Defines whether the app session closes and data is reset immediately after the user has successfully established a connection to an Azure Virtual Desktop host or a Windows 365 computer. Its value is also REG_DWORD and is interpreted as 0 for disabled and 1 for enabled (provided AutoLogoffEnable is set to 1 or does not exist).
For their part, AutoLogoffTimeInterval This specifies how often the Windows app checks the operating system for signs of inactivity. When the system indicates inactivity equal to or greater than the specified interval, the app's sign-off and data reset process is triggered.
The possible values for AutoLogoffTimeInterval are 0 for disabled and an integer representing the interval in minutes (for example, 5 for 5 minutes)Furthermore, if the user manually closes the application while this behavior is active, automatic login is launched immediately after closing, deleting the relevant data.
As an additional detail, when the Windows app checks for operating system idle signals, if the Windows idle timer is set to a value lower than the app's interval, The application can take up to almost twice the configured time before completing the automatic closure, as it performs staged checks.
Configure SkipFRE to avoid the first run experience
Every time a Automatic login to the Windows appThe next startup tends to force the first run experience (FRE), that initial wizard that guides the user through the basic setup steps.
In many business scenarios this is a hindrance, because it forces the user to repeat the same configuration after each app reset, even when the entire registration and customization process has already been completed.
To prevent this behavior, an additional Registry key called SkipFree, located in HKEY_LOCAL_MACHINE\SOFTWARE\Microsoft\Windows365, with type REG_DWORD and exact name "SkipFRE".
By setting its value to 1. FRE is disabled after automatic loginsThis allows the user to go directly to their resources in the Windows app without seeing the initial wizard again. If left at 0, the first-run experience will remain active.
To set this value using PowerShell, you typically run a script that first verifies the registry path exists, and then creates or modifies the corresponding value. A typical example would be setting AutoLogoffTimeInterval or SkipFRE with a New-ItemProperty pointing to the appropriate key.
Automatic logout configuration scenarios in the Windows app
To better understand the impact of these keys, it is helpful to see specific configuration scenarios that combine different values of AutoLogoffEnable, AutoLogoffOnSuccessfulConnect, AutoLogoffTimeInterval and SkipFRE, and how each one affects user behavior.
In the first scenario, the administrator wants the app to be Close and reset only when the user manually closes the application., while at the same time hiding the initial execution experience using SkipFRE.
With AutoLogoffEnable set to 1 and SkipFRE also set to 1, users log into the app, access their resources directly without going through FRE, and can connect and reconnect to their remote desktops or applications. They remain connected as long as they keep the app open.The moment they close the app, their session closes and the application resets.
In a second scenario, the intention is for the application to log out and reset. only when the user has established a successful connection to a resource, also hiding the FRE. Here, AutoLogoffOnSuccessfulConnect is set to 1 along with SkipFRE.
Under this configuration, users enter the app, go directly to their available resources without FRE, and as soon as they successfully connect to one of them for the first time, The Windows app closes your session and restores your data in the backgroundThe session on the remote resource is not affected.
The third scenario is based on user downtimeThe administrator wants the application to close and reset when the computer has been inactive for at least 5 minutes, also keeping the FRE hidden by setting SkipFRE to 1 and AutoLogoffTimeInterval to 5.
With this combination, users can remain connected to the Windows app as normal, leave the computer unused, and when the system detects 5 minutes or more of inactivity, The app will automatically log them out and clear the application data.Any active session on the remote resource remains running, unless idle policies have been independently configured on that resource.
In the fourth scenario, the configuration mixes two conditions: that the app closes and resets when the user closes the application or when there is a minimum of 10 minutes of inactivityHere, AutoLogoffEnable is set to 1, AutoLogoffTimeInterval to 10, and SkipFRE to 1.
Users launch the app, connect and reconnect to their resources, remain connected as long as they do not exceed the defined inactivity time, and as soon as they manually close the app or 10 minutes of inactivity pass, the app session closes and is reset. Remote sessions remain active unless otherwise defined by the remote environment administrator.
In a fifth scenario, the administrator prefers completely disable the automatic logout feature in the Windows app and allow the first run experience to continue appearing as it comes from the factory, which implies having AutoLogoffEnable (or ActivateAutomaticLogout) at 0 and SkipFRE at 0.
With this approach, the Windows app behaves as if it were installed cleanly: On first startup, users go through FRE Before accessing resources, you can connect, close and reopen the app, leave the device inactive and remain connected without automatic shutdowns or deletion of local data.
Taken together, understanding and adjusting these options—from netplwiz, the Registry, group policies, PowerShell, Windows Hello, and Windows app settings for environments like Windows 365—allows you to to have very fine control over how and when sessions start and end in Windows 11avoiding surprises, improving safety and check if it is vulnerable to pass-the-hashand adapting your PC's behavior to your actual way of working or using it at home.

Index
- 1 Typical problem: Windows 11 always starts in the same account
- 2 How to disable automatic login with netplwiz
- 3 Control automatic login using the Windows Registry
- 4 Advanced management with group policies in Windows 11 Pro and Enterprise
- 5 Using PowerShell to enable or disable automatic startup
- 6 Relationship between Windows Hello (PIN, face) and automatic startup
- 7 Remove the Windows Hello PIN and switch to a password.
- 8 Automatic logout control in the Windows app (Windows 365 and AVD)
- 9 Registry keys to configure the automatic startup and shutdown of the Windows app
- 10 Key values: AutoLogoffEnable, AutoLogoffOnSuccessfulConnect, and AutoLogoffTimeInterval
- 11 Configure SkipFRE to avoid the first run experience
- 12 Automatic logout configuration scenarios in the Windows app

Editor specialized in technology and internet issues with more than ten years of experience in different digital media. I have worked as an editor and content creator for e-commerce, communication, online marketing and advertising companies. I have also written on economics, finance and other sectors websites. My work is also my passion. Now, through my articles in Tecnobits, I try to explore all the news and new opportunities that the world of technology offers us every day to improve our lives.