Transferring Windows 11 settings to a new hard drive is useful when the main unit has run out of spaceIf you don't want to reinstall everything from scratch or prefer to keep your current operating system configuration, transferring or migrating is your best option. How do you do it? We'll explain it step by step.
What do you need to transfer Windows 11 settings to a new hard drive?

After a few years of use, it is normal for your Windows 11 computer to is running out of storage spaceOr maybe you've noticed that your drive is failing and urgently needs replacing. In these cases, you can opt to purchase a new drive and perform a clean install of your operating system, programs, and more.
However, sometimes it's preferable to transfer your Windows 11 settings to a new hard drive without reinstalling. Maybe it's taken you a long time to get the operating system and its settings up and running, and you don't want to start from scratch again. If so, what you need to do is move everything from one drive to another: operating system, installed programs, files, accounts… everything. What do you need to do it?
- An external hard drive (HDD or SSD) with enough storage space to store the backup.
- A new hard drive (HDD or SSD), which will eventually replace the old drive.
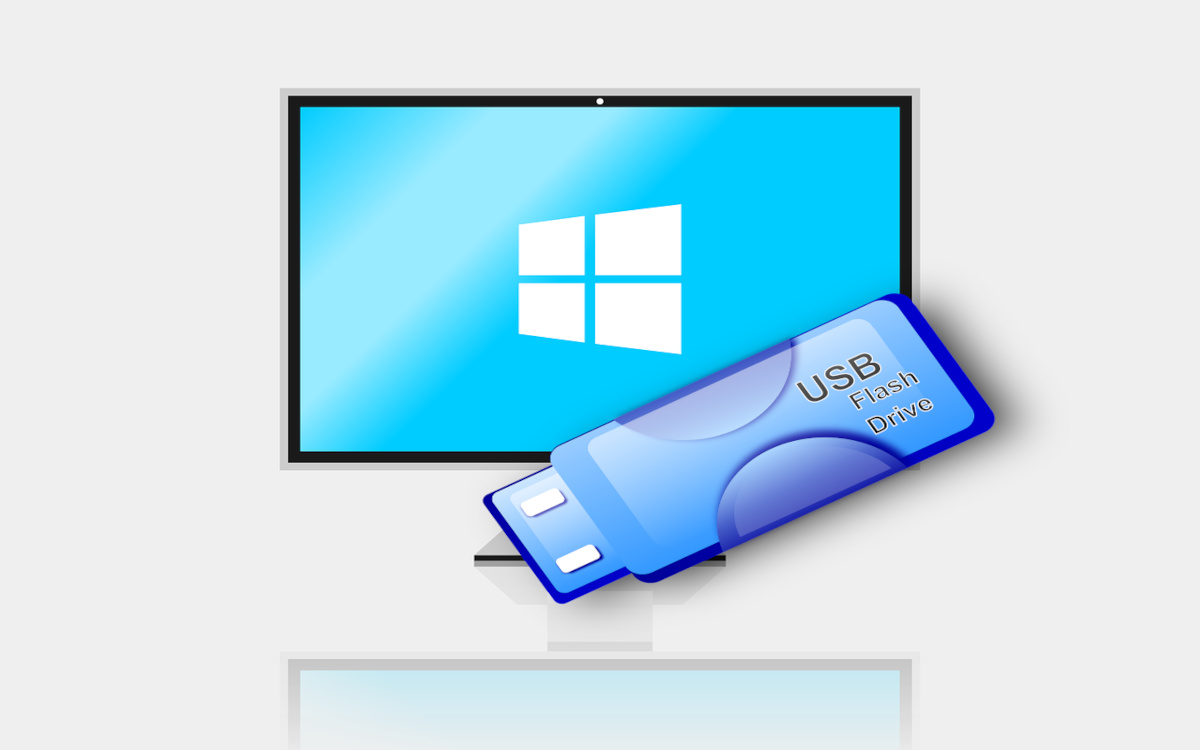
- A bootable USB drive with the Windows 11 image.
- It's a good idea to back up your most important files, such as documents or photos, in case the migration process fails.
- In some cases, you can use migration software, such as Macrium Reflect Free, EaseUS Todo Backup o AOMEI Backupper.
To transfer Windows 11 settings to a new hard drive, you can use two methods. The first is Use the Windows Backup and Restore featureThis way, you create a backup directly on the new hard drive, and then use it to boot your computer from there.
The second solution, and the simplest for most, is using migration softwareThese programs are designed to clone disks quickly and without requiring any special knowledge. Very intuitively, they allow you to make an exact copy of the main drive onto a new disk. Let's take a closer look.
Move Windows 11 to a new disk using Backup and Restore
Let's start by transferring your Windows 11 settings to a new disk using Backup and Restore. This is a native Windows feature, so no need to download or install anythingOf course, you must follow the steps carefully to achieve the desired result. Furthermore, the new hard drive (HDD or SSD) must already be connected to the computer.
Step 1: Backup and Restore
The first step is to back up and restore Windows 11. Let's make sure to include everything we have on the main drive in this copy.: from the operating system to programs and files. The steps to follow are these (you can see the article How to make a full backup of your Windows 11 PC for more details):
- Go to the Control Panel.
- Under System and Security, click Backup and Restore (Windows 7).
- Select the Create a system image option.
- Choose the hard drive you connected to your computer as the destination and click Next.
- Click Next and Start Backup again, and wait for the backup to complete.
Step 2: Create a bootable USB to install Windows 11

As a second step to transfer Windows 11 settings to a new hard drive, you must create a bootable USBWith this tool, we can access the backup and restore it to the new hard drive. You can see the detailed procedure for creating a bootable USB in the entry. How to create a bootable USB to install Windows 11 on any PC.
During the process, a pop-up window will ask you what you want to do. Make sure Select the option “Create installation media for another PC”. Additionally, you'll need to specify the language, Windows edition, and architecture, as well as select the USB flash drive to make bootable.
Step 3: Restore the system image to the new hard drive
Finally, let's transfer Windows 11 settings to a new hard drive by restoring the backup to it. If you haven't already, it's time to install the new hard drive.If it's an HDD or SSD, it will have data and power cables; if it's an NVMe drive, it'll be inside an M.2 slot and screwed to the motherboard.
Once this is done, we connect the bootable USB and the external hard drive where we saved the backup to the computer. Then, We restart the computer and access the BIOS/UEFI to select the bootable USB as the boot drive.. Again, we restart the computer and follow these steps:
- After choosing the language, we select the options Repair your computer – Troubleshoot – System image recovery.
- Next, in Select a system image, we choose the backup we created and click Next.
- Finally, we click Exclude disks to exclude the old disk and leave the new one as the destination disk.
- We click on Accept – Next to start the restoration process.
- When finished, we disconnect the bootable USB and the external hard drive.
- Next, we restart the computer and return to the BIOS/UEFI to configure the new disk as the primary boot drive.
Transfer Windows 11 settings to a new hard drive using migration software

Transferring Windows 11 settings to a new hard drive using a backup can be a bit complex for some users. That's why many prefer to Use migration software to simplify the process. Macrium Reflect, for example, is very effective at cloning disks, and you can try it free for 30 days.
Other options, like EaseUS Todo Backup o AOMEI Backupper They also offer cloning, migration, and backup tools in their free and premium versions. Using these programs makes transferring your Windows 11 settings to a new hard drive much easier. No matter which alternative you use, the most important thing is that you can Start using Windows 11 on your new hard drive as if nothing had happened..
From a young age, I've been fascinated by all things scientific and technological, especially those advancements that make our lives easier and more enjoyable. I love staying up-to-date on the latest news and trends, and sharing my experiences, opinions, and tips about the devices and gadgets I use. This led me to become a web writer a little over five years ago, focusing primarily on Android devices and Windows operating systems. I've learned to explain complex concepts in simple terms so my readers can easily understand them.
