- Always configuring the native resolution and an appropriate scale is essential for Windows 11 to look good on small screens.
- The combination of scaling, contrast themes, visible pointer and magnifying glass allows you to adjust the size and readability without losing usable space.
- With multiple screens, each monitor should have its own optimized resolution and scale to avoid tiny or giant text.
- Accessibility options such as color filters and Narrator complete the visual adjustment for different types of users.

Is there any way to adjust Windows 11 for small screensWhen you switch from a large monitor to a more compact one, everything can look either gigantic or tiny. Icons, taskbars, windows, and text can all become distorted, and if you don't adjust the settings properly, the experience can be quite uncomfortable.
The good news is that Windows offers many options to adjust size and visibility This includes everything from system scaling and resolution to color filters, magnifying glass, contrast settings, and accessibility tools like Narrator. We'll look at it below.
Why does everything look "weird" on a small screen?
When you switch from a 27″ 1440p monitor to a 24″ 1080p monitor, it's normal to notice that the ratio between physical size and resolution changesIn your case, you liked how everything looked smaller on the 24″ 240Hz monitor: icons, taskbar, windows… everything took up less space and gave you a feeling of greater spaciousness and order. When you switch back to another screen or change the settings, it's easy for everything to suddenly seem… too large for the actual monitor size.
This happens because Windows combines two key parameters: the monitor's native resolution (the maximum it allows) and the content scale (The percentage indicates how large text, icons, and application elements will be.) Playing with these two settings is key to getting the interface to look the way you want, especially on small monitors or when using multiple screens simultaneously.
Native resolution: the first setting to check
Before touching anything advanced, the first thing to do is make sure that Windows is using the native screen resolutionOtherwise, the image may appear blurry, distorted, or with nonsensical dimensions. Many people think everything looks strange because they need too much or too little zoom, when in reality the problem is that the system isn't set to the correct resolution.
In Windows 11 (and also in Windows 10, with very similar menus), you can check this in the display settings. The key is that, in the resolution section, the option marked as “(recommended)” should be selectedwhich is usually the maximum resolution supported by your monitor. That's the native resolution, and it's the one the panel is designed to use for optimal performance.
How to check and change the resolution in Windows 11
To ensure the image looks sharp and in proportion, it is key enter the screen settings and adjust the resolution of each monitor, especially if you use a laptop with external screens or a PC with multiple monitors.
On a Windows 11 computer, the general process is very similar to Windows 10, although the window layout changes slightly. You need to go to system settings, select the display section, and within each monitor, locate the section for Screen resolutionThere you will see a drop-down menu with several options:
- You must always choose the resolution marked as recommendedwhich is usually also the highest available.
- On Full HD monitors, it is usually 1920 x 1080; on 1440p screens, 2560 x 1440; and so on.
- If you choose a lower resolution, everything will look bigger, but also blurrier and less defined.
In a common scenario, such as that of a laptop with two external screensIt's perfectly possible for each monitor to have a different resolution: the built-in panel might be 1920 x 1080, an external screen 2560 x 1440, and another 1920 x 1080, for example. In these cases, it's best to go into the settings of each monitor and always leave its native resolution enabled so that the text and images don't lose quality.
Windows scaling: text, icon, and application sizes
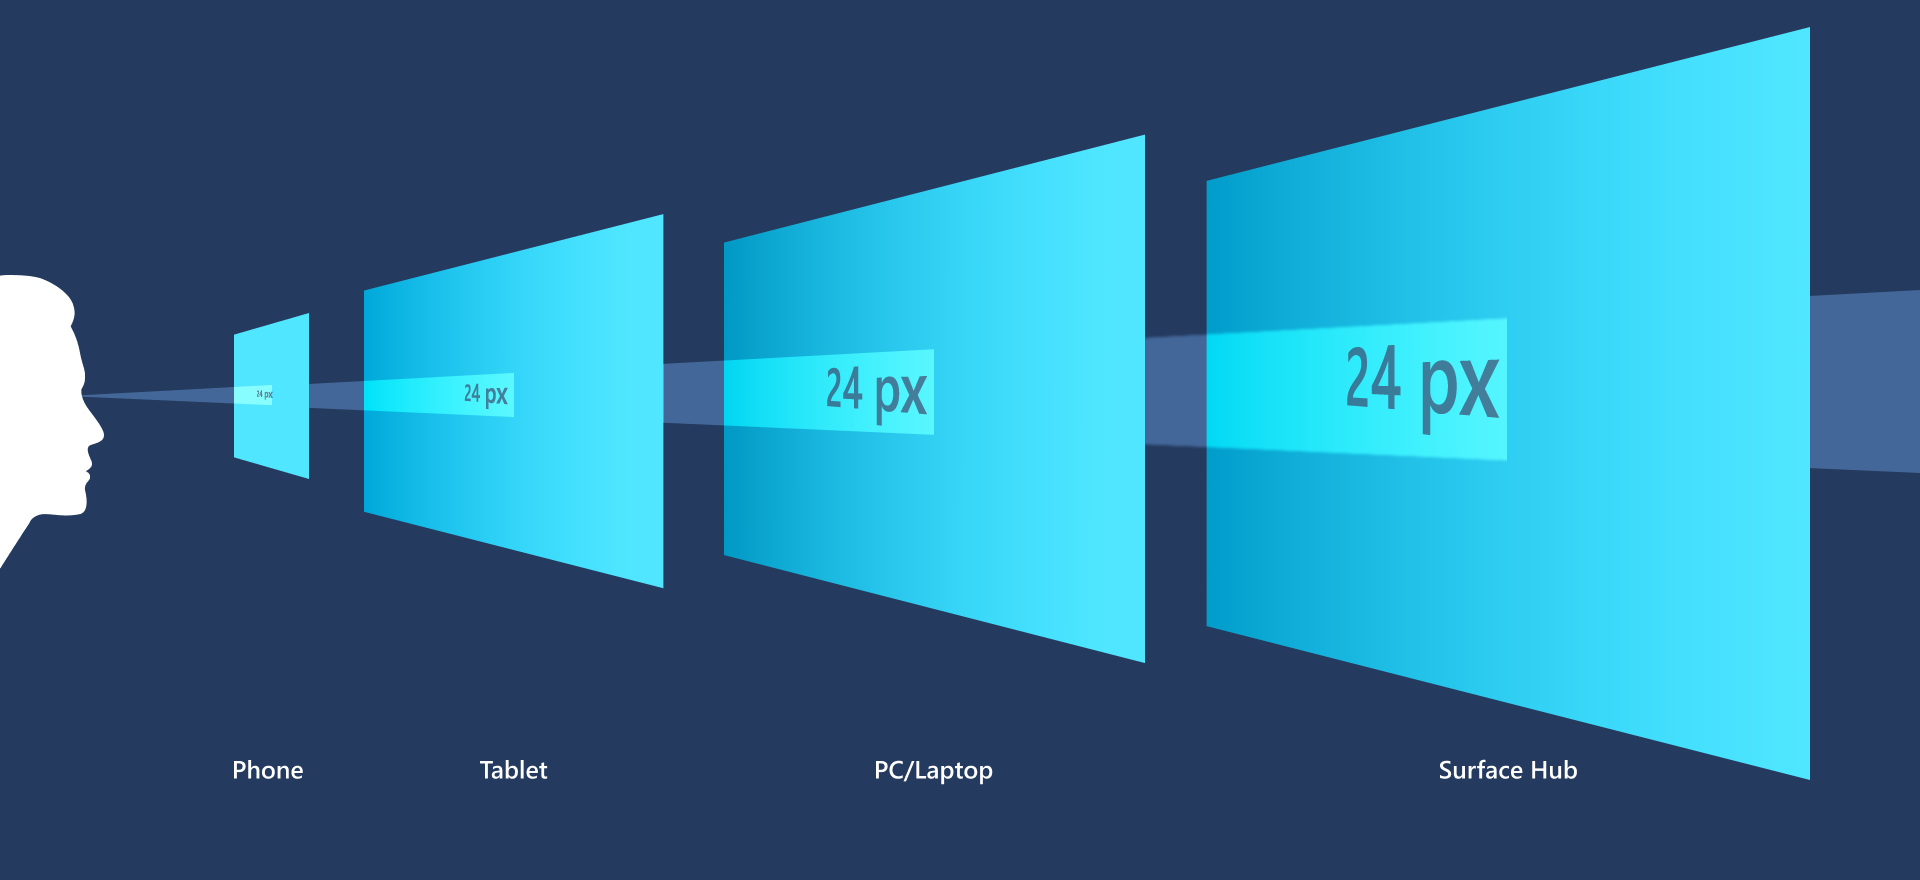
Once you have the resolution correctly set, the next step is to adjust the Windows scalingThis is what actually controls the relative size of everything: text, icons, windows, menu bars, etc. This parameter appears in Windows as "Change the size of text, apps, and other items."
On small, high-resolution screens, Windows usually recommends a scaling higher than 100%, such as 125% or 150%so that nothing looks microscopic. On larger monitors, or when you want everything to look more compact and fit more on screen, you can use 100% or, if the system allows it, even less.
One of the most typical questions when someone gets used to seeing everything small and tidy is whether it's possible use a scale lower than 100%By default, Windows 11 doesn't always display values below 100% in the main scaling menu because it tries to maintain a minimum level of text readability. However, there are cases where, due to advanced settings or certain resolution combinations, the system may allow values like 75% or similar.
Modifying the scale below 100% using unconventional methods (for example, by modifying the system registry) is not something Windows recommends, as you can break the design of some applications or make certain menus too small to use comfortably. However, what you can do safely is adjust the scaling within standard margins and experiment with resolutions and monitor layouts until you find the ideal balance between size and usable space.
Adjusting the scale in Windows 11 step by step
Even if you don't have much experience with system configuration, change Windows scaling It's relatively simple. This is the same idea that was already implemented in Windows 10, so if you're used to it, it won't seem strange. From the main system settings screen, go to the display section and locate the area where it's indicated. Scale and distribution.
In that section you'll find the option "Change the size of text, apps, and other elements". It's usually located in 100%If everything looks too small, you can:
- Try with 125% to gain size without losing too much usable screen space.
- Increase it even more (150% or higher) if you have a very small screen or are far from the monitor.
If, on the other hand, you notice that everything looks enormous and hardly anything fits on the screen, you should first check that the scale is not stuck at 125% or 150% and lower it to 100%This will make icons, text, and windows appear smaller, allowing you to make better use of the available space. In many setups, this adjustment is more than enough to achieve that "everything more compact" effect that's so appealing on relatively small but sharp screens.
Advanced scaling settings
Below the main scaling setting, Windows 11 offers a section of Advanced scaling settingsIt is designed to solve minor sharpness or irregular size problems in certain applications, especially when mixing screens with different resolutions and scales.
Within that advanced setting, you can enable options for Windows try to automatically correct the scaling When it detects that an application appears blurry or disproportionate on a particular monitor, this doesn't change the base scaling value (like 100% or 125%), but it helps smooth out unusual behavior, which is very common when moving windows between screens with different characteristics.
Make the screen more readable with contrast themes
When, in addition to size issues, you have problems distinguishing elements clearly (for example, because there is little contrast between text and background), Windows 11 includes high contrast themes Designed to improve the visibility of the entire system, these themes change the color palette. the shine of the edges and the way buttons and text boxes are highlighted.
To activate a high-contrast theme, you must go to the start menu, enter system settings, and access the section for Accessibility issuesInside, you'll find a contrast section where you can choose from several options, such as "Aquatic," "Desert," "Sunset," or "Night Sky." Simply select the theme you like best and apply the changes to affect the entire interface.
Improve the visibility of the mouse pointer and touch input.
Another important point when everything looks small, or when you use high-resolution monitors, is Don't lose sight of the mouse pointer or the point where you touch the screenWindows 11 allows you to change the color and size of these elements to make them easier to locate.
From the home button, access settings and enter the section for AccessibilityWithin it, you'll find the "Mouse Pointer & Touch Input" section. There you can:
- Increase pointer size to make it look much bigger and more eye-catching.
- Change its color, for example to a bright shade that contrasts well with the background.
- Activate the traces of the pointerso that a trail is visible behind the cursor, making it easier to follow its movement across the screen.
If you use a touchscreen, Windows can also display Visual indicators when you touch the screenIn the same accessibility section, you can enable the touch indicator and, if you want it to be even clearer, select the option that makes the circle darker and larger. This makes the exact spot where you touched much more obvious.
Use the Magnifying Glass to enlarge parts of the screen
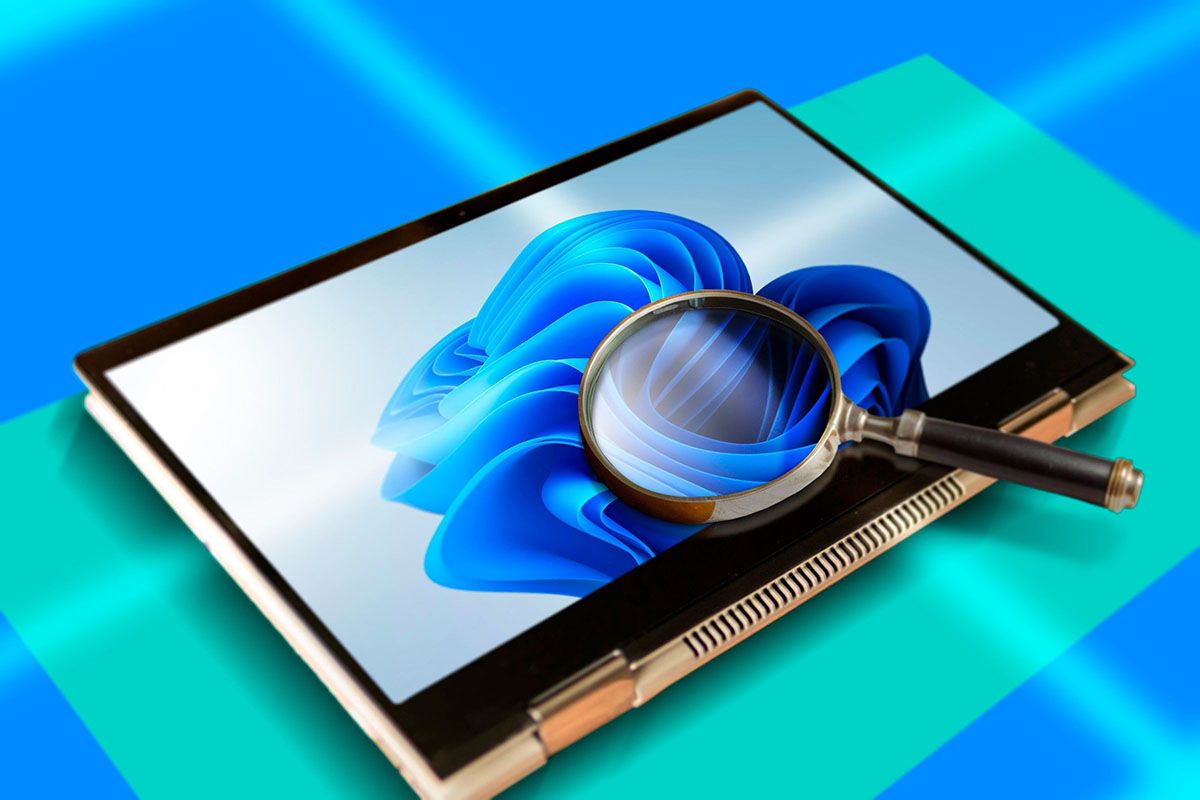
In addition to scaling and resolution, Windows 11 includes a built-in tool called Magnifying glassDesigned to temporarily enlarge all or part of the screen. It's very useful if you normally work at a small scale to have plenty of screen space, but occasionally need to view something larger without changing the overall settings.
The quickest way to open the Magnifying Glass is to use the keyboard shortcut using the Windows logo key combined with the plus sign. Pressing Windows + (+) activates Magnifier and the screen begins to magnify. From there you can continue using:
- Windows + (+) to zoom in further.
- Windows + (-) to move it further away and reduce the magnification.
If you want to quickly switch between your configured magnification level and normal 1x view, you can use the combination Ctrl + Alt + (-)And when you no longer need Magnifier, simply press Windows + Esc to close it. It's a very flexible tool that helps those who have occasional or permanent difficulty reading small text on high-resolution screens.
Apply color filters to better distinguish the elements
Another interesting feature of Windows 11 designed to improve visibility on small or demanding screens is... color filtersThese filters alter the color palette you see on the screen to make it easier to distinguish text, icons, and elements that differ only in color, something especially important for people with color blindness or other color vision problems.
To activate color filters, you have to go to the start menu, open settings, and enter Accessibility > Color filtersInside, you need to move the color filter switch to the "on" position and choose the filter type that best suits your needs. Each filter modifies the image differently, so it's a good idea to try several options until you find the one that makes the screen look clearest to you.
Additionally, you can activate a keyboard shortcut To quickly activate or deactivate filters, from the same color filters page, enable the shortcut option. Once you've done this, you can use the Windows + Ctrl + C combination to instantly turn filters on or off. This is especially useful when you use the screen for various tasks and only need the filter at specific times.
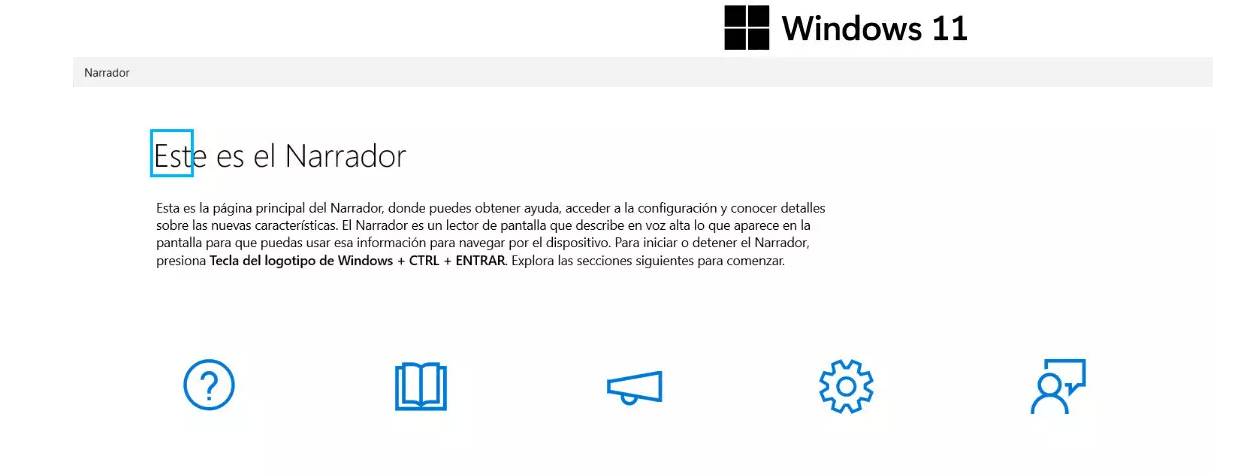
For those with very limited vision or who simply prefer auditory support, Windows 11 includes a built-in tool called NarratorThis is a full screen reader. This function reads aloud what appears on the screen, including text, button names, menus, and other interface elements, allowing you to operate the device without relying so heavily on seeing every detail perfectly.
Narrator can be easily toggled on or off with the keyboard shortcut Windows + Ctrl + Enter. Doing so will start the system to Describe aloud what has been selected It guides you through menus and windows. It's a tool designed for more in-depth use, with a multitude of additional commands, but even in its most basic form it can be a great help on small screens or in setups where reading is difficult.
Combining settings for a comfortable experience on small screens
The key to making Windows 11 comfortable on small screens, laptops with multiple monitors, or high-resolution setups lies in combine all these settings correctly.It's not just about scaling up or down, but about finding a balance between native resolution, text size, contrast, and visual aids.
The best approach is to proceed step by step: first, ensure that each screen is in its correct position. recommended resolutionNext, adjust the scale to a level that allows you to read and work comfortably without straining your eyes. Then, use accessibility options such as contrast themes, a more visible pointer, and Magnifier for specific tasks. If you notice unusual behavior when using multiple monitors, it's also worth checking the advanced scaling settings so that Windows can correct blurry or incorrectly sized elements.
With these settings properly configured, it is possible to enjoy Windows 11 Small icons, a compact taskbar, and windows that take up just the right amount of spaceEven on less powerful monitors, without sacrificing visual comfort. And if you ever need extra help, you have color filters, Narrator, and other built-in tools that allow you to adapt the system to almost any need without resorting to risky tricks or registry modifications.


Index
- 1 Why does everything look "weird" on a small screen?
- 2 Native resolution: the first setting to check
- 3 How to check and change the resolution in Windows 11
- 4 Windows scaling: text, icon, and application sizes
- 5 Adjusting the scale in Windows 11 step by step
- 6 Advanced scaling settings
- 7 Make the screen more readable with contrast themes
- 8 Improve the visibility of the mouse pointer and touch input.
- 9 Use the Magnifying Glass to enlarge parts of the screen
- 10 Apply color filters to better distinguish the elements
- 11 Navigating the PC with Narrator
- 12 Combining settings for a comfortable experience on small screens