- Frigate uses local artificial intelligence to detect objects and people without relying on the cloud.
- The integration requires an MQTT broker to communicate detected events with Home Assistant.
- It is compatible with various hardware, from Raspberry Pi and Google Coral to Docker servers and Synology NAS.
- It allows you to create advanced automations based on the counting of objects detected in real time.

¿How to use Frigate with Home Assistant? If you're into home automation and already have Home Assistant set up, you've probably realized that managing cameras can be a real headache. Many generic systems only alert you that "something has moved," but Frigate changes the rules of the game by integrating artificial intelligence to know exactly if what has entered the garden is a cat, a car or an intruder, sending you precise captures at the moment.
The best part is that it's open-source software that runs locally. Forget about paying monthly subscriptions to dubious cloud services; here You have complete control over your data and the privacy of your home. That said, be prepared to do a little tinkering, because even if you're not an expert programmer, you'll need to tweak some configuration files to get everything running smoothly.

What is Frigate and how does the hardware work?
Basically, Frigate is an NVR (Network Video Recorder) that analyzes video streams in real time. To prevent it from hogging your computer's CPU, it's highly recommended to use a hardware accelerator such as Google Coral USBCoral is a TPU specifically designed for these AI tasks. If you're using a Raspberry Pi 4, for example, Coral is practically essential if you want to run multiple cameras without the system crashing.
Depending on where you install it, the options vary. You can run it on a Docker container on Debian (the most stable option), in a Proxmox virtual machine or even as an add-on within the Home Assistant operating system (HAOS) itself. If you choose NAS devices like Synology or QNAPRemember that you need assign high privileges and adjust the shared memory (shm-size) to avoid bus errors when processing high-resolution images.

Step-by-step installation in Home Assistant

For those using HAOS and wanting a practical solution, the simplest route is through HACS (Home Assistant Community StoreFirst, you need to install HACS if you don't already have it. Then, search for the Frigate integration and download it. This is essential. Restart Home Assistant after installation for the changes to take effect.
One area where many people get a motivational boost is MQTT. Frigate needs an MQTT broker (like Mosquitto) to talk to Home Assistant. You need to install the Mosquitto add-on and then configure it in the Devices and Services section. Make sure create a dedicated user for MQTT, since these credentials will be the ones you put in the Frigate configuration file so that they recognize each other.
Configuring the frigate.yml file
This is where the magic happens, and where the trouble with .yaml or .yml files usually begins. The first thing to do is install a code editor, such as Studio Code Serverto create the file frigate.yamlIn this document, you will define your MQTT broker's IP address and your camera details. For cameras, it's best to use the RTSP stream; typically, the subtype 0 is for recording (high quality) and the subtype 1 for detection (lower resolution to save CPU).

An example of configuration involves defining the width, height, and FPS (between 5 and 10 is usually sufficient). You can also specify which objects you want to track, such as "person", "car" or "dog"If you notice that there are many false positives because a branch or tree is moving, you can draw area masks in the Frigate interface to tell the system to ignore those specific areas.
Final integration and automation
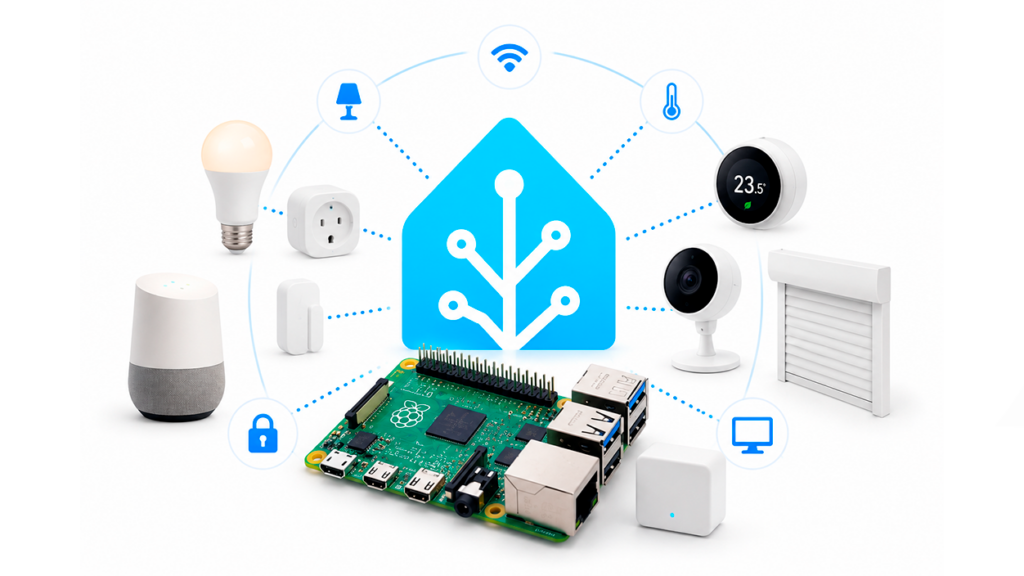
Once the Frigate container is running and the configuration file is correct, go to Settings > Devices and Services In Home Assistant, add the Frigate integration. It will ask for the instance URL (for example, port 5000 for internal access or 8971 if you're using authentication). If everything goes well, all your cameras will appear as entities in Home Assistant.
Now comes the fun part: automations. You can create a rule so that when the people counting sensor is greater than 0The hallway light might turn on, or you might receive an alert on Telegram. For Telegram notifications, you can use a service that sends the snapshot of the event detected and a direct link to the video clip, letting you know what's happening at home without even opening the app. video surveillance application.

Technical considerations and optimization
If you experience connection errors, check that port 5000 is open in your firewall and that the URL is correct. In Docker environments, configuring the shared memory (/dev/shm)The general rule is to calculate the space based on your cameras' resolution to avoid the process stopping abruptly. If you're using specific hardware like Hailo-8 or Rockchip, remember to use the optimized Docker images (with suffixes such as -rk or -synaptics) to take advantage of hardware acceleration.
Having a robust surveillance system involves balancing recording quality with resource consumption. By separating Frigate into its own container or machine, you avoid image processing. affect overall performance of your smart home, allowing lights and sensors to respond instantly while AI analyzes every frame from your IP cameras.


Passionate about technology since he was little. I love being up to date in the sector and, above all, communicating it. That is why I have been dedicated to communication on technology and video game websites for many years. You can find me writing about Android, Windows, MacOS, iOS, Nintendo or any other related topic that comes to mind.