- Hide parts of an image without deleting them.
- Select the mask thumbnail before painting.
- Combine photographs with smooth transitions.
- Save as XCF to preserve the edit.
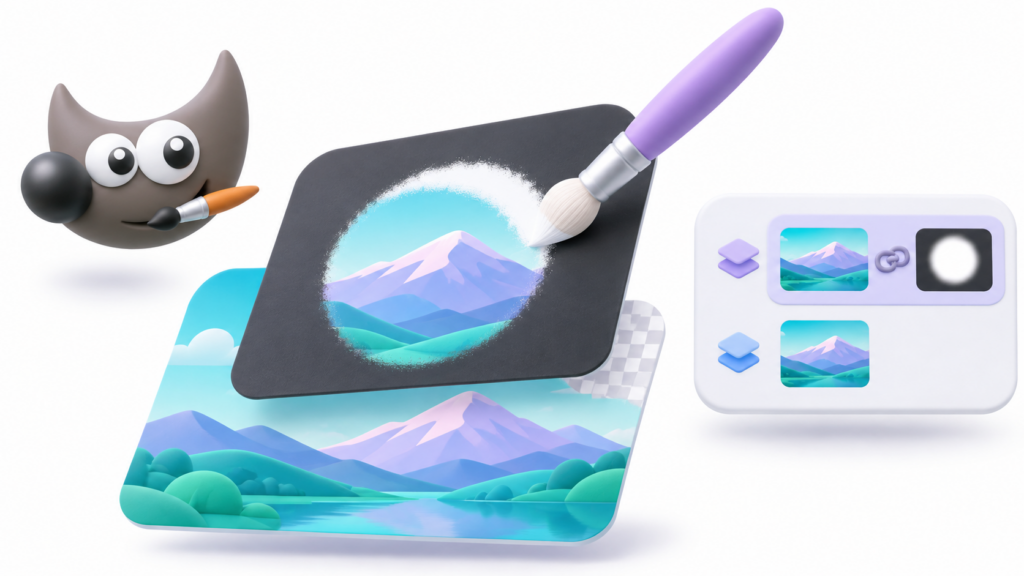
A layer mask in GIMP It allows you to hide parts of an image without deleting them. You can use it to remove a background, combine photos, or limit an effect to a specific area, while still being able to correct the result.
Its operation is based on a simple rule: black hides, white allows you to see, and grays create intermediate transparencies. To begin, the most important thing is to add the mask to the correct layer and check that you are painting over your miniature.
How to create a layer mask in GIMP step by step
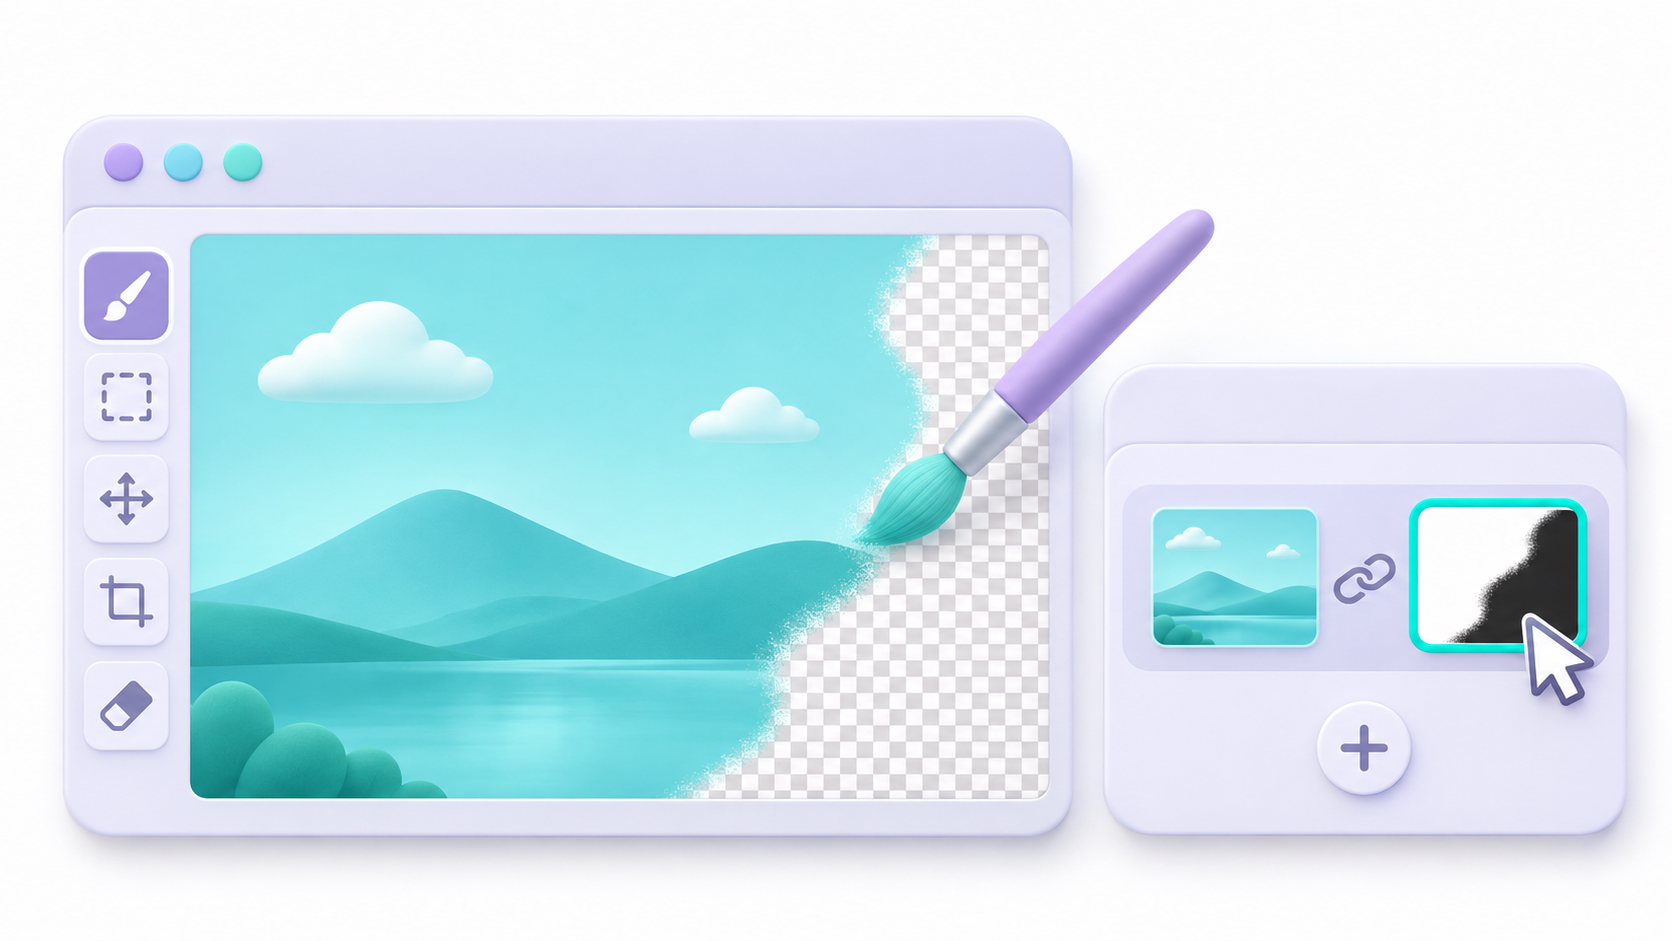
- Open the image and locate the Layers panel.
- Select the layer you want to mask and right-click on it.
- Choose Add layer maskYou can also access it from Layer > MaskThe name may appear in the plural depending on the version.
- Select White (full opacity) and confirms.
- Click on the miniature of the mask, located next to the image thumbnail. A border indicates which one is active.
- Choose the brush and paint with black over an area you want to hide.
If there is no visible layer underneath, the checkered pattern representing transparency will appear. If there is another image underneath, you will begin to see it through the masked area.
What do white, black, and gray do in a mask?
The mask contains grayscale information that controls the visibility of its layer:
- White: It does not add concealment in that area.
- Black: completely hides the corresponding part.
- Grey: allows partial visibility.
Painting with white allows you to recover an area that you had hidden with black, as long as its pixels still exist in the layer. A mask does not reconstruct previously deleted content nor does it cancel other causes of transparency, such as the overall opacity of the layer.
You can adjust the brush size, hardness, and opacity. A soft edge helps blend images, but for sharp outlines, it's best to use a more precise brush and zoom in.
Example: preserving a color object on a black and white photograph
This exercise allows you to practice with two versions of the same photograph:
- Open a color photo and duplicates its layer.
- Leave the original image below and select the top copy.
- Enter Colors > Desaturate > Desaturate to convert the copy to black and white.
- Add a white mask to the top layer.
- Specifically select the thumbnail of that mask.
- Paint with black over the object you want to show in color.
By hiding that part of the desaturated copy, the color of the lower photograph will appear. If you go outside the outline, paint white over the mask to correct it.
Do not convert the entire image to grayscale mode For this exercise: you need to preserve the color of the bottom layer.
Create transitions between images with a gradient
Place two photos on different layers and add a mask to the top one. Activate its thumbnail and select the Gradient tool.
Use a black-to-white gradient and drag it over the image. The white area will keep the top layer visible; the black will reveal the layer below; and the gray areas will smooth the transition.
Start with a linear transition to test the effect. You can reverse its direction if the images appear on the opposite side from where you need them.
Which option to choose when adding a mask
Not all masks have to start out completely white:
- Black: The layer is initially hidden.
- Selection: It converts the current selection into a mask, with the selected areas visible.
- Grayscale copy: It uses the luminosity of the layer itself.
- Alpha channel of the layer: It copies its transparency without modifying the original alpha channel.
- Transfer the alpha channel from the layer: It transfers that transparency to the mask and maintains the initial appearance.
These last two options They are not equivalentCopying the alpha channel can make areas that were already partially transparent even more transparent.
What to check if the mask isn't working
If black brushstrokes appear on the photograph, check that you are not editing the image thumbnail. Activate the mask before continuing and undo any accidental brushstrokes.
If you don't see any changes, also check:
- The mask is enabled: Its effect can be temporarily disabled from the masks menu.
- The layer is visible: A mask will not reveal a hidden layer.
- Active selection: It can limit where you can paint.
- The paintbrush: Check its color, size, and opacity.
To compare the result, use Turn off layer mask and then re-enable it. This allows you to review the layer without removing the mask.
Save the project and decide if you need to apply the mask.
Save a copy in XCF format to preserve the editable layers and masks. Then you can export an image to share; if you need transparency, use a format that supports it, such as PNG.
Apply the mask It incorporates its transparency information into the alpha channel and removes the mask as a separate element. Leave it unapplied if you still want to modify it later.
You can also use Mask selection To reuse its shape: white is selected, black is excluded, and grays produce a partial selection. This command does not delete the mask.

I am a technology enthusiast who has turned his "geek" interests into a profession. I have spent more than 10 years of my life using cutting-edge technology and tinkering with all kinds of programs out of pure curiosity. Now I have specialized in computer technology and video games. This is because for more than 5 years I have been writing for various websites on technology and video games, creating articles that seek to give you the information you need in a language that is understandable to everyone.
If you have any questions, my knowledge ranges from everything related to the Windows operating system as well as Android for mobile phones. And my commitment is to you, I am always willing to spend a few minutes and help you resolve any questions you may have in this internet world.