- Audio problems in OBS are usually due to incorrectly selected devices, locked volume in Windows, or incorrectly configured monitoring.
- Bluetooth headphones switch profiles when using their microphone, which can mute the sound until you adjust the correct device.
- It's key to align sample rate, tracks, and audio drivers, and only as a last resort should you reset or reinstall OBS.
- If you find OBS too complex or unstable for your use, there are simpler alternatives for recording screen and audio.
If you've ever opened OBS ready to record, stream live, or capture the console And if you've found that you can't hear a thing, don't worry: you're not the only one. Audio glitches in OBS are among the most common problemsespecially when you mix Bluetooth headphones, cheap capture cards, multiple sound outputs, and complicated setups.
In this article you will find a very complete guide, in Spanish and with clear language, to understand Why is OBS not detecting or hearing the audio? Whether you're performing live or recording, you'll learn how this relates to Windows, your sound devices, and even unusual profiles like those for Bluetooth headphones. You'll also find specific steps for proper setup, advanced tips and tricks, and what to do if you still can't hear anything.
Main reasons why OBS does not detect or record audio
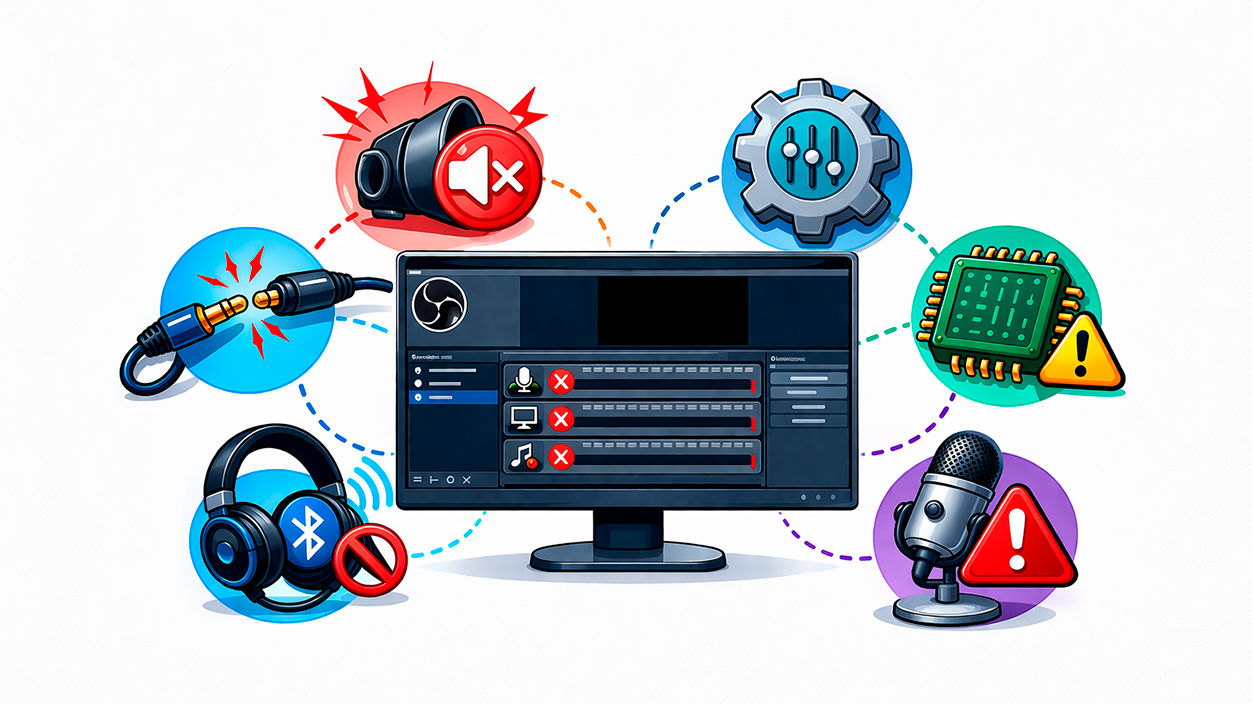
When OBS seems "deaf" or the final video comes out without sound, there are almost always several possible causes: from very simple things to very technical settings. Understanding these reasons will help you It will help diagnose where the fault is. before you start reinstalling programs or formatting your PC unnecessarily.
One of the most frequent mistakes is that OBS is muted in the Windows volume mixerIn Windows 10 and 11, each application has an independent volume control, and sometimes, due to a bug or having accidentally touched something, OBS ends up with the volume at zero or directly muted, even though you can see the bars moving in the program itself.
It is also common for the problem to stem from a poor selection of audio device within OBS or the operating system itself. If the system's audio output is going to a different device than the one you've selected in OBS, the audio bars won't move or the sound won't be recorded even if you hear it through your speakers.
Sometimes, you see the OBS mixer bars in green, but the final file remains silent. This usually happens because of a incorrect monitoring configuration (for example, having it set to "Monitor Only" instead of "Monitor and Output") or due to problems with channel mixing, especially if you work with multi-channel inputs (7.1, large mixing consoles, etc.).
Finally, we must not forget the outdated or corrupted audio driversErrors after a Windows update, or even corrupted configurations within OBS itself that have broken down over time and cause completely erratic behavior. If you suspect the problem comes from the driver, for example on laptops with Realtek chips, check how Install the Realtek audio driver.
The special case of Bluetooth headphones and why everything gets muted when opening OBS
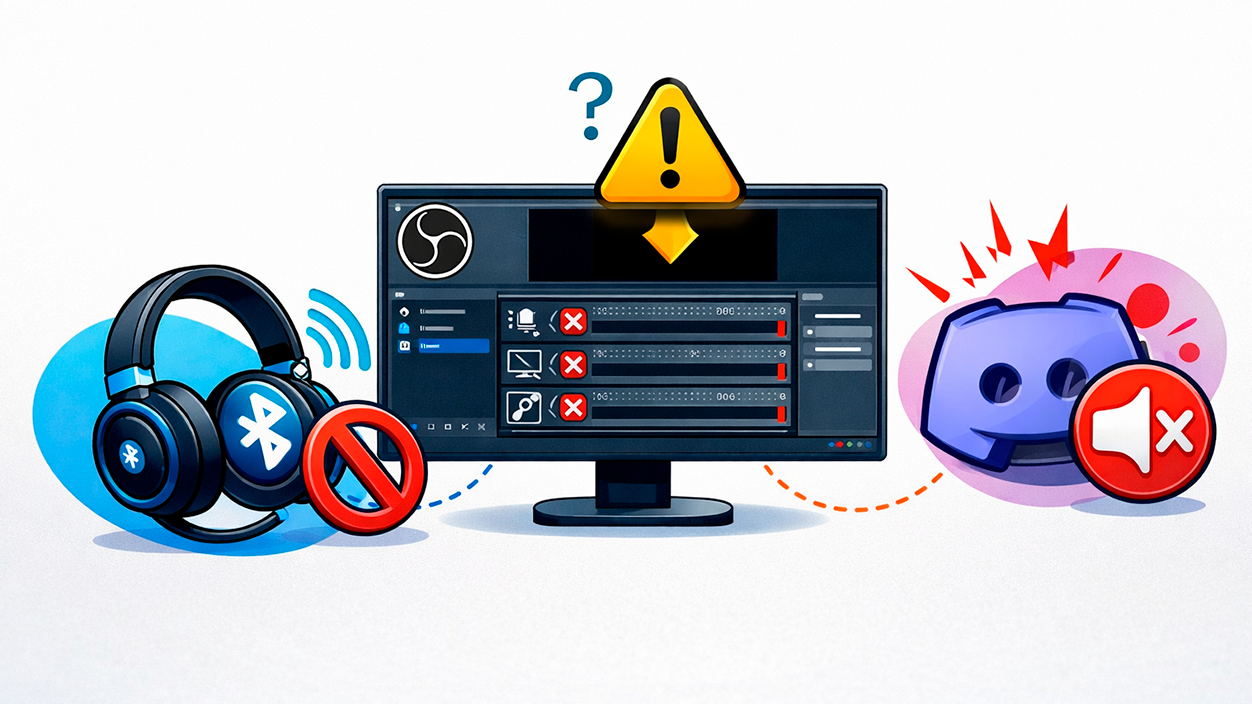
If you use Bluetooth headphones and every time you open OBS your music, game, or system sound cuts out, the problem isn't exactly with OBS, but with the... proprietary design of Bluetooth technology and how it manages audio profiles.
Most Bluetooth headphones operate in two very different modes: one of high-quality stereo audio (A2DP) And another designed for hands-free use or calls, the well-known HFP (Hands-Free Profile). For the system, these two modes are treated as different audio devices, even though they are physically the same headset.
What happens when you select your Bluetooth headset microphone as the audio source in OBS? The device automatically switches to the appropriate profile. HFPBecause that's the one that allows you to use the microphone. The problem is that, at that moment, your PC can continue sending game, music, or desktop audio to the A2DP device, while the headset is already using HFP. Result: You stop hearing everythingAlthough in theory the audio continues to come out... but to the other "virtual device".
The solution lies in avoiding this profile war. You can choose to use wired headphones, which do not suffer from this problem; forgo the integrated Bluetooth microphone and use another micro USB or desktop microphone; or configure Windows to send the sound output to the HFP device when you use the headset microphone, knowing that the audio quality will be noticeably worse.
It's important to keep in mind that the HFP profile significantly sacrifices sound fidelity. It's designed for voice calls, not for enjoying games, music, or videos at the highest quality. Therefore, if live audio is your priority, it's usually a better choice. separate microphone and headphones or use a wired headset that combines both without needing to switch profiles.
Typical problems with the Windows audio mixer and OBS
Many people find that, in the Windows volume mixer, the OBS control appears dimmed, grayed out, or with the odd name (for example, “obs64.exe” instead of “OBS Studio”), and the volume bar is untouchable. This is a clear indication that the system is not handling the application's audio properly.
To check this, the quickest way is to go to the system tray, right-click on the speaker icon, and open the volume mixerThere you should see all the apps that are outputting audio. If OBS appears with the volume at zero, muted, or with the control locked, you'll need to Remove the mute and raise the bar before you start changing settings within the program itself.
In some more complex cases, you can't even modify that volume, and it seems as if Windows has incorrectly "hooked" the OBS process. While it's tempting to perform a series of reinstalls or even consider... format the PCUsually, you don't need to go that far. Closing OBS, restarting your system, updating your drivers, and reinstalling OBS is usually enough to get it displaying correctly in the mixer again with its name and working volume control.
It's important to understand that the Windows mixer acts before the audio reaches OBS. If something is muted or set to zero there, it won't matter what you adjust within the program. The sound won't get throughTherefore, this should be one of the first places to look when you notice that the OBS bars aren't moving at all.
Correct configuration of inputs and monitoring in OBS
Once basic Windows problems have been ruled out, it's time to check how you have your settings configured. audio sources and monitoring within OBS. It's easy to mess things up unintentionally here, especially if you use it for both recording and live streaming, or for monitoring other devices (consoles, cameras, etc.).
The first thing is to make sure you have added your sources correctly: for example, a “Desktop Audio” For general PC sound, an “Audio Input Capture” for your microphone, or an “Audio Device Capture” when it comes to audio coming from an HDMI capture card or USB interface, and learn how to connect an audio sourceIf there is no source, there are no bars to move.
Next, look at the section on Audio mixer Within OBS, if you see the bars light up green when playing sound or speaking into the microphone, it means the program is receiving audio. The next step is to decide what to do with it: just listen to it yourself, or listen to it and send it to the recording and/or live stream.
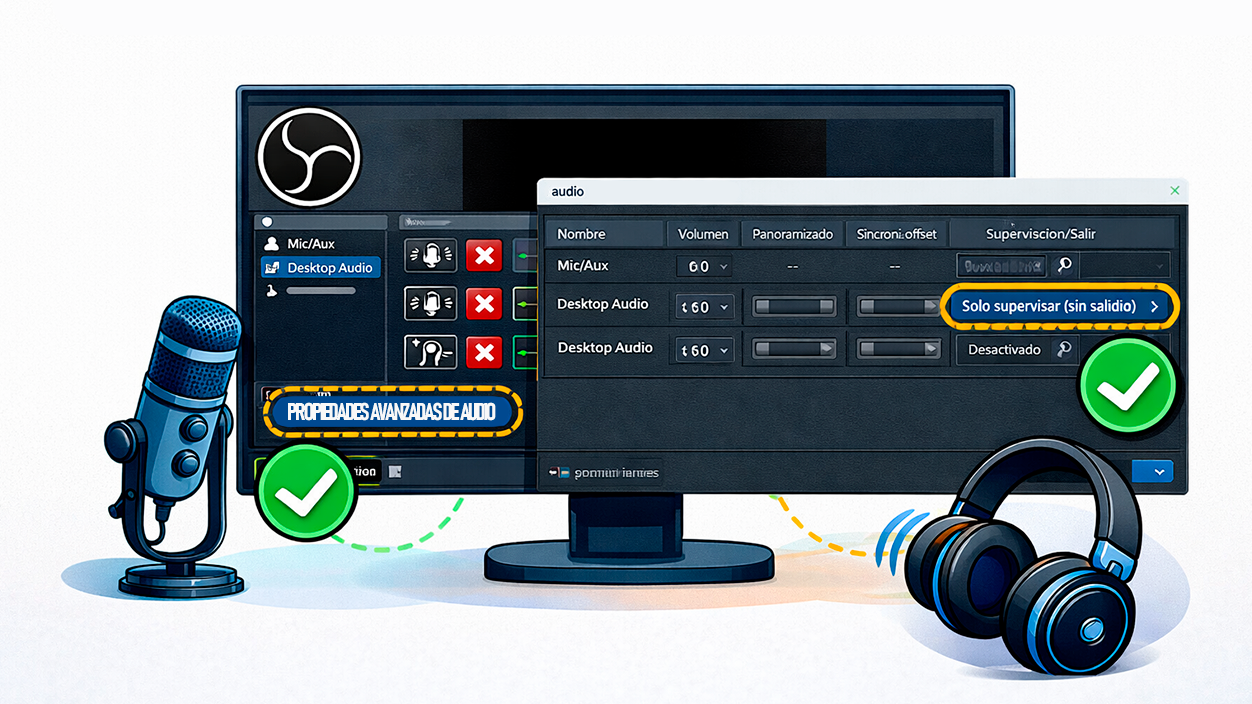
That's what the menu is for. Advanced audio propertiesIf you click on the gear icon next to an audio source and enter that menu, you'll see a column called "Audio Monitoring" with several options: "Monitoring Off," "Monitor Only (Mute Output)," and "Monitor and Output."
If you choose “Monitor only”, you will hear the source in your headphones or speakers, but It will not be included in the recorded file or the stream.This is a very common mistake: everything seems fine because you can hear it, but when you check the video, it's completely silent. To record or send it to the live stream, the option you need to select is “Monitoring and output"
Equally important is telling OBS where you want to hear that monitoring. In the menu of Settings > Audio There's an advanced section where you can choose the "Monitoring Device". There you should select the exact device you want the audio to be played through (for example, your wired headphones), instead of leaving it on "Default" and trusting Windows to do the right thing.
How to extract audio from an HDMI capture card or console using OBS
If you're using OBS as a sort of "player" for content coming from a console (like the Nintendo Switch) or a camera connected via HDMI to a cheap capture card, it's crucial to understand which sources to add and how to configure them. Many users find they see a perfect image, but They don't hear anything..
A good approach is to create a new profile in OBS dedicated, for example, to Capture the console without needing to streamFrom the “Profile” menu you can create a new one and mark that you want it only for recording, so that the program doesn't rack its brains optimizing for live performance when you are simply using it as a video and audio monitor.
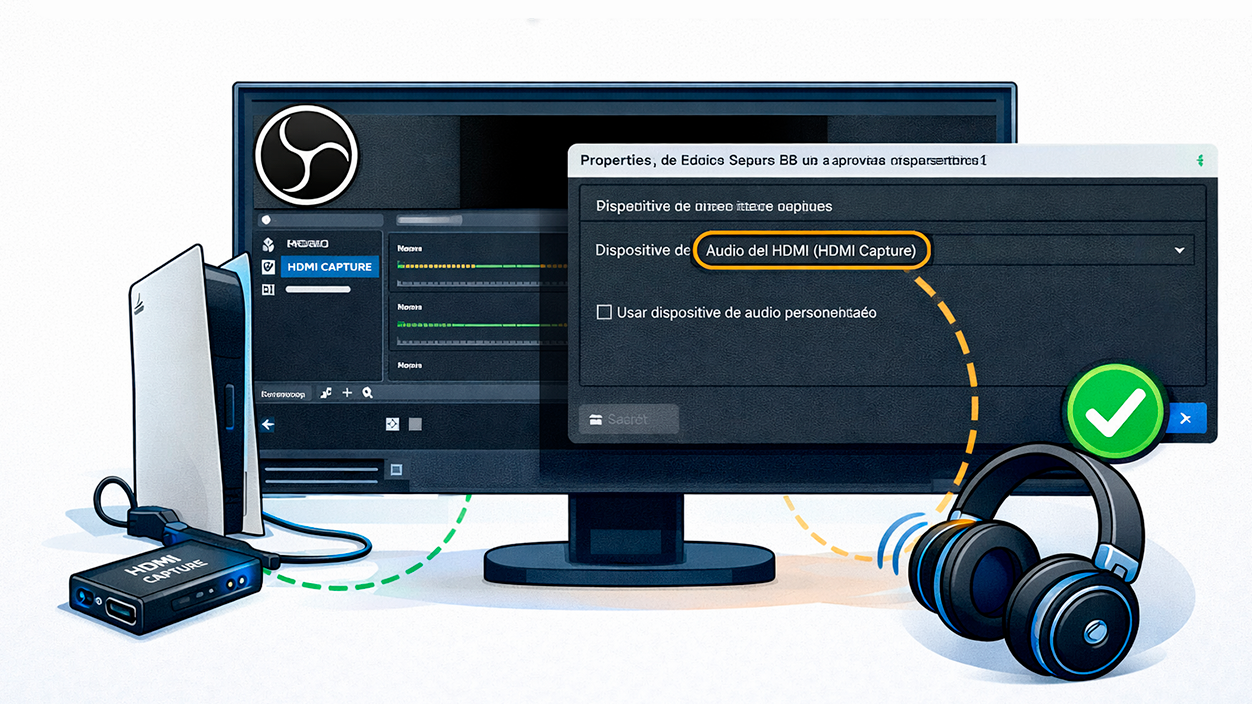
In a typical scene of this type you need to add two sources: on one hand, a “Video capture device”, selecting your USB capture device as the device (for example, the typical HDMI to USB adapter sold in supermarkets or electronics stores); and on the other hand, an audio source, usually "Audio Input Capture" or "Digital Audio Device" depending on how Windows detects it.
On many laptops, the audio coming through the capture card appears with a name like “Digital audio interface (X USB Digital Audio ports)Simply select it, click OK, and check in the OBS audio mixer that the bars move when there's sound from the console or camera. If you work with USB interfaces, it might be helpful to know how eliminate noise from the USB interface.
Then, just like before, you must go to the Advanced audio properties Select that source and set it to "Monitoring and Output." Otherwise, it will only be recorded or only play during the live performance, but you won't hear it in real time. Finally, in Settings > Audio, configure the monitoring output to the device where you want to hear it (laptop speakers, headphones, etc.).
If you do it correctly, you'll notice that when you move the console's joystick or navigate through the menus, You listen to the sound through OBS with a slight delay (in very cheap capture cards it's usually around tenths of a second). That delay in OBS It's normal and shouldn't affect your experience if you're just playing while looking at the OBS window.
Using multichannel interfaces, mixing consoles, and 7.1 channels in OBS
When instead of a simple stereo input you switch to using a large mixing console or a multi-channel audio interfaceThe matter becomes more complicated. OBS is primarily designed to work with up to 8 channels (equivalent to a 7.1 system), and anything beyond that can lead to confusion.
If your interface exposes, for example, 18 channels, OBS will likely only use the first 8 and Ignore superiorsAdditionally, when the program thinks it's receiving a 7.1 signal, it will internally mix it to stereo if you have it configured that way in Settings > Audio, and that mix can leave some channels at lower volumes or even inaudible if you're not using them correctly.
One philosophy that often works well is to configure the mixer or interface to send only data to the computer. two main channels (1-2)These channels should contain the final mix you want for the live performance or recording. The remaining channels on the mixer would be muted to the PC, even if you use them internally for other purposes.
If, for any reason, you need to use higher channels (such as 7-8), you must ensure that the rest remains silentBecause OBS will try to mix everything, and if it receives signals from other channels, they will end up bleeding in or altering the levels. Also, keep in mind that channels 7-8 in a 7.1 system are usually "side" or "surround" channels, so their gain in the mix may be lower than that of the front channels.
A common misconception is that the audio tracks you select in OBS's "Output" section change what comes into the interface. In reality, Those tracks are for the exit.These are treated as groups or submixes, all with the same number of channels defined by the program in Settings > Audio. The mix from surround to stereo (or to the destination configuration) is done right at the beginning, before you can separate anything into different tracks.
That's why those tracks are mostly used for things like alternative languages, descriptive tracks, or post-production mixesnot to control which physical channels of the interface are recorded. Each output track is a distinct stereo (or multi-channel) "container" that carries different combinations of the same internal OBS sources.
Reinstall OBS or restore it to its factory settings
If you've tried checking devices, mixer, monitoring, drivers, and nothing seems to be restoring OBS's voice, it's possible that the program's internal settings have been changed. corrupted over timeInstead of formatting your entire PC, you can start by reinstalling OBS and, if necessary, completely resetting it.
To reinstall it, simply go to Control Panel > Programs and Features, locate OBS Studio in the list, uninstall it, and then Download the latest version from their official website. Reinstalling alone doesn't always erase your settings, so if the problem lies in the configuration, it might still be present.
The most drastic, but also very effective, method is to delete the configuration folder. From OBS, go to File > Show settings folderThis will open the path where the program saves profiles, scenes, and settings. Close OBS completely and delete the contents of that folder (or make a backup first if you have scenes you don't want to lose).
When you reopen OBS, the program will generate a Clean installation, like new.This means you'll have to recreate scenes, fonts, and settings, but in return, you'll avoid potentially impossible mixes of old values, broken plugins, or changes you don't remember making.
This "clean slate" is especially recommended if you've been tinkering with many advanced audio options, added third-party plugins, or imported other people's profiles, and that's when the sound problems started.
Alternatives to OBS when you need something simpler
OBS is a powerful, free, and very flexible tool, but precisely for that reason it can sometimes be too complex or sensitive For certain uses. If your goal is simply to record the screen with audio, capture a video call, or make simple videos without struggling with scenes, tracks, and monitoring, it might make sense to opt for a more straightforward program.
There are screen and audio recorders that offer a simpler and more stable interfaceThese apps offer fewer options but are more focused on the user who wants simplicity. Some allow you to record microphone and system audio on separate tracks, apply AI-powered noise reduction, schedule recordings, capture multiple screens, and export audio separately without requiring a thousand configuration steps.
These types of applications, even though many are paid or freemium, can save you a lot of time if each OBS session becomes an ordeal just to get the audio working. If you find that, despite following all the steps, your workflow is too simple and OBS is too complex for you, Changing tools can be a good idea until you feel more comfortable with something so comprehensive.
Ultimately, what matters is that your videos, live streams, or internal recordings sound good and don't waste entire afternoons figuring out why the microphone isn't working or the desktop is silent. Whether you achieve this by fine-tuning OBS or using a more user-friendly alternative, the key is a solid and repeatable result.
When OBS doesn't detect audio, it's almost always a combination of Wrong device, incorrectly adjusted volumes, conflicting Bluetooth profiles, incorrectly configured monitoring, or problematic driversCarefully reviewing each layer (Windows, devices, mixer, monitoring, output tracks, and ultimately, the program's own settings) usually restores the sound to your recordings without resorting to extreme measures. Once you have a stable and tested configuration, it's best not to change it too much so that every time you open OBS, everything sounds as it should.

I am a technology enthusiast who has turned his "geek" interests into a profession. I have spent more than 10 years of my life using cutting-edge technology and tinkering with all kinds of programs out of pure curiosity. Now I have specialized in computer technology and video games. This is because for more than 5 years I have been writing for various websites on technology and video games, creating articles that seek to give you the information you need in a language that is understandable to everyone.
If you have any questions, my knowledge ranges from everything related to the Windows operating system as well as Android for mobile phones. And my commitment is to you, I am always willing to spend a few minutes and help you resolve any questions you may have in this internet world.