- Minimum technical requirements of 4 vCPUs and 10 GB of RAM to ensure system stability.
- Flexible deployment via automated scripts or manual configuration of Docker Compose with 9 services.
- Importance of managing RAM volumes and limits to maintain persistence and performance.

Onyx is an open-source artificial intelligence platform designed to connect language models with documents, applications, and knowledge bases. It can be used as a team chat, enterprise search engine, RAG system, and workspace with agents and tools.
The platform can be contracted as a managed service, but it can also be deployed on your own infrastructure. In the latter case, Docker Compose is one of the most accessible methods, since it allows you to run the interface, the API, the databases, the indexing processes and the rest of the components without manually installing all their dependencies.
In this guide we'll see how to install Onyx with Docker, what the differences are between Lite and Standard modes, how to manage containers, and what steps you should take before publishing the instance on the internet.
What is Onyx and what services can it connect?

Onyx is an enterprise chat and search platform that allows users to query information from documents and applications using artificial intelligence models. It can connect with commercial providers and with models hosted on its own infrastructure.
Its main functions include:
- Chat with models from different providers.
- Agents and tools capable of performing actions.
- Connectors to synchronize knowledge sources.
- Hybrid search using keywords and vectors.
- RAG responses based on documents.
- In-depth research and web search.
- Integration with tools through actions and MCP.
- File upload and organization by projects.
- User administration and authentication systems.
Onyx doesn't necessarily include the generative model you'll be using. After installing it, you'll need to configure a provider such as OpenAI, Anthropic, Gemini, Ollama, LiteLLM, or vLLM.
Onyx Lite or Standard: Which version to install
The current installer allows you to choose between two modes. The decision is important because each one deploys a different architecture and set of functions.
| Feature | Onyx Lite | Onyx Standard |
|---|---|---|
| Chat with models | Yeah | Yeah |
| Agents and tools | Yeah | Yeah |
| File Upload | Yeah | Yeah |
| Projects | Yeah | Yeah |
| Connectors with external sources | No | Yeah |
| RAG Indexing and Search | No | Yeah |
| OpenSearch | No | Yeah |
| Redis | No | Yeah |
| Model servers for indexing | No | Yeah |
| Background processes | Integrated into the API | Independent containers |
| Recommended use | Testing, chat, and small teams | RAG, connectors and organizations |
Onyx Lite It's the best option for testing the platform, using its chat features, or working on a server with limited resources. It stores files, cache, and sessions in PostgreSQL and doesn't run the full search infrastructure.
Onyx Standard It's designed to use connectors, synchronize documentation, and build an enterprise search system. It requires considerably more memory and storage because it adds OpenSearch, Redis, background processes, object storage, and servers used during indexing.
Requirements for installing Onyx with Docker
Onyx can run on Linux, macOS, or Windows using Docker. For a production server, it's usually preferable to use an up-to-date Linux distribution.
The official requirements depend on the selected mode:
| Mode | minimum CPU | minimum RAM | minimum disk space | Preferred configuration |
|---|---|---|---|---|
| Onyx Lite | 2 vCPU | 2 GB | 10 GB | 4 vCPUs, 4 GB of RAM and 50 GB |
| Onyx Standard | 4 vCPU | 10 GB | 32 GB plus the space for indexed data | 8 vCPUs or more and 16 GB of RAM or more |
In Standard mode, the documentation recommends estimating the approximate size of the indexed documents and adding a generous margin. Actual resource consumption depends on the amount of content, embeddings, concurrency, and OpenSearch configuration.
Before you begin, you will need:
- An account with permissions to manage the server.
- Docker Engine and the Docker Compose plugin.
- Internet connection required to download images and models.
- Use Git if you're going to do a manual installation.
- Python and
uvif you want to install Onyx CLI directly. - A domain and access to its DNS settings if you will be publishing the application.
Check Docker and Compose using:
docker --version
docker compose version
On Linux, you also need to verify that your user can run Docker or use sudo when necessary.
How to install Onyx with the recommended installer
The currently recommended method is to use the guided installer included in Onyx CLIThis checks the computer's resources, allows you to choose between Lite and Standard, downloads the images, starts the containers, and waits until all services are available.
If you already have it installed uv, run:
uv tool install onyx-cli
onyx-cli deploy install
The assistant will ask you:
- Which mode do you want to install: Lite or Standard?
- Which version of Onyx do you want to deploy?
- What configuration should the environment use?
In a new installation, the deployment files are stored within:
~/.config/onyxThis directory contains the configuration used to manage the stack. Do not confuse it with onyx_dataThis is a folder created by previous versions of the installer. Onyx CLI can detect and adopt these older deployments, but it is no longer the default path for a new installation.
How to install Onyx with the official script
You can also use the command published on the official page:
curl -fsSL https://onyx.app/install_onyx.sh | bashThis script is a wrapper for the Onyx CLI installer. Therefore, it produces the same type of guided deployment and should no longer be described as a standalone system.
Before directly running any script downloaded from the Internet, you can save it and review its contents:
curl -fsSLo install_onyx.sh https://onyx.app/install_onyx.sh
less install_onyx.sh
bash install_onyx.sh
The installer checks the environment, installs Docker on compatible Linux systems when necessary, and waits until the containers are healthy.
When it finishes, it will display the address from which you can access it. In a local installation without a domain, it is usually:
http://localhost:3000If Onyx is running on another server on the network, it replaces localhost by the corresponding IP address. Do not expose the port publicly without configuring authentication and HTTPS.
How to manually install Onyx using Docker Compose

Manual installation is useful if you want to directly review Compose files or integrate Onyx into your own deployment pipeline. However, it requires you to manage updates and configuration changes yourself.
First, clone the official repository:
git clone --depth 1 https://github.com/onyx-dot-app/onyx.git
cd onyx/deployment/docker_compose
To start the Standard deployment with the published images:
docker compose up -dIf you want to compile the images from the source code:
docker compose up -d --build --force-recreateCompiling from code consumes more time and resources. For a standard installation, it's preferable to use the official images that have already been released.
After starting the containers, Onyx needs to complete its preparation process. Check its status with:
docker compose psTo track the records:
docker compose logs -fWhen all services are ready, open:
http://localhost:3000How to manually deploy Onyx Lite
Onyx Lite is activated via an additional Compose file that disables unnecessary services:
docker compose \
  -f docker-compose.yml \
  -f docker-compose.onyx-lite.yml \
  up -d
This mode only starts essential services:
api_server, which also manages background work.web_server, corresponding to the interface.relational_db, based on PostgreSQL.nginx, which acts as a reverse proxy.
Lite does not include connectors, OpenSearch, or RAG search on synchronized sources. You can upload files and use projects, but it does not replace the Standard deployment when you need to index documentation from external applications.
What services does Onyx Standard use?
The exact architecture may change between versions, so it's not advisable to copy an old Compose file or manually fix images of PostgreSQL, Redis, or other components.
In general terms, Onyx Standard includes:
- An API server with the main logic.
- A web interface.
- PostgreSQL as a relational database.
- Background processes for connectors and indexing.
- Redis for caching and sessions.
- OpenSearch for vector and keyword search.
- Model servers used during indexing and retrieval.
- Object storage using MinIO or a compatible backend.
- Nginx as a reverse proxy.
Always use the files included with the version of Onyx you are installing. Changing database versions individually can cause incompatibilities or failed migrations.
How to complete the initial setup
The first person to register on a new installation becomes the administrator. Therefore, you must complete this step before allowing others to access the server.
After logging in:
- Create a strong password for the administrator account.
- Enter the administration panel.
- Configure a language model provider.
- Add the corresponding credentials.
- Select a default model.
- Conduct a test conversation.
- If you are using Standard, create a connector and check the indexing.
Onyx can work with commercial services and its own servers such as Ollama, vLLM, or LiteLLM. Onyx's own hosting doesn't automatically mean the model is also local: if you configure OpenAI, Anthropic, or Gemini, the necessary requests will be sent to that provider.
How to manage Onyx using the CLI
One advantage of the current installer is that it provides specific commands to manage the entire deployment lifecycle:
onyx-cli deploy status
onyx-cli deploy logs
onyx-cli deploy stop
onyx-cli deploy upgrade
Its main functions are:
statusCheck the status of the services.logs: displays the deployment logs.stop: stops the containers without uninstalling them.upgrade: updates the managed installation.uninstall: eliminates deployment.
Don't run uninstall To resolve a temporary error. Before any deletion, check which data and volumes will be retained and perform a separate backup.
How to update a manual installation
If you manage Docker Compose files directly, review the release notes for the new version before updating. Then, download the changes from the repository and the corresponding images.
From the deployment directory, the usual process includes:
git pull
docker compose pull
docker compose up -d
Do not automatically deploy a new version in production without testing it. Some updates may include database migrations, changes to environment variables, or modifications to services.
For an installation created using Onyx CLI, preferably use:
onyx-cli deploy upgradePersistence and backups

Docker Compose uses volumes to preserve the database, indexes, files, and other data after recreating containers. However, A persistent volume is not the same as a backup..
Before updating or modifying the deployment:
- Make a copy of the saved settings in
~/.config/onyx. - Back up PostgreSQL using a tool compatible with the installed version.
- It preserves backend data from files or object storage.
- Store the environment variables and secrets needed to recover the service.
- Periodically check that the backups can be restored.
- Store at least one copy off the main server.
Some connected sources can be re-indexed, but the database contains users, settings, conversations, and other data that should not be considered recoverable without a backup.
How to set up a domain and HTTPS
If Onyx will be accessible from the internet, configure a domain whose DNS record points to the server's public IP address. Then set the variable:
WEB_DOMAIN=onyx.ejemplo.comThe repository includes a script to obtain a Let's Encrypt certificate in Docker deployments:
./init-letsencrypt.shBefore running it, check the environment files and verify that the domain resolves correctly to the server. Ports 80 and 443 must also be available.
Do not directly publish a production instance using an address like http://IP:3000Without HTTPS, credentials and data may be exposed during transit.
How to protect Onyx before publishing it
Authentication via email and password is enabled by default. The first registered account receives administrative privileges.
For an installation used by a team:
- Register the administrator account immediately.
- Use a unique and strong password.
- Restrict access using the firewall.
- Enable HTTPS before allowing external connections.
- Configure OAuth, OIDC, or SAML when appropriate.
- Limit the allowed email domains.
- Deactivate the open log when it is no longer needed.
- Protect the keys of model and connector suppliers.
- Update Onyx, Docker, and the operating system.
- Review the permissions for MCP agents, actions, and tools.
Current versions allow you to configure some security settings from the administration panel. In enterprise environments, some advanced features such as RBAC, permission synchronization, or additional secret encryption may require the Enterprise edition.
How to monitor storage consumption
In Standard mode, OpenSearch stores the indexes used for searching. If the disk reaches a critical usage threshold—95% by default—OpenSearch may mark the indexes as read-only and stop writing.
Check the available space periodically:
df -h
docker system df
You can also check the size of the volumes and delete Docker images that are no longer in use:
docker image pruneThis command removes lingering images, but you should always review what will be removed. Do not use aggressive Docker cleanup commands on a production server without first checking the affected containers, images, and volumes.
Can Onyx be installed from Plesk?

Plesk allows you to create and manage individual containers, but Onyx is a stack composed of various services, networks, dependencies, and volumes. Rebuilding it container by container from the Plesk interface is error-prone and makes updates difficult.
If your server uses Plesk, it is preferable to:
- Access the server using SSH.
- Verify that Docker and Docker Compose are available.
- Install Onyx using Onyx CLI or the official Compose files.
- Use Plesk only for domain, DNS or proxy if you know how to properly integrate both systems.
Before using this combination, check that the server provider allows Docker management and that the ports, networks, and resources do not conflict with other services managed by Plesk.
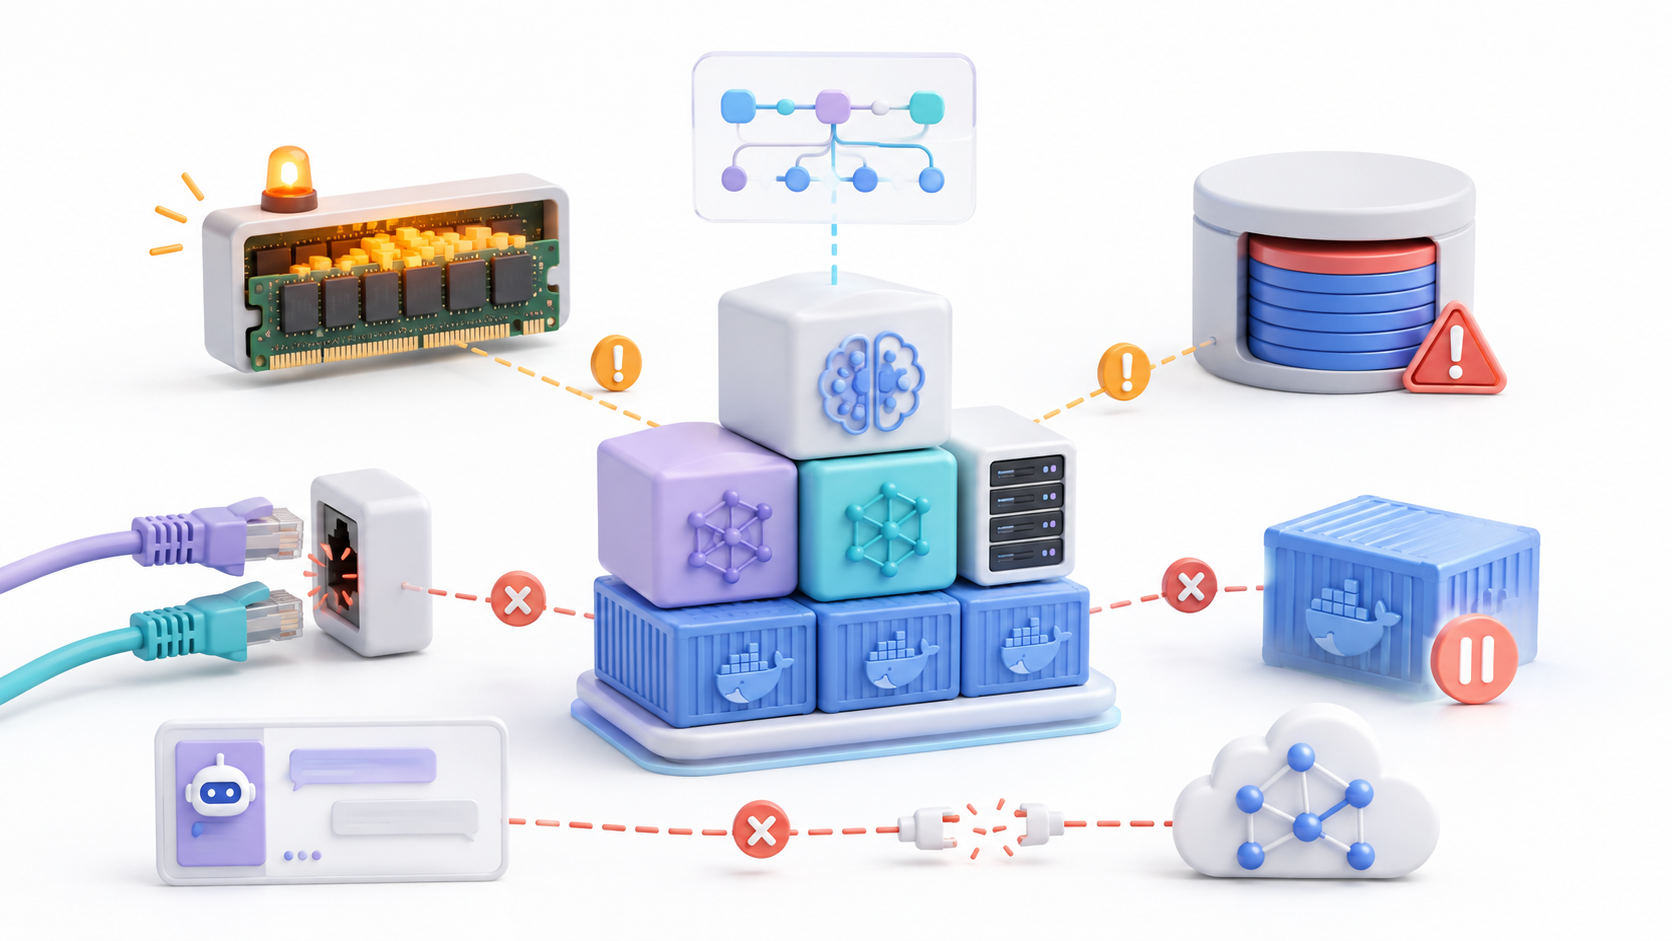
Common mistakes when installing Onyx with Docker
The containers are not yet available
Check the status and records:
onyx-cli deploy status
onyx-cli deploy logs
For a manual installation, use:
docker compose ps
docker compose logs --tail=200
The most common causes are insufficient memory, lack of space, Docker permissions, or a dependent service that has not finished starting.
Port 3000 is already occupied
Check which process is using the port or modify the mapping in the Compose configuration. Don't just change a container's port without checking the proxy and the variables that depend on it.
Onyx Lite does not show connectors
This is not a mistake. Lite disables connectors, OpenSearch, and RAG search to reduce resource usage. Use Standard if you want to sync external sources.
OpenSearch stops accepting writes
Check the available space. If the disk has reached the critical threshold, first free up or expand storage. Then, review the OpenSearch documentation before removing the read-only lock.
The interface opens, but the chat is unresponsive.
Verify that you have configured a valid provider and model from the admin panel. Also check your balance, API key, and connectivity with the provider.
The server runs out of memory
Double-check that you've selected the correct mode. For a small server, use Lite. Standard requires at least 10 GB of RAM and may need considerably more as the number of indexed documents increases.
An update leaves services incompatible
Review the release notes, migrations, and environment files. If you used the guided installer, manage the upgrade using the Onyx CLI instead of mixing it with manual commands.
Installing Onyx with Docker allows you to deploy an AI environment connected to an organization's documents and applications. For testing chat and agents, Onyx Lite offers a simple, low-power architecture. To index external sources and use RAG search, you must choose the Standard deployment and allocate sufficient resources.
The easiest way to maintain the installation is to use the Onyx CLI, which manages the installation, logs, status, and updates. In production, you should also configure authentication, HTTPS, backups, and storage monitoring.
Index
- 1 What is Onyx and what services can it connect?
- 2 Onyx Lite or Standard: Which version to install
- 3 Requirements for installing Onyx with Docker
- 4 How to install Onyx with the recommended installer
- 5 How to install Onyx with the official script
- 6 How to manually install Onyx using Docker Compose
- 7 How to manually deploy Onyx Lite
- 8 What services does Onyx Standard use?
- 9 How to complete the initial setup
- 10 How to manage Onyx using the CLI
- 11 How to update a manual installation
- 12 Persistence and backups
- 13 How to set up a domain and HTTPS
- 14 How to protect Onyx before publishing it
- 15 How to monitor storage consumption
- 16 Can Onyx be installed from Plesk?
- 17 Common mistakes when installing Onyx with Docker
