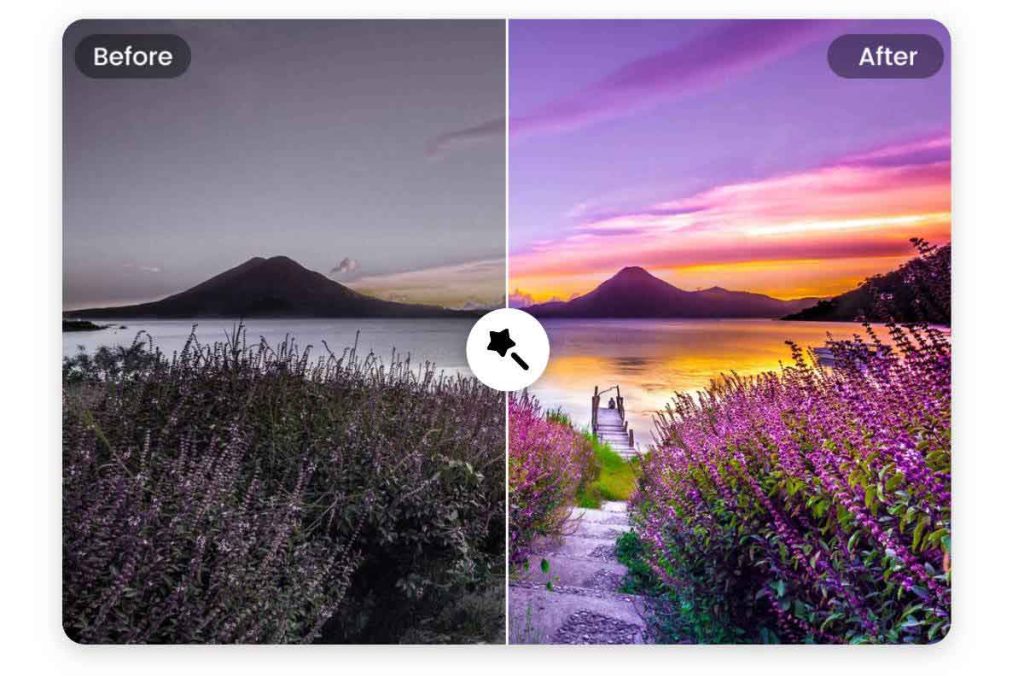
Level and contrast adjustment
The first step in remastering an image is to adjust the levels and contrast. This involves regulating highlights, shadows and midtones to achieve a balanced exposure. Using tools like Levels or Curves in editing programs like Adobe Photoshop, you will be able enhance details and improve image depth. Play with the controls until you get a visually attractive and natural result.
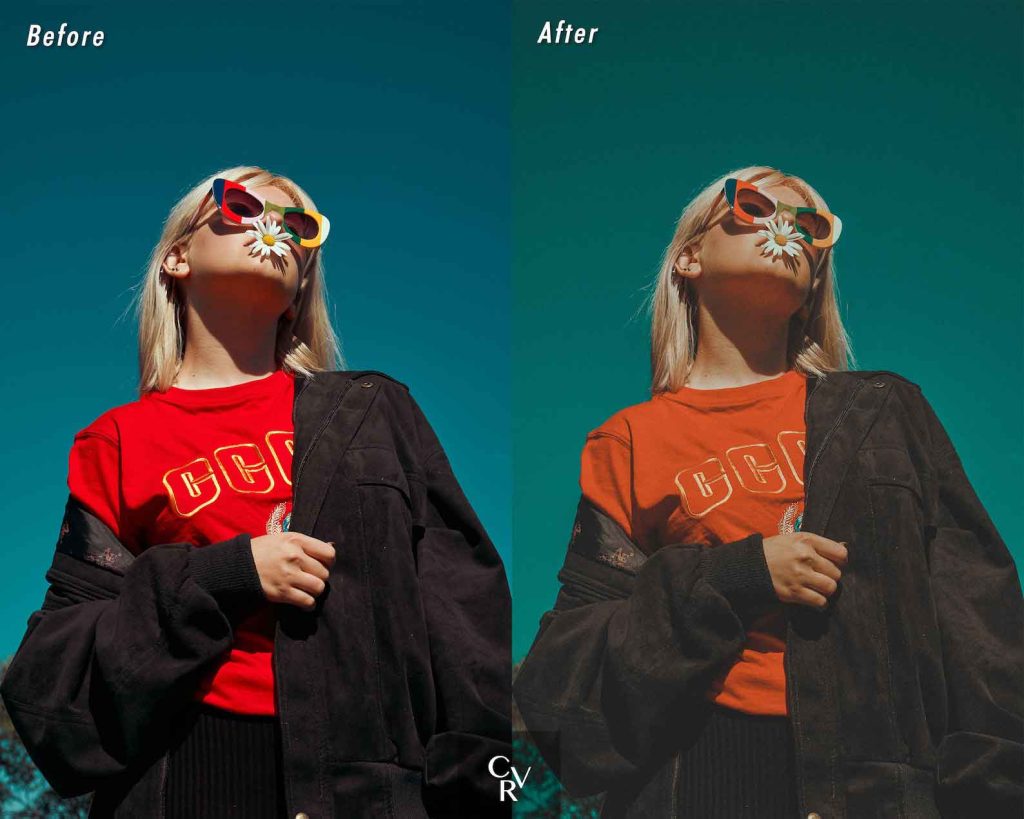
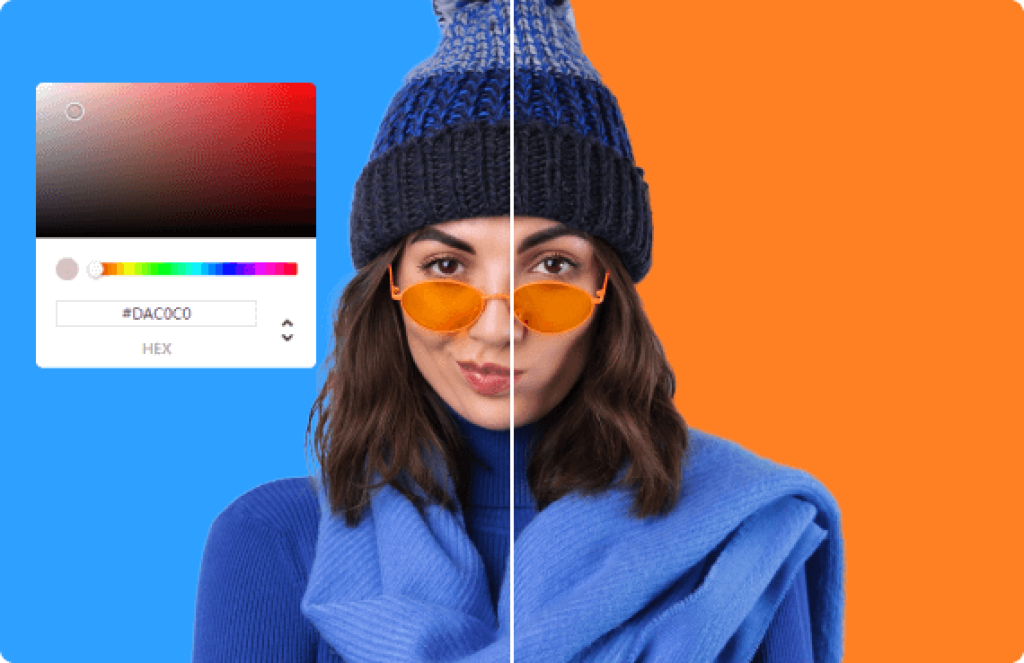
Color correction and white balance
Another crucial aspect when remastering an image is correct color and adjust white balance. This involves eliminating unwanted color casts and achieving a faithful representation of the tones. Use tools like the Color Picker or Hue/Saturation Adjustment to fine-tune the colors and obtain a more vibrant and realistic image. Pay special attention to skin tones and key elements of the image to ensure they look natural and attractive.
Noise and artifact removal
Images that are old or captured in poor condition often have noise and artifacts that can be distracting and affect quality. To effectively remaster an image, it is essential to remove these unwanted elements. Use noise reduction filters and cloning or spot correction tools to smooth textures, eliminate stains and correct imperfections. Work meticulously on specific areas to achieve a clean, professional result.
Enhanced details and sharpness
For a remastered image to stand out, it is essential enhance details and improve sharpness. Use techniques such as high pass focus or smart focus to highlight edges, improve clarity and add depth. However, be careful not to overdo it, as too much sharpening can create an artificial look. Look for a balance that highlights details without compromising the naturalness of the image.
Selective adjustments and layer masks
An advanced technique for remastering an image is to use Selective adjustments and layer masks. This allows you to apply specific modifications to specific areas of the image without affecting the rest. Can highlight certain elements, correct disparate exposures or apply creative effects in a controlled manner. Layer masks give you precise control and allow you to work non-destructively, being able to adjust or revert changes at any time.
Manual retouching and restoration
In some cases, remastering an image requires a retouching and meticulous manual restoration. This involves using tools such as the Healing Brush, Patch, or Clone Stamp to correct imperfections, remove unwanted elements or reconstruct damaged areas. Manual retouching requires patience and skill, but it can make a difference in the final quality of the remastered image. Spend time refining the details and make sure your corrections integrate seamlessly with the rest of the image.
Final revisions and export
Once you have applied all the remastering techniques, it is time to perform the final adjustments and export the image. Check color consistency, contrast and sharpness across the entire image. Make any subtle adjustments necessary to achieve a cohesive and harmonious result. When exporting the image, choose the appropriate format and quality according to the intended use, whether for printing, displaying on screen or sharing online. Be sure to keep a copy of the original image and save the remastered file in high resolution to preserve quality.
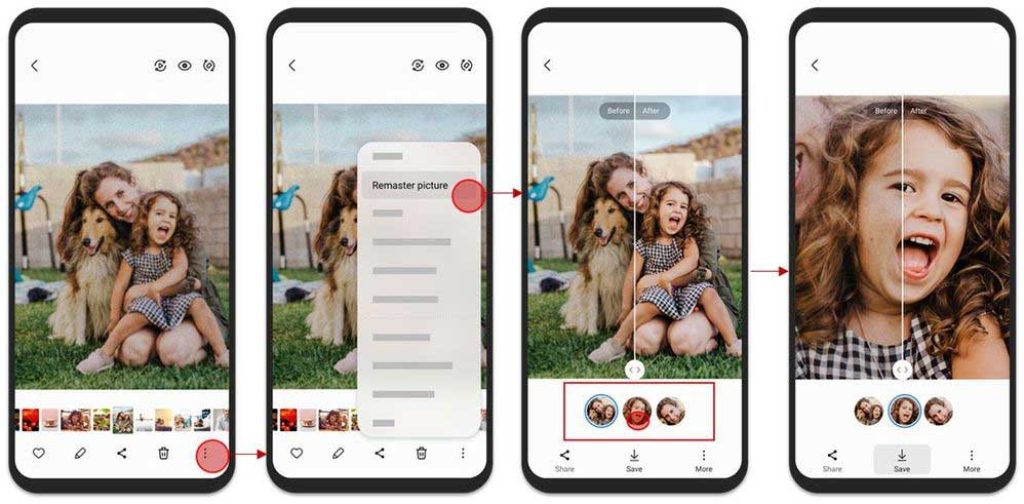
Mobile applications to improve photo quality
In addition to Professional Editing programs, there are numerous mobile applications that allow you improve the quality of your photos quickly and easily. These apps offer a wide range of tools and filters to enhance your images right from your smartphone. Here are some of the best free apps to improve the quality of your photos:
| Application | Description |
|---|---|
| Snapseed | Developed by Google, Snapseed is a powerful editing app with advanced tools and creative filters. |
| VSCO | Known for its film filters, VSCO offers minimalist and elegant editing to give your photos a professional touch. |
| Adobe Photoshop Express | The mobile version of the famous editing software, with basic but effective tools to improve your images. |
| Afterlight | With an intuitive interface, Afterlight combines editing settings with aesthetic filters to transform your photos. |
| Foodie | Specially designed for food photos, Foodie features specific filters and settings to highlight your dishes. |
These apps give you the opportunity to experiment with different styles and improve the quality of your photos right from your mobile device. Whether you're looking for quick editing or more detailed touch-ups, these apps are a great option for those times when you don't have access to a desktop editing program.
Remastering an image requires skill, patience and an attentive eye for detail. With the right techniques and consistent practice, you can transform old or damaged images into stunning works of art. Check out your editing software's advanced tools and features, such as Adobe Lightroom o Affinity Photo, and experiment with different approaches until you find your unique style. Image remastering is an art that combines technique and creativity, and with practice, you can achieve truly amazing results.
I am Sebastián Vidal, a computer engineer passionate about technology and DIY. Furthermore, I am the creator of tecnobits.com, where I share tutorials to make technology more accessible and understandable for everyone.