- Configure the boot sector using the etfsboot.com file to ensure the ISO is bootable.
- Integration of additional software via the $OEM$ folder and silent installation scripts in the response file.
- Use of third-party tools such as ImgBurn and Rufus for creation and subsequent recording on physical media.
How to create a bootable Windows ISO image from extracted files? If you've found yourself in the situation of having Windows installation files scattered around your hard drive or on a USB drive and now need to convert them into a bootable image, this could be the solution. an ISO image that is actually bootableYou've come to the right place. It's not an easy task for just anyone, since simply compressing the files isn't enough; you also have to configure the boot sector so that the computer recognizes the media as a valid operating system when it's turned on.
In this sense, there are several routes depending on what you are looking for: from using free and powerful tools From using tools like ImgBurn to leveraging native Microsoft features or even automating the installation of additional software through custom scripts, we'll break down step-by-step how to transform these files into a professional and functional deployment tool.
How to create a bootable ISO with ImgBurn
ImgBurn is arguably the Swiss Army knife for these situations. To begin, after installing the program, we must choose the option to create image from files or foldersThis is where we select the root folder where we have the Windows files and define where we want the resulting .iso file to be saved.
The trick to making the ISO not just a simple data container, but an executable file, lies in the tab of bootable disk (Bootable Disc)It is essential to check the box to make the image bootable, configure the emulation type to "None (Custom)," and, very importantly, enter the value 8 in the sector load field. To complete the process, we must look in the boot folder for the file called etfsboot.com and select it as the boot image. Once this is done, simply click the build button and wait for the process to finish.
Quick alternatives and official tools

If you prefer something more direct, Microsoft offers the Media Creation ToolAlthough it's more closed, it allows you to generate an official ISO file by downloading the files directly from the company's servers, thus avoiding data corruption. On the other hand, there are programs like Infrared recorderwhich are ideal if you want to clone an existing physical disc to easily convert it to a digital format.
For those who already have a bootable USB drive and want to do the reverse, that is, extract that information to an ISOImgBurn is king once again. Simply select the USB drive as the source, specify the destination, and the software will take care of packaging all the contents of the USB drive into a single image file.
Advanced customization: Injecting applications into the ISO
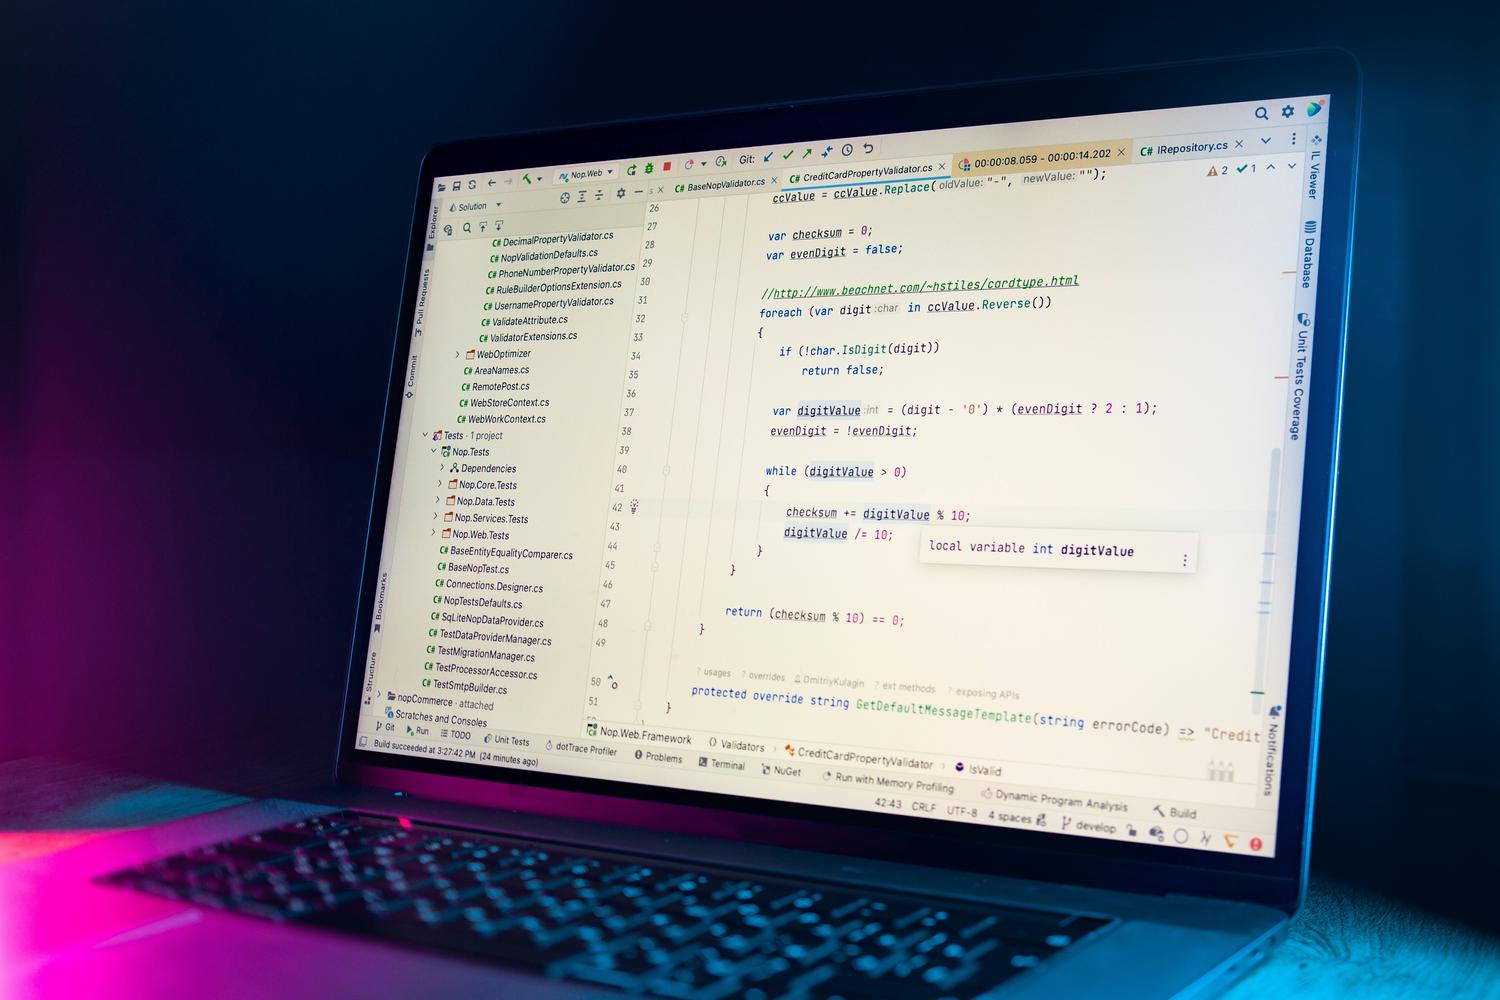
Sometimes simply installing Windows isn't enough; we want the system to come with our favorite programs already installed. To achieve this, we can create a folder called Apps within the ISO file structure (for example, in C:\ISO_Files). There we place all the .exe or .msi installers that we need.
For this to happen automatically, you need to edit the response file. unattend.xmlby adding commands to the FirstLogonCommands section that execute a script. This script, usually called install_apps.cmd, is saved in the path $OEM$\$1\Setup\ScriptsIt should contain silent installation instructions (using the /silent command) so that the user does not have to click "Next" a hundred times during deployment.
From ISO to USB: Recording Tools

Once we have our perfect ISO, the next step is to transfer it to a USB drive. This is where tools like Rufuswhich is the most recommended for its balance between power and simplicity. If you need something more versatile, Yumi It allows you to create multiboot drives, that is, to put several ISOs on a single USB drive and choose which one to boot when you turn on the PC.
Other interesting options are Etcher, much loved for being cross-platform (it works on Mac, Linux and Windows), or Win32 Disk Imagerwhich is extremely lightweight. It is vital to remember that, before recording, we must choose the appropriate file system: FAT32 for full compatibility with older BIOS, or NTFS if we handle files that exceed 4GB.
Mastering ISO image creation allows you to do everything from creating exact system backups to deploying automated installations across multiple machines. Whether you manually configure the boot sector with specialized software, use official Microsoft tools, or inject scripts to automatically install software, the goal is always to obtain a reliable installation medium that saves time and avoids manual errors during the deployment process. Now you know how to create a bootable Windows ISO image from extracted files.

Passionate about technology since he was little. I love being up to date in the sector and, above all, communicating it. That is why I have been dedicated to communication on technology and video game websites for many years. You can find me writing about Android, Windows, MacOS, iOS, Nintendo or any other related topic that comes to mind.