- Fan Control's automatic detection process allows you to assign custom names to each fan based on its physical location.
- Creating ventilation curves based on specific CPU and GPU sensors optimizes system temperature and noise.
- Software compatibility may be affected by other thermal management programs, requiring adjustments at Windows startup.
- There are manual control and monitoring alternatives both in Linux environments and on specialized hardware using Arduino.
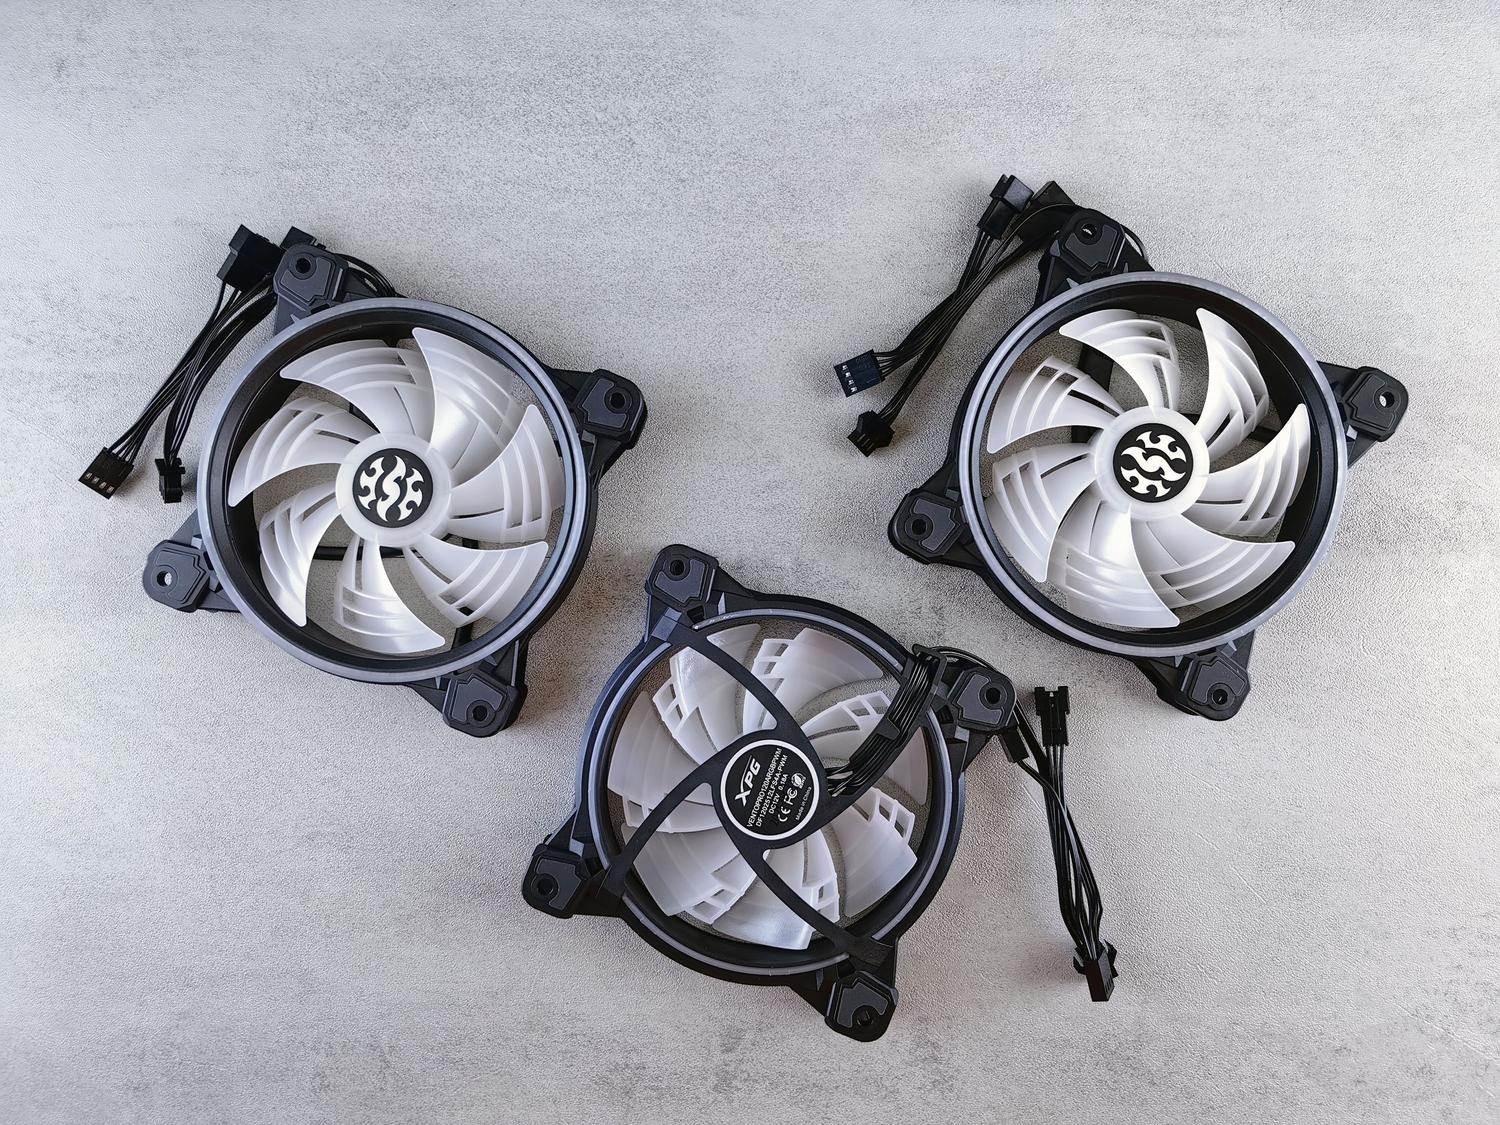
How do you identify which fan corresponds to each sensor in Fan Control? I'm sure it's happened to you: you install a program to manage your computer's noise and suddenly you're faced with a list of numbered fans that tell you absolutely nothing. It's a frustrating feeling because, although the technology is great, not knowing which fan corresponds to each sensor It can cause you to configure the cooling incorrectly and put your components at risk.
To solve this problem, tools like Fan Control exist, which are a real lifesaver for those of us who want our PCs to avoid sounding like jet engines while browsing the internet, but also not overheating like a furnace while gaming. In this article, we'll break it down. How to organize your ventilation system, from the simplest software to more advanced options for technical profiles.
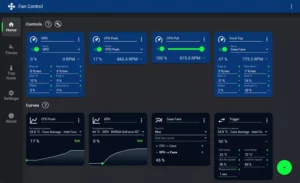
Mastering Fan Control in Windows
The first thing you should know is that Fan Control is a free gem that you can get directly from GitHub. The best part is that it's portable software; that is, It does not require a formal installation.Simply extract the file and run the .exe. If you want to avoid opening it every time you turn on your PC, you can check the box for automatic startup with Windows, although it's sometimes advisable to set a short delay of about 30 seconds to prevent it from interfering with other system processes.
When you open it for the first time, the program will guide you through a detection wizard. This is where the magic happens: the software runs automatic tests to determine What is the minimum and maximum speed? of each fan. This is vital because, for example, the fans on a graphics card may not start spinning until they reach 40% or 45% of their power, while the case fans are usually more flexible.
The trick to identifying each fan
To avoid going crazy with the numbers, once you've identified them, you should label them with clear namesIf you have multiple fans connected to the same hub, you can group them as "Front Fans" or "AIO Radiator." If you see any empty connectors on your motherboard, the best thing to do is... hide those unused fans so they don't get in the way of the interface and you have a clean view of what really matters.

Creating intelligent ventilation curves
The real power lies in the Curves section. Instead of using a fixed speed, the ideal is to create a "Graph fan curve." Here you select the temperature sensor that will serve as a guide. For example, for the processor, many people prefer to use Core Tctl/Tdie instead of CCD1 For a more accurate reading, you can draw the curve with your mouse: the fan should run at 20% until 40°C, gradually increase to 40% at 60°C, and reach 100% if the computer reaches 80°C.
Troubleshooting software problems and conflicts
Sometimes Fan Control doesn't detect some fans. This usually happens because there are other management programs interferingIf you're using ASUS Armoury Crate, it's very likely that the Fan Xpert extension is blocking access; the solution is to open Armoury Crate and disable that specific feature. The same applies to MSI Afterburner or EVGA Precision; if the software isn't reading the sensors, try closing these applications to see if the problem disappears.
Alternatives for Mac, Linux, and Hardware Enthusiasts
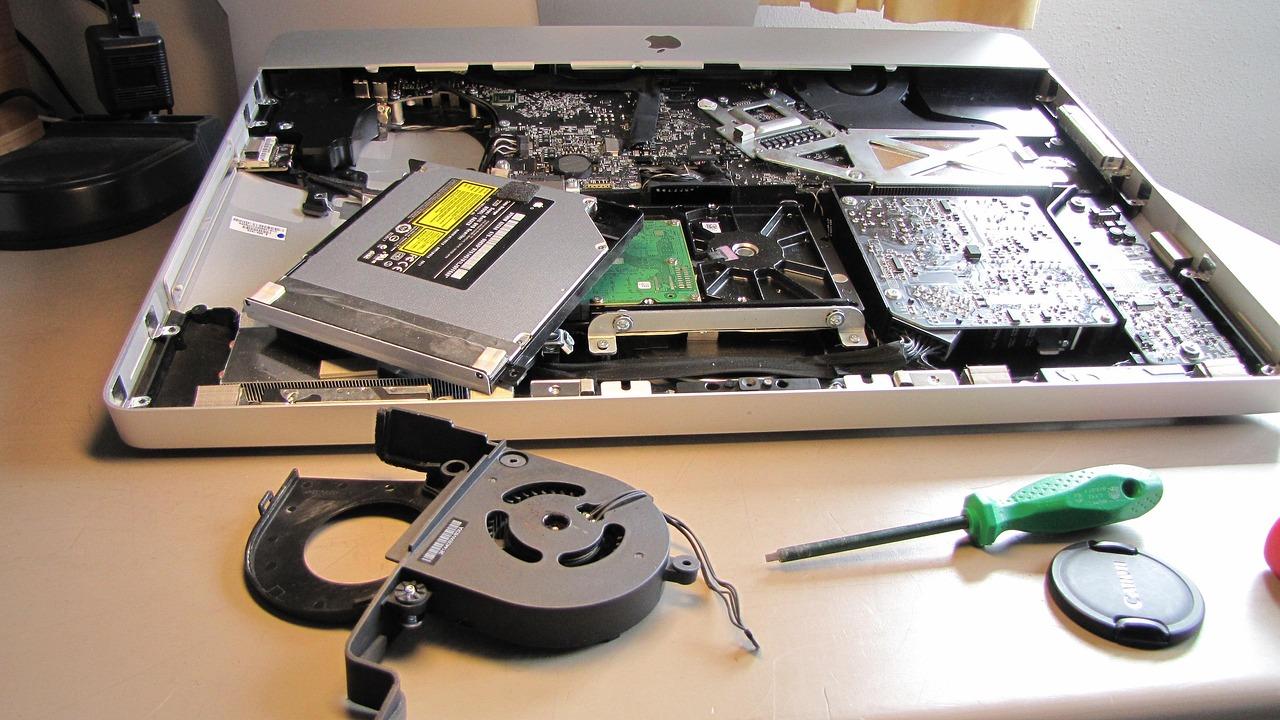
If you don't use Windows, don't worry, there are options. On Apple computers, Macs Fan Control It's the standard tool. In these cases, the smartest approach is to base the hard drive (HDD) and optical drive (ODD) fans on the GPU sensors, while the CPU fan should strictly follow the processor sensor, always choosing the sensor that registers the highest temperature to avoid thermal surprises.
For Linux users, control is done through the terminal with lm_sensors y fancontrolUnlike Windows, here a script called pwmconfig to detect the sensors and generate a configuration file in /etc/fancontrolIn this system, the control is more technical, handling PWM values ranging from 0 to 255, where The value 127 represents approximately 50% of the fan speed.
Electronic level control with Arduino
For those who want to go a step further and build their own system, it's possible to monitor fan speeds using an Arduino. Three- and four-wire fans have a tachometer wire (usually yellow) that sends electrical pulses. To read this with a microcontroller, it's essential to use a 1KΩ or 10KΩ pull-up resistor connected to 5V so that the signal is readable and does not damage the Arduino pin.
Using code that utilizes interrupts (specifically the falling edge), you can count the pulses per second and convert them to RPM. It's important to remember that Never power the fan directly from the ArduinoSince the current consumption is too high and you could burn out the board, you should always use an external 12V power supply sharing the ground (GND) with the microcontroller.
Efficient thermal management depends entirely on knowing how to associate each airflow with the component that generates the heat. Whether adjusting visual curves in Windows, editing configuration files in Linux, or programming sensors with Arduino, the goal is to maintain a balance where the hardware runs cool without the noise becoming unbearable. Now you know how to identify which fan corresponds to each sensor in Fan Control.

Passionate about technology since he was little. I love being up to date in the sector and, above all, communicating it. That is why I have been dedicated to communication on technology and video game websites for many years. You can find me writing about Android, Windows, MacOS, iOS, Nintendo or any other related topic that comes to mind.