- Jellyfin is a free and open-source alternative that allows you to manage multimedia libraries without relying on external services.
- Using Docker makes it easier to install and update the server, isolating the application from the main operating system.
- Hardware acceleration using Intel or NVIDIA GPUs is crucial to prevent the CPU from becoming overloaded during 4K video transcoding.
- Security and remote access are optimized by using a reverse proxy like Caddy to enable encrypted HTTPS connections.
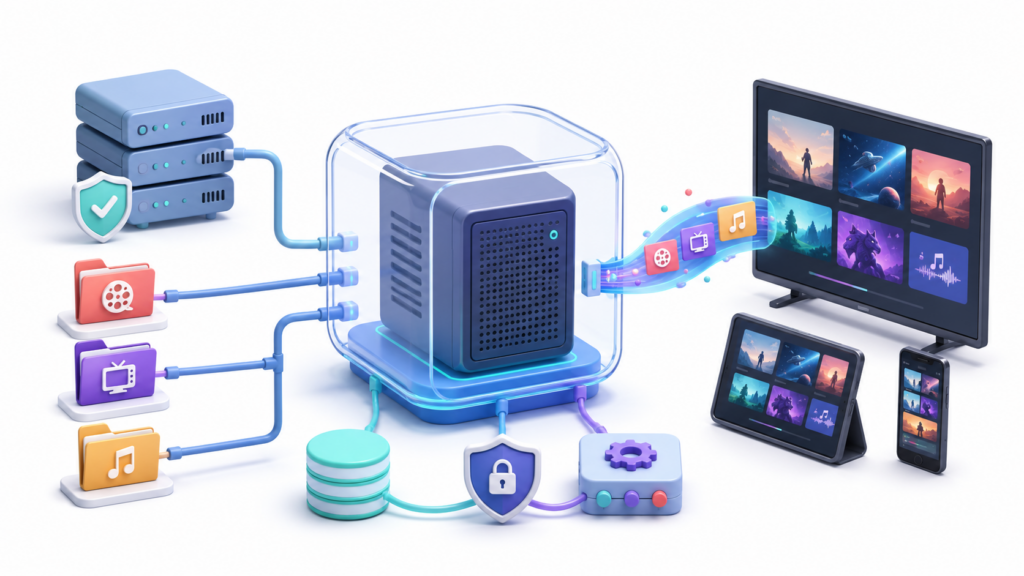
Install Jellyfin with Docker It allows you to turn a compatible computer, home server, or NAS into a private platform for playing movies, TV shows, music, and photos. The files remain under your control, and you can access them from TVs, mobile phones, web browsers, and other compatible devices.
Docker keeps Jellyfin and its dependencies within a container, simplifying installation, maintenance, and updates. However, configuration, caching, and metadata must be stored in a separate container. persistent volumes so that they don't disappear when the container is recreated.
This guide uses Ubuntu Server with Docker Compose and the official Jellyfin image. The procedure can also be adapted to other Linux distributions, although the installation commands and permission management may vary.

What you need to install Jellyfin with Docker
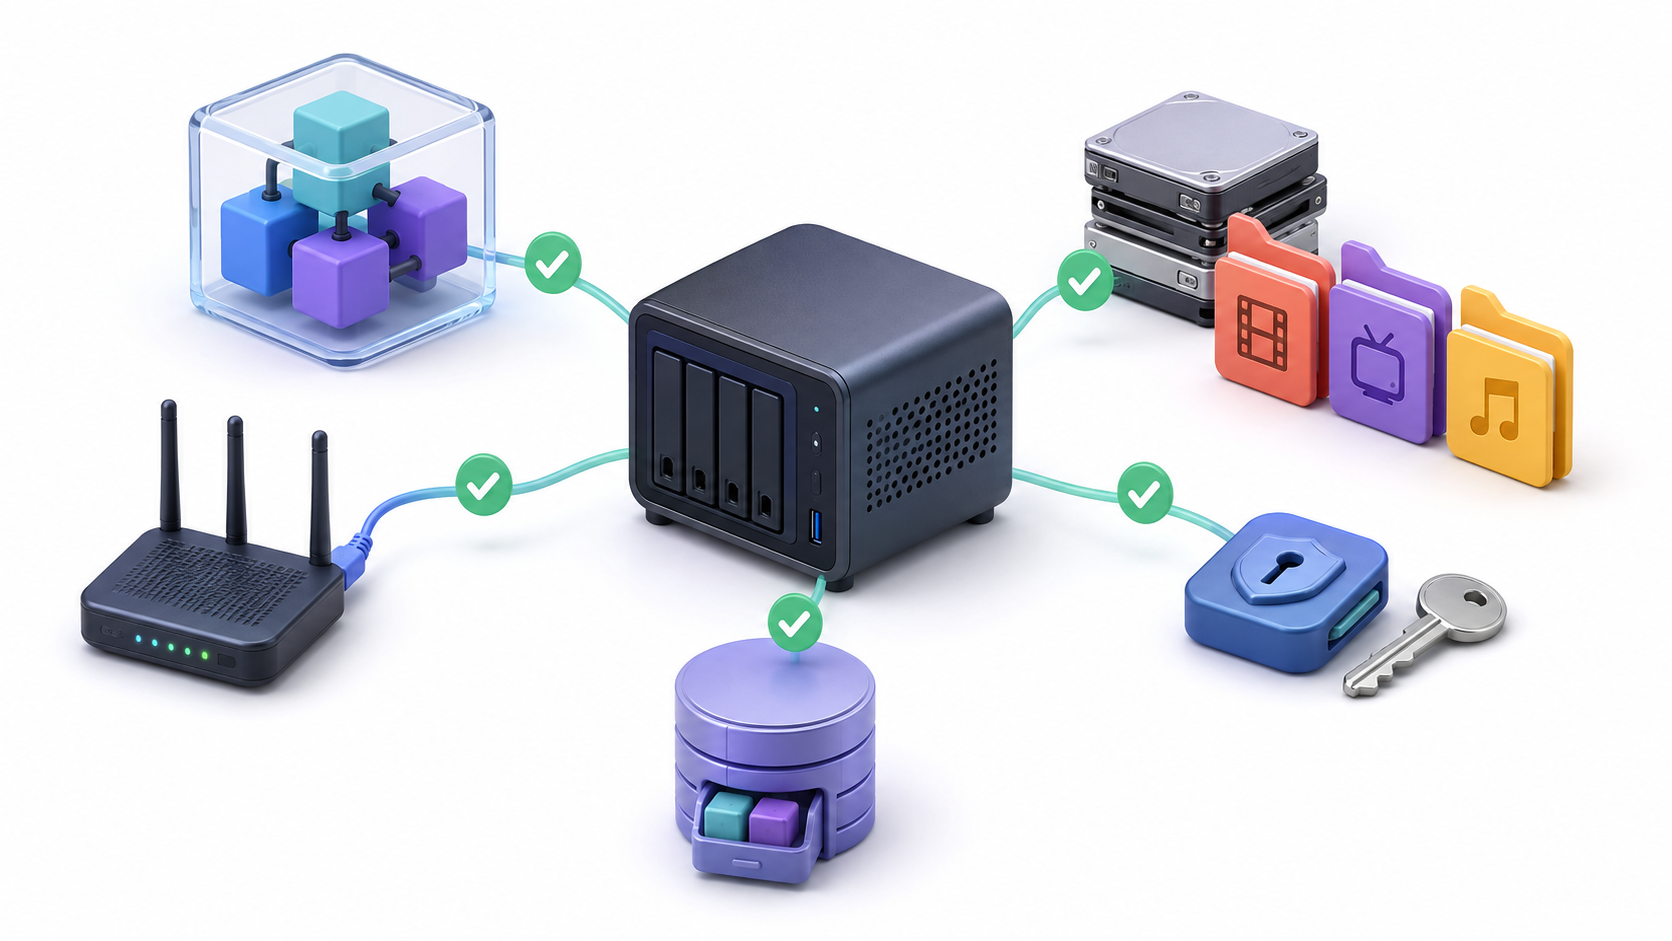
Before you begin, you will need the following components:
- A server or computer with a compatible Linux distribution.
- Docker Engine and the Docker Compose plugin.
- A static IP address or a DHCP reservation for the server.
- Sufficient space for configuration, caching, and temporary transcoding.
- Read access to the folders where the multimedia files are stored.
- A stable network connection, preferably via Ethernet.
Containerized installation is officially geared towards Linux. Although Docker Desktop allows running containers on Windows and macOS, Jellyfin warns that some features, especially the hardware-accelerated transcodingThey may not function correctly on those systems.
What hardware does a Jellyfin server need?
The requirements depend less on the library size than on the playback type. When the client device supports the file's format, codec, audio, subtitles, and bitrate, Jellyfin can use direct playbackIn that case, the server barely processes the video and can run on modest equipment.
The workload increases when Jellyfin has to convert content in real time. This can happen due to an incompatible codec, subtitles that need to be embedded, an excessive bitrate, or the need to convert HDR to SDR. Therefore, there isn't a single number of cores or enough memory that will suit all users.
For multiple simultaneous transcoding processes, it's recommended to use an integrated Intel GPU that supports Quick Sync, an NVIDIA GPU that supports NVENC, or certain AMD models. You should also consider upload bandwidth if you want to access Jellyfin outside of home.
If you're still choosing your hardware and storage, consider whether you need a dedicated computer, a mini PC, or a Home NAS.
How to install Docker Engine on Ubuntu Server
First, update the system packages:
sudo apt update
sudo apt upgrade -y
Install the necessary tools and add the official Docker key:
sudo apt install -y ca-certificates curl
sudo install -m 0755 -d /etc/apt/keyrings
sudo curl -fsSL https://download.docker.com/linux/ubuntu/gpg \
  -o /etc/apt/keyrings/docker.asc
sudo chmod a+r /etc/apt/keyrings/docker.asc
Next, configure the official repository:
sudo tee /etc/apt/sources.list.d/docker.sources > /dev/null <<EOF
Types: deb
URIs: https://download.docker.com/linux/ubuntu
Suites: $(. /etc/os-release && echo "${UBUNTU_CODENAME:-$VERSION_CODENAME}")
Components: stable
Architectures: $(dpkg --print-architecture)
Signed-By: /etc/apt/keyrings/docker.asc
EOF
Install Docker Engine and the Compose plugin:
sudo apt update
sudo apt install -y docker-ce docker-ce-cli containerd.io \
  docker-buildx-plugin docker-compose-plugin
Check that both components are available:
sudo docker run --rm hello-world
sudo docker compose version
Optionally, you can add your user to the group docker to execute the commands without sudo:
sudo usermod -aG docker "$USER"Log out and log back in to apply the change. Keep in mind that Belonging to the docker group grants privileges equivalent to those of administrator about the system. Do not add users who are not trusted.
How to prepare persistent folders
Create a dedicated folder for the composition file, configuration, and cache:
sudo mkdir -p /opt/jellyfin/config
sudo mkdir -p /opt/jellyfin/cache
sudo chown -R "$(id -u)":"$(id -g)" /opt/jellyfin
cd /opt/jellyfin
The media folders can be on a different drive. This would be a simple structure:
/srv/media/
├── peliculas/
├── series/
└── musica/
Using these routes is not mandatory. The important thing is to distinguish between the existing path on the host server and the path that Jellyfin will later see inside the container.
Obtain the UID and GID of the user who will run Jellyfin:
id -u
id -g
Create a file called .env within /opt/jellyfin and saves the values obtained:
JELLYFIN_UID=1000
JELLYFIN_GID=1000
Replaces 1000 based on your system's actual values. This user should be able to read all multimedia directories and write to the folders. config y cache.
How to configure the Jellyfin Docker Compose file
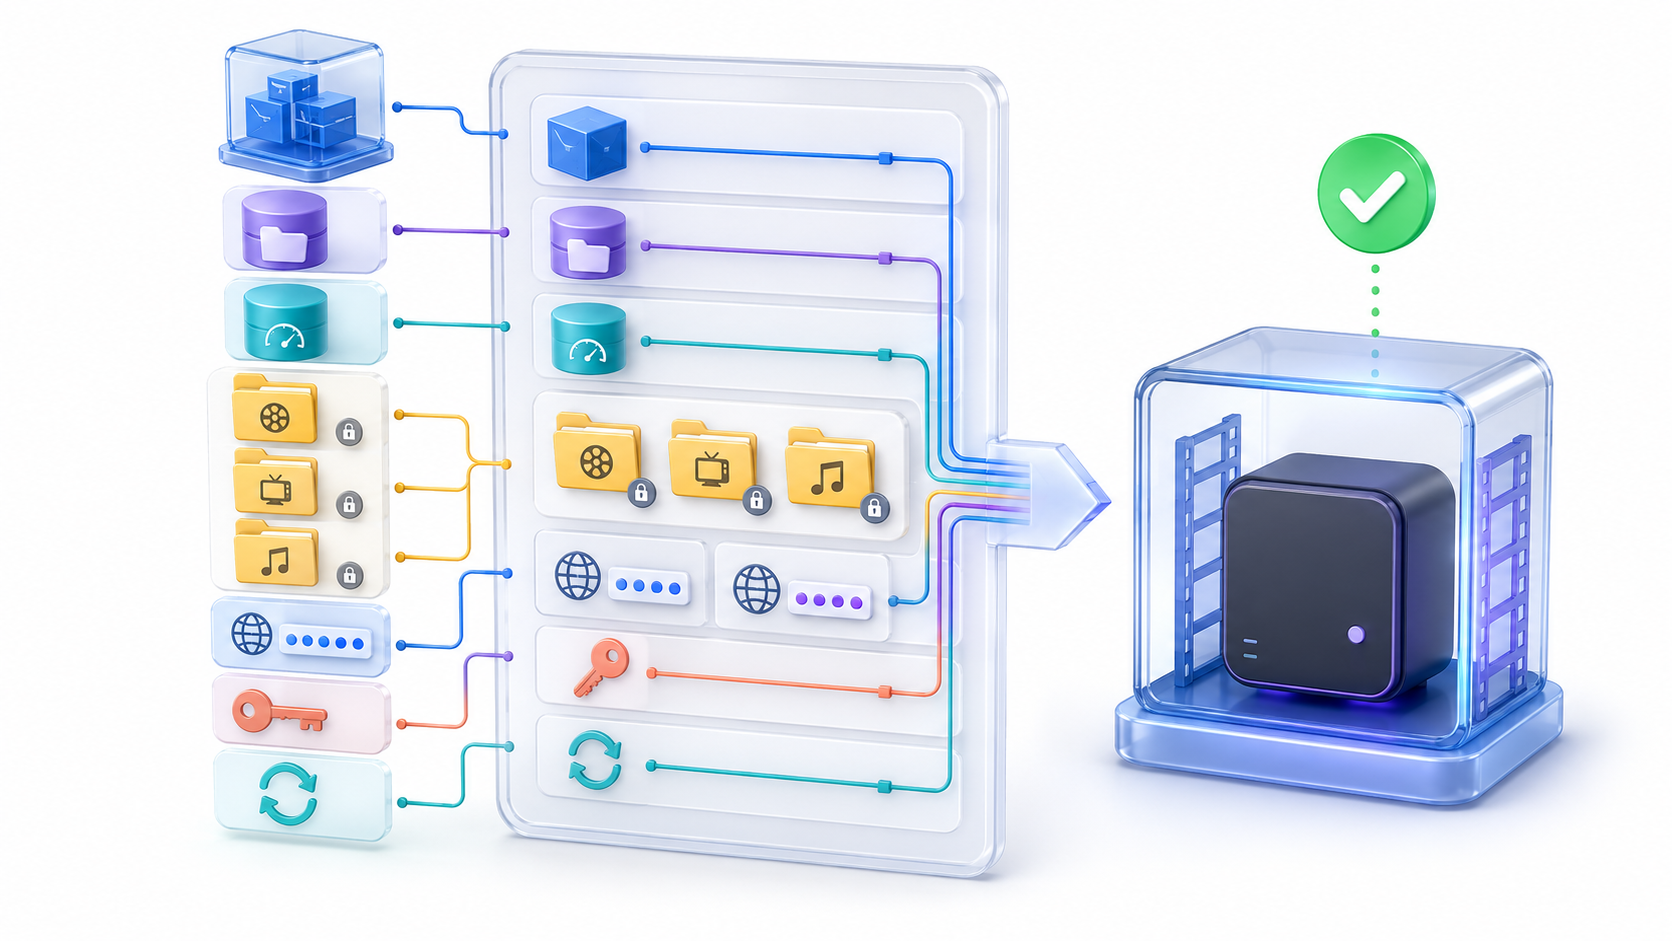
Create the file /opt/jellyfin/docker-compose.yml with this configuration:
services:
  jellyfin:
    image: jellyfin/jellyfin:latest
    container_name: jellyfin
    user: "${JELLYFIN_UID}:${JELLYFIN_GID}"
    ports:
      - "8096:8096/tcp"
      - "7359:7359/udp"
    volumes:
      - type: bind
        source: ./config
        target: /config
      - type: bind
        source: ./cache
        target: /cache
      - type: bind
        source: /srv/media/peliculas
        target: /media/peliculas
        read_only: true
      - type: bind
        source: /srv/media/series
        target: /media/series
        read_only: true
      - type: bind
        source: /srv/media/musica
        target: /media/musica
        read_only: true
    restart: unless-stopped
The port 8096/TCP It provides access to the web interface. The port 7359/UDP It is used for automatic discovery within the local network and can be removed if you do not need this feature.
The multimedia files are mounted as read onlyThis reduces the risk of accidental modifications, but it also prevents Jellyfin from writing NFO files, images, or other data alongside the media. If you want to use those features, remove read_only: true only in the necessary folders.
Check the syntax before starting the service:
docker compose configIf the command shows no errors, download the image and start the container:
docker compose pull
docker compose up -d
Check its status and view the records:
docker compose ps
docker compose logs -f jellyfin
Press Ctrl+C to exit the logs view without stopping the container.
How to complete the initial setup
Open a browser from any computer on the network and enter:
http://IP_DEL_SERVIDOR:8096The initial setup wizard lets you select the language, create an administrator account, and add libraries. Use a strong password and reserve this account for administrative tasks.
When you add the media folders, you must select the internal container routes:
/media/peliculas/media/series/media/musica
Do not enter /srv/media/peliculasbecause that path only exists on the host system. Inside the container, it has been assigned to /media/peliculas.
Select a specific library type for each type of content. Avoid mixing movies, TV shows, and music in the same library. If you need to configure names, metadata providers, and folder structures, see how. Add and organize movies and TV shows in Jellyfin.
How to enable Intel Quick Sync acceleration
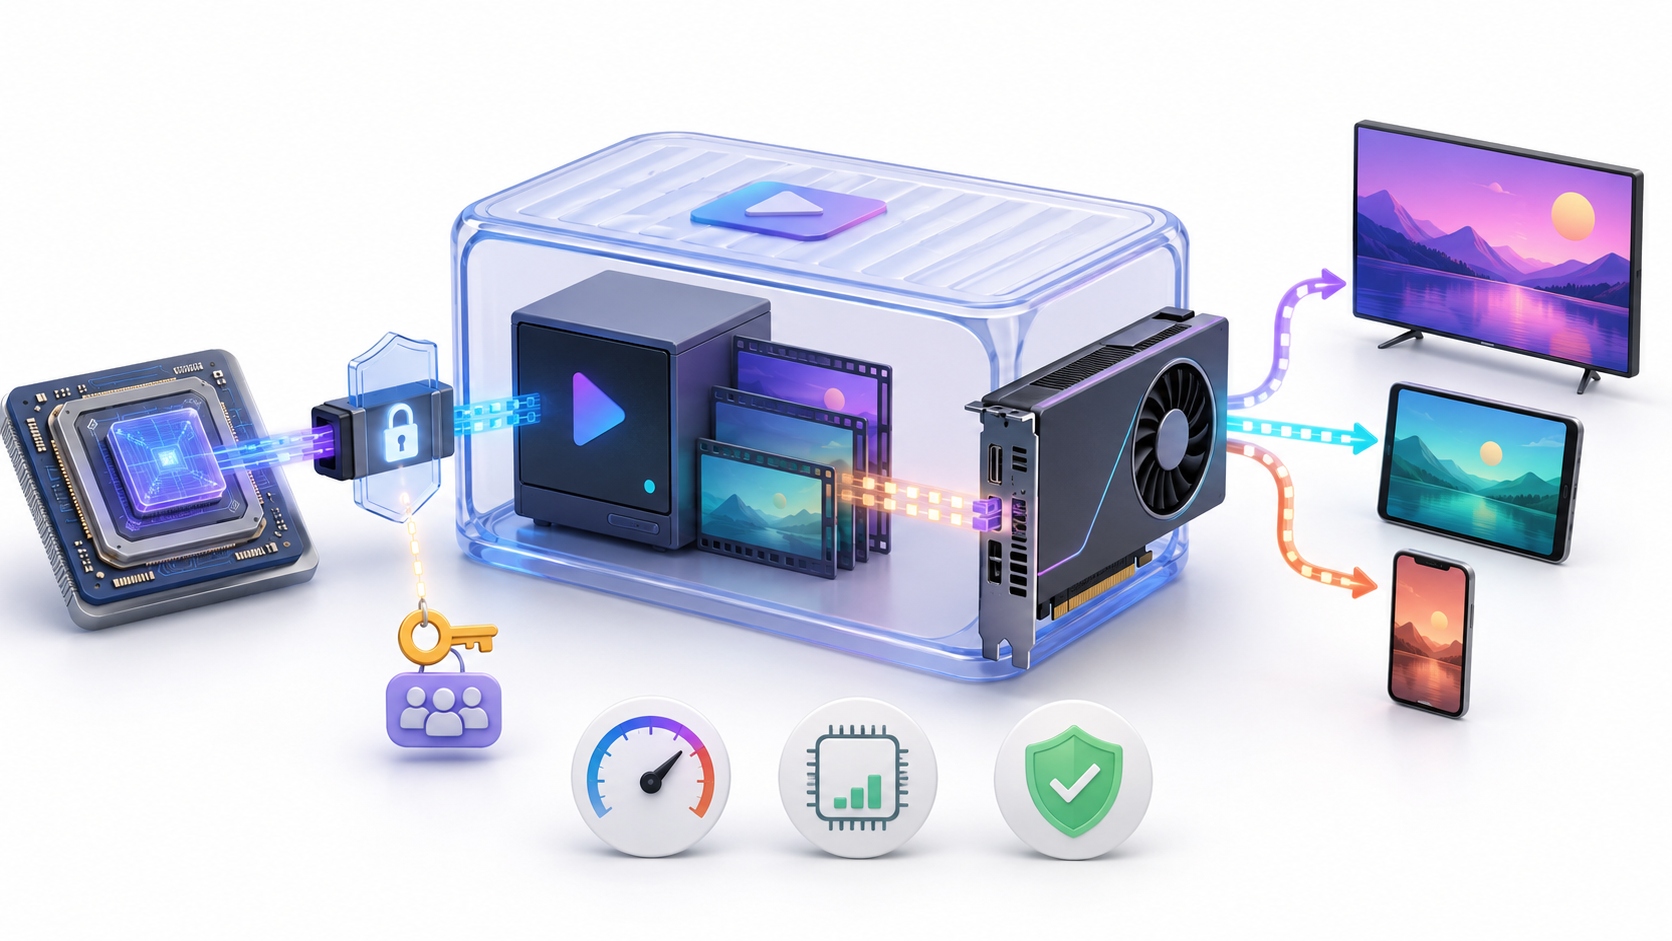
On compatible Intel systems, first check that the rendering device exists:
ls -l /dev/dri/It will usually appear as /dev/dri/renderD128Get the group identifier render:
getent group render | cut -d: -f3Add the result to the file .env:
JELLYFIN_RENDER_GID=122The value 122 This is just an example. Then add these lines to the service. jellyfin from the Compose file:
    group_add:
      - "${JELLYFIN_RENDER_GID}"
    devices:
      - /dev/dri/renderD128:/dev/dri/renderD128
Recreate the container and verify that Jellyfin can detect the GPU:
docker compose up -d
docker exec -it jellyfin /usr/lib/jellyfin-ffmpeg/vainfo
Enter Control Panel > Playback > TranscodingSelect Intel Quick Sync or VA-API and enable only the codecs compatible with your hardware.
Simply adding the device to the container does not automatically enable acceleration. It's advisable to play a file that requires transcoding and check the FFmpeg logs to verify that the GPU is working.
How to use an NVIDIA GPU
The official Jellyfin image does not include the proprietary NVIDIA driver. You must install both the driver and the driver on the host machine. NVIDIA Container Toolkit.
Then add to the Jellyfin service:
    runtime: nvidia
    deploy:
      resources:
        reservations:
          devices:
            - driver: nvidia
              count: all
              capabilities: [gpu]
Recreate the container and verify that the card is visible:
docker compose up -d
docker exec -it jellyfin nvidia-smi
Finally, select NVENC in the transcoding settings. Do not combine this setting with Intel's unless you know exactly which device you want to use.
How to set up a library stored on a NAS
If the files are on a NAS or Samba resource, the most stable approach is to first mount the network resource in Ubuntu and then pass that path to the container using a bind mount.
Install the CIFS bracket and create the mounting point:
sudo apt install -y cifs-utils
sudo mkdir -p /mnt/media
Save the NAS credentials in a file accessible only to the administrator and use /etc/fstab to maintain the mount after restarting. Then add the path to the Compose file:
      - type: bind
        source: /mnt/media
        target: /media/nas
        read_only: true
If Jellyfin sees the folder but it appears empty, check the resource permissions, the UID and GID used in the mount, and the execute permissions of all parent directories. You can expand on this configuration in the guide. storage on a home NAS.
How to access Jellyfin from outside your home
Do not directly publish port 8096 on the InternetJellyfin's documentation recommends using a VPN or placing a reverse proxy with HTTPS in front of the server.
A VPN like Tailscale allows you to access the private network without directly exposing Jellyfin. You can also use Caddy, Nginx, or Traefik as a reverse proxy.
Caddy can automatically obtain and renew TLS certificates, but it typically requires that the domain points to your public IP address and that ports 80 and 443 reach the server. Therefore, A reverse proxy does not necessarily mean access without opening ports.
If you want to avoid conventional public exposure, see how Access Jellyfin from outside your home without opening ports.
To centralize users through single sign-on you can also Connect Authentic with JellyfinFirst you will have to Install Authentik with Docker and carefully configure the groups and permissions.
How to update Jellyfin with Docker
Before updating, create a backup from Control Panel > BackupsCurrent versions of Jellyfin allow you to generate a copy while the server is still running, although it is best to do so when there are no users playing content or an active scan.
Then update the image and recreate the container:
cd /opt/jellyfin
docker compose pull
docker compose up -d
Check the logs after the update:
docker compose logs --tail=100 jellyfinPersistent data will remain in the folders config y cacheHowever, some versions apply migrations to the database and Jellyfin does not have a degradation mechanismIf you need to revert to a previous version, you will need to restore a compatible backup.
Common mistakes when installing Jellyfin with Docker
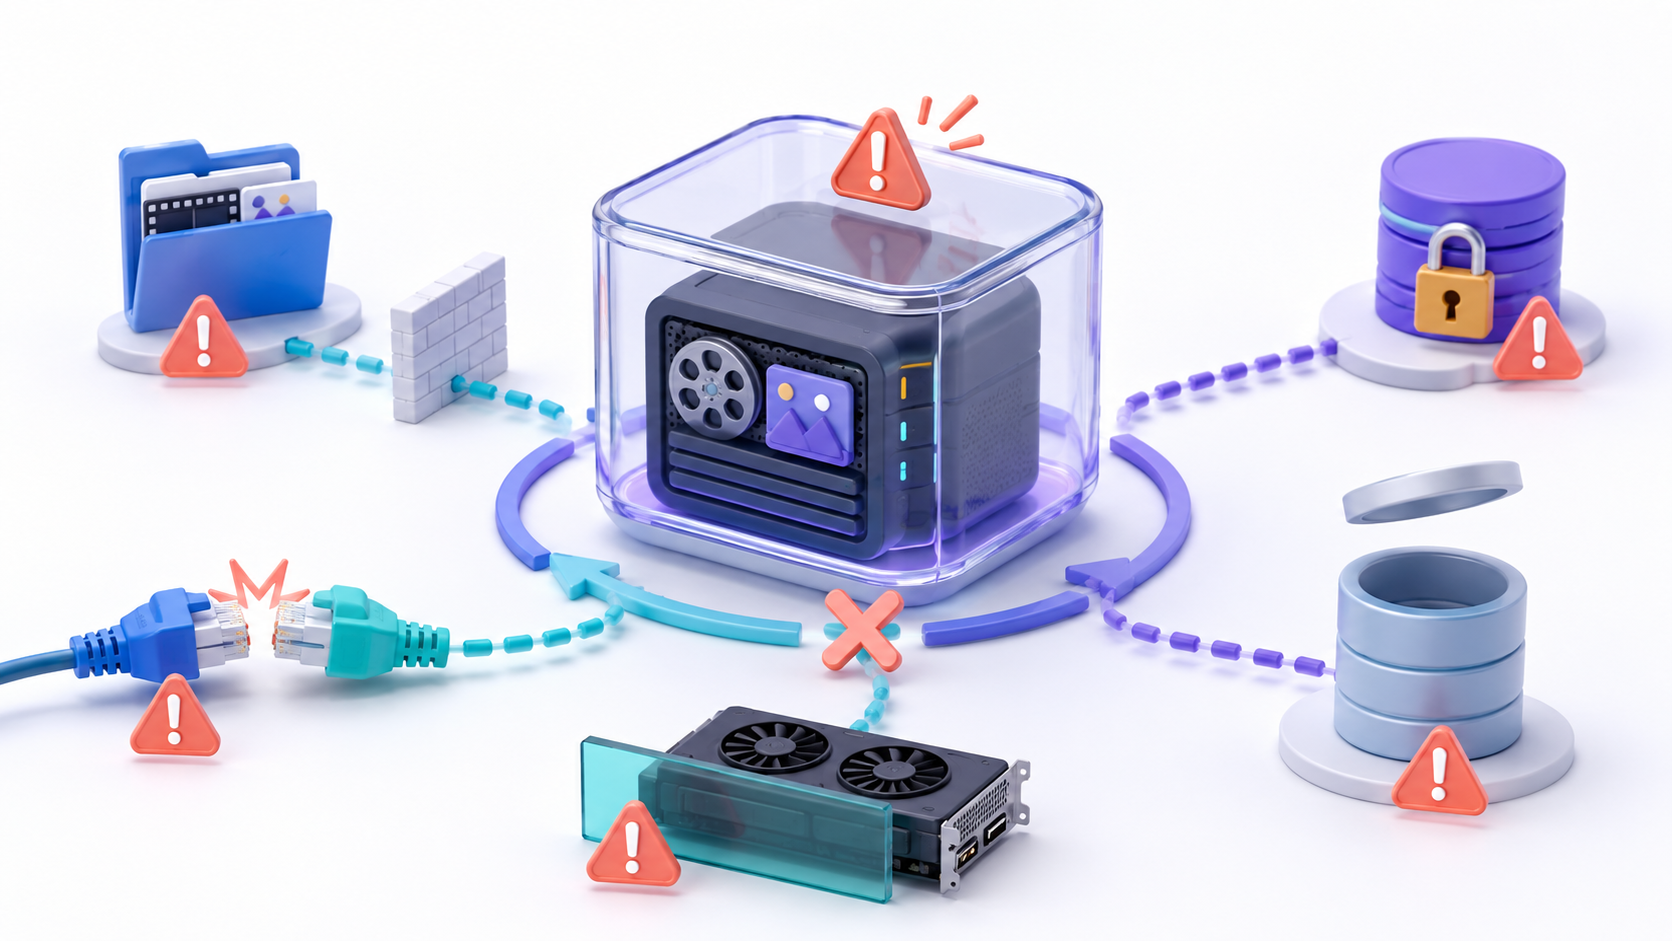
The container keeps restarting
Execute docker compose logs jellyfin and check the folder permissions config y cacheThe UID and GID defined in .env They must have writing permission.
The library appears empty.
Verify that the host path exists, that the volume is correctly mounted, and that the container user can browse and read all its directories. Within Jellyfin, you must select the internal path, such as /media/peliculas.
Permission denied when scanning files
Don't solve the problem by applying permissions. 777Check the owner, group, and read and execute permissions. If you're using a NAS, also check the settings used to mount the resource.
Port 8096 cannot be opened
Another process may be using the port. Check it using:
sudo ss -ltnp | grep 8096If it's busy, stop the responsible service or change the left port in the mapping, for example. 8097:8096.
The GPU appears in the host, but not in Jellyfin
At Intel, check the device. /dev/dri/renderD128 and the group identifier renderIn NVIDIA, check the driver, NVIDIA Container Toolkit, and the output of docker exec -it jellyfin nvidia-smi.
The video is still using the CPU
Just because the GPU is visible doesn't mean all formats are accelerated. Check the supported codecs, transcoding settings, and FFmpeg registers. Some subtitles and filters may still be using the CPU.
Jellyfin works, but it doesn't automatically appear on devices.
Check that the port 7359/UDP It must be published and allowed on the local network. If you need DLNA, the official documentation indicates that you may need to use network mode. host.
Install Jellyfin with Docker Compose It allows you to keep the media server isolated and simplifies its administration, but ultimate reliability depends on the volumes, permissions, and paths used. Once the container is up and running, you can add your libraries, create users, and enable the appropriate transcoding for your hardware.
Before exposing the service outside your home network, configure HTTPS or a VPN and keep backups of the configuration folder. This way, you can update the server without losing users, metadata, or playback history.


I am a technology enthusiast who has turned his "geek" interests into a profession. I have spent more than 10 years of my life using cutting-edge technology and tinkering with all kinds of programs out of pure curiosity. Now I have specialized in computer technology and video games. This is because for more than 5 years I have been writing for various websites on technology and video games, creating articles that seek to give you the information you need in a language that is understandable to everyone.
If you have any questions, my knowledge ranges from everything related to the Windows operating system as well as Android for mobile phones. And my commitment is to you, I am always willing to spend a few minutes and help you resolve any questions you may have in this internet world.