- Each user keeps their history, favorites, preferences, and playback progress separate.
- Restricted profiles do not automatically receive access to subsequently created libraries.
- Disabling transcoding may prevent playback of files that are incompatible with certain client devices.

Creating users in Jellyfin allows each person to access the same media server with their own profile. In this way, the history, playback progress, favorites, and preferences They do not mix with family, friends, or members of an organization.
The administrator can also decide which libraries each user will see, which devices they can connect from, and whether they will have permission to download, delete, or play content that requires transcoding. This makes Jellyfin more than just a shared library: it allows you to create a multimedia environment with independent access.
This guide assumes a pre-configured Jellyfin server. If you don't have one yet, you can find out how. set up a mini home server before creating the accounts.

What is the difference between an administrator and regular users?
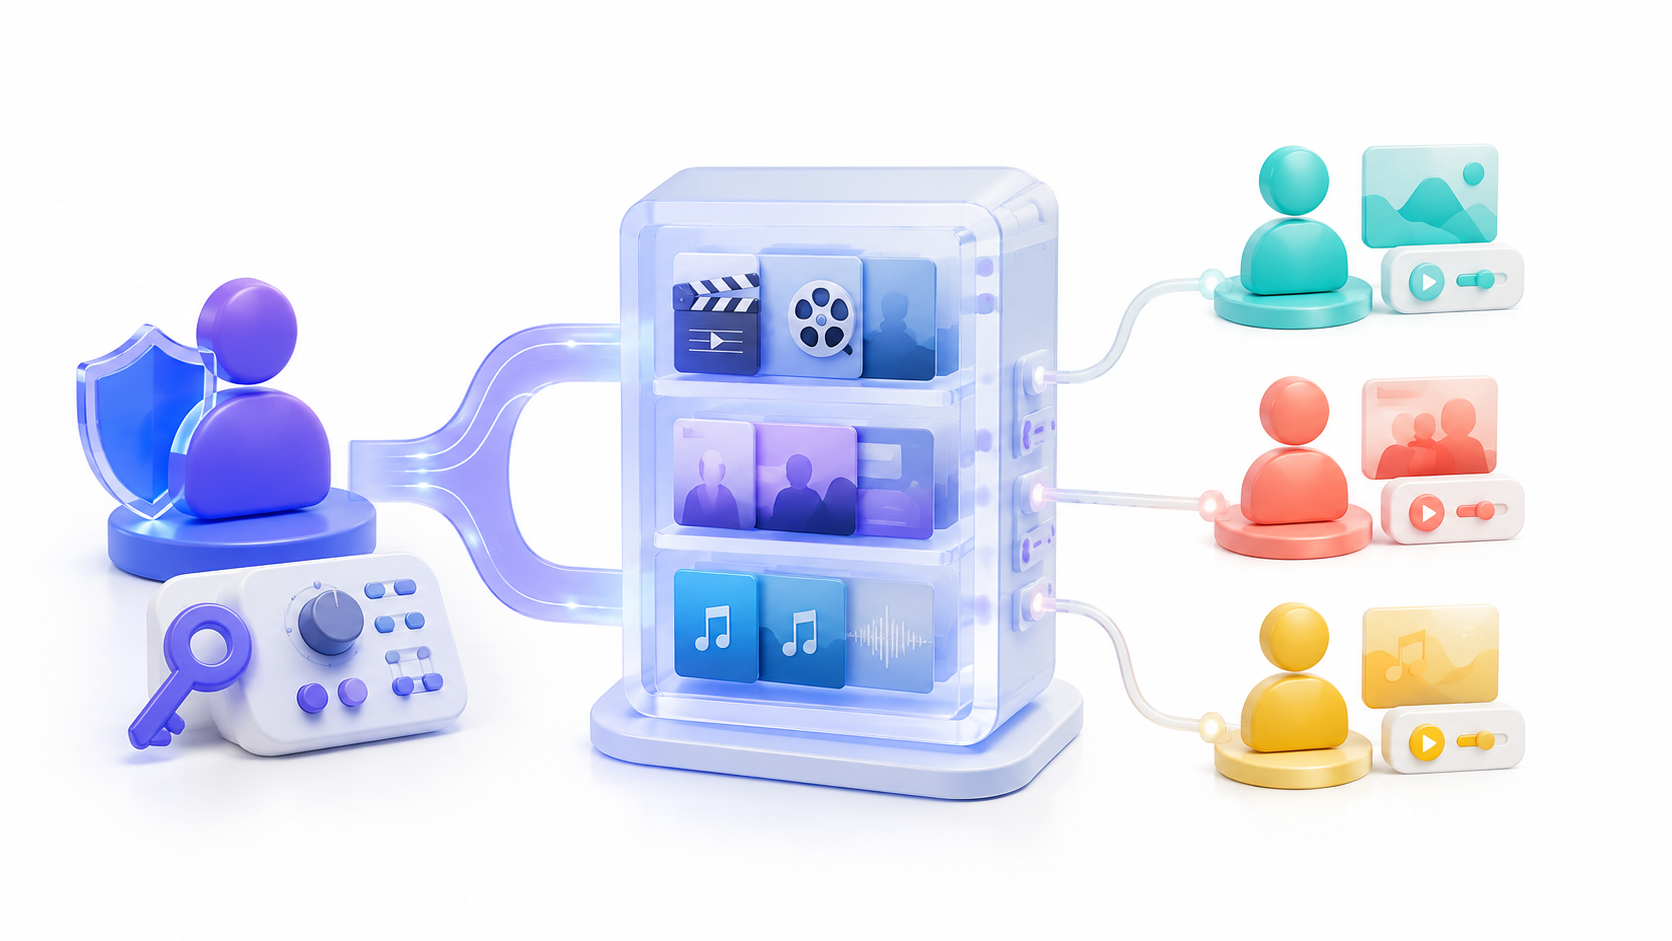
Accounts created directly on Jellyfin are local users of the serverThese are not operating system accounts, NAS shared folders, or profiles from other services. The information used during login remains on the self-managed instance.
The first account created during the initial setup wizard has administrative privileges. From this account, you can add users, modify libraries, install plugins, and change server settings. It's not advisable to use this account for daily content viewing or sharing your credentials.
To convert another profile to administrator status, there is an option Allow this user to administer the serverYou should only activate it when absolutely necessary, because it grants access to virtually all of Jellyfin's settings.
If you need to manage identities from an external directory, Jellyfin supports other providers via plugins, such as LDAP. You can also Create users in Authentic and connect them later using the appropriate authentication method.
How to create a new user in Jellyfin
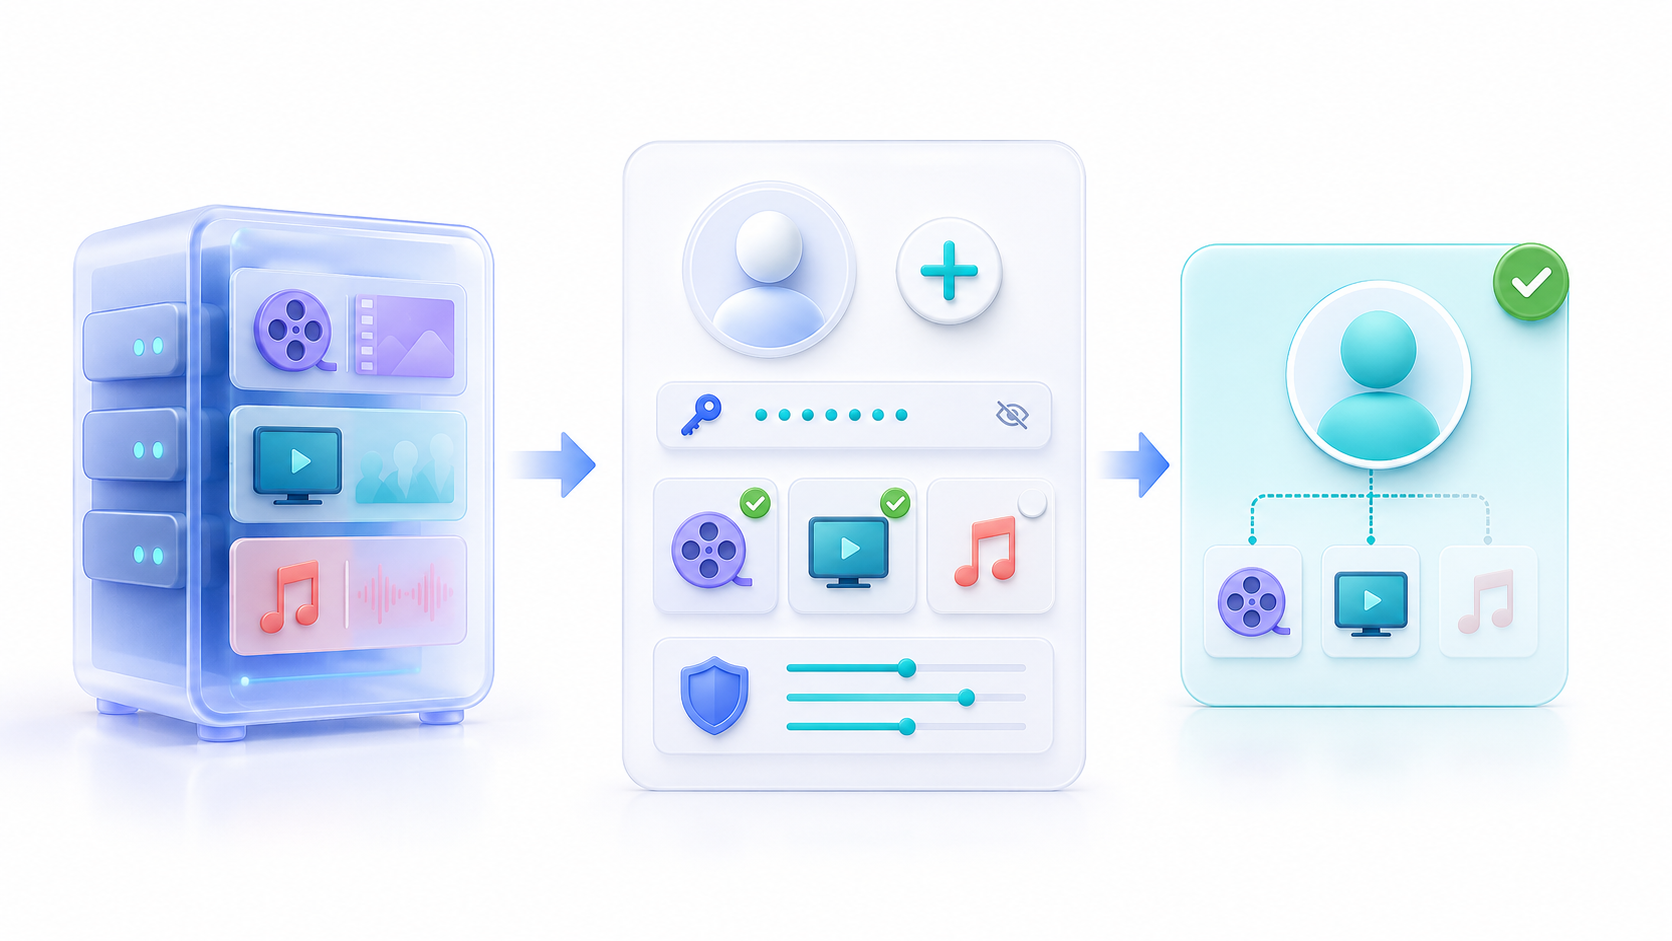
To add an account, you need to log in with an administrator and complete these steps:
- Open the Jellyfin web interface.
- Open the main menu and enter the control Panel.
- Select Users.
- Press the symbol + located at the top.
- Enter the name the person will use to log in.
- Decide whether you will have access to all libraries or only to certain collections.
- Save the new profile.
After creating it, open its tab Password and set a password. Jellyfin allows passwordless accounts, but this configuration should only be considered in highly controlled home environments. If the server supports external connections, all profiles must use unique and sufficiently strong passwords.
New users are initially hidden from the login screen. To make the profile appear among the available accounts, open its options and uncheck the box. Hide this user on login screensIf it remains hidden, the person will have to choose manual access and enter both the username and password.
How to choose the libraries available to each user
Go to your profile and open the tab Access to librariesThe option to access all libraries is enabled by default. If you want to limit the content, disable it and manually select the authorized collections.
This separation is useful for creating children's profiles, reserving personal videos, or preventing guests from accessing certain folders. The user will only be able to search, browse, and play content belonging to the libraries that you have assigned.
You should review these permissions each time you add a library. Users should be configured to access only specific collections. They do not automatically receive access to the new ones.
The option appears on the same screen Allow access from all devicesIf you disable it, you can approve authorized devices individually. Logins from new devices will be blocked until an administrator enables them.
How to configure playback permissions
The profile includes controls to decide which operations the user can perform. It is not recommended to activate all the boxes without first checking their consequences.
- Media playback: It allows access to the content of authorized libraries.
- Audio and video transcoding: It allows adapting files that are incompatible with the client device.
- Conversion without recoding: It allows you to change the container while keeping the original tracks.
- Content download: authorizes saving files from compatible clients.
- Live television: It allows you to view the channels configured on the server.
- Recording management: authorizes the scheduling of television recordings.
- Remote control: It allows you to control specific clients or connected sessions.
- Content removal: It allows you to delete files from the selected libraries.
Disabling transcoding can reduce the server's workload, but it can also prevent playback on TVs, mobile devices, or browsers that don't support the original codec. Before removing this permission, test several files from the device that person will be using.
You must be especially careful with the delete permission. When it is active, the user can physically delete files from storageFor a normal home profile, it is not usually necessary to enable it.
How to limit remote access and bandwidth consumption
Each profile has the option Allow remote connections to this Jellyfin serverIf you deactivate it, that account will only be able to log in from networks that Jellyfin considers local.
This restriction depends on the local networks being correctly defined in the server configuration. When using a reverse proxy, known proxies must also be configured; otherwise, Jellyfin may incorrectly interpret an external connection as local or vice versa.
The field Internet streaming bitrate limit This allows you to set the maximum streaming limit for devices located outside your local network. This setting does not limit playback within your home and is not intended to resolve home Wi-Fi issues.
If you're going to allow external connections, use HTTPS via a reverse proxy or VPN. You can find out how. access Jellyfin from outside your home before enabling this option for other users.

How to set up a child profile
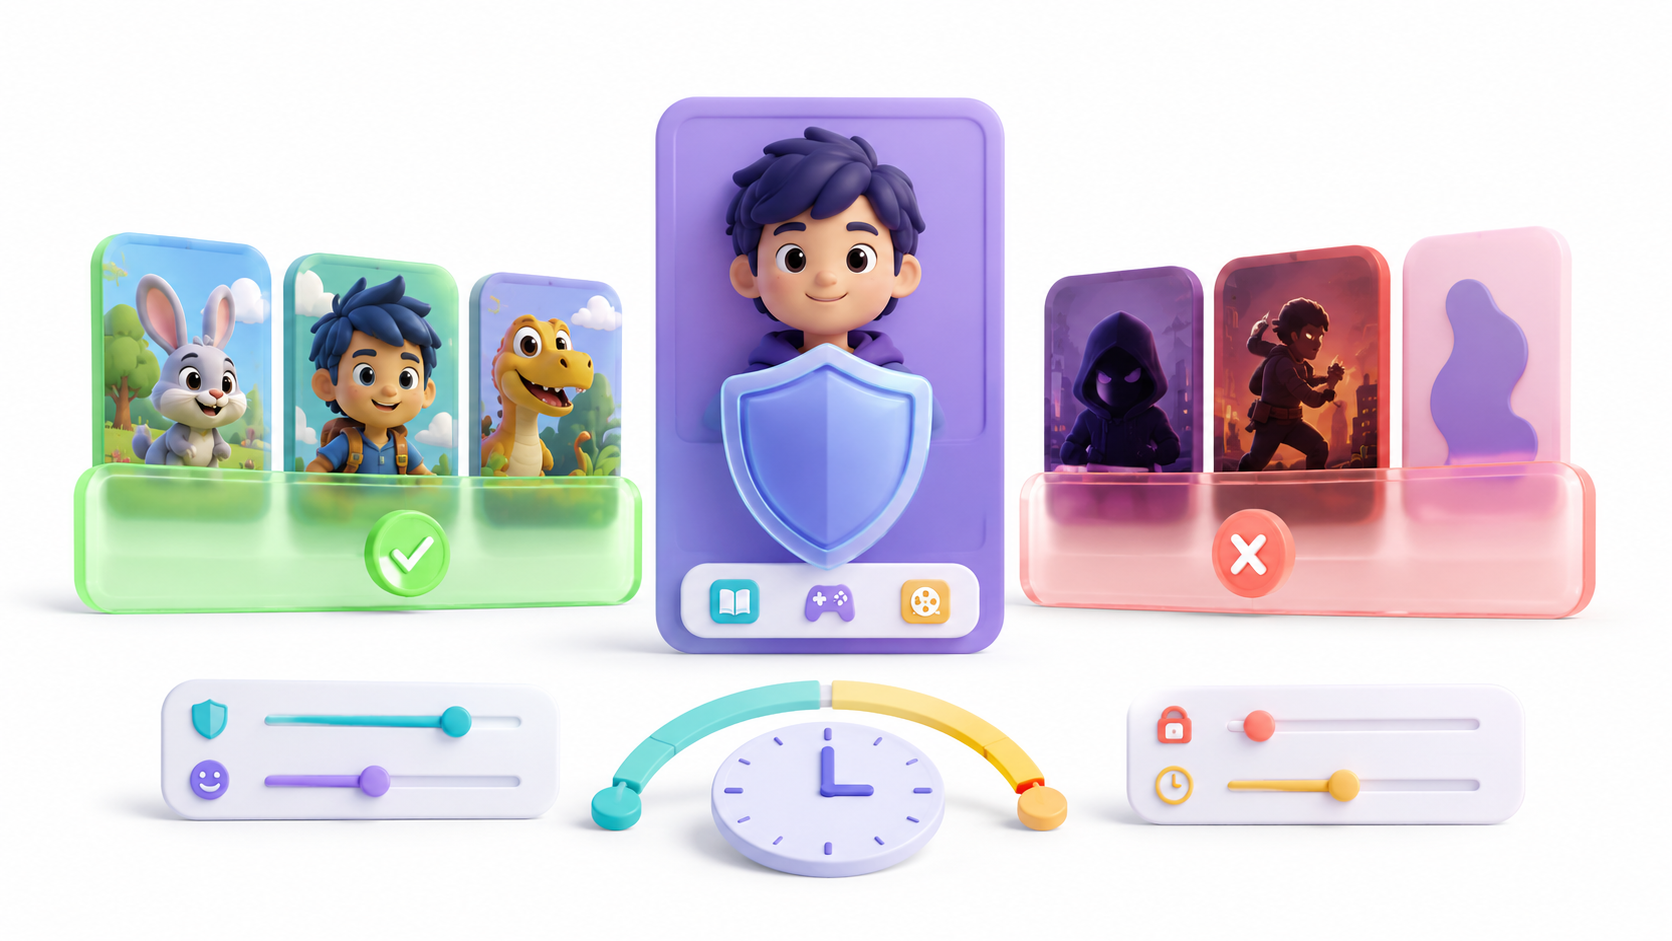
The tab Parental controls It allows you to hide content based on its rating, tags, or access time. Set up a child profile in JellyfinFirst, select the appropriate libraries, and then set the maximum allowed rating.
It is also advisable to activate Block items with no rating or with an unrecognized ratingOtherwise, an unrated film could escape the filter and appear in the children's profile.
Tags allow you to apply more precise restrictions. You can edit the metadata of a movie or series, add a specific tag, and configure the profile to block it. There's also the reverse option: displaying only items that include certain tags.
These filters depend on the accuracy of each title's information. If the ratings are missing or incorrectly identified, check how Troubleshooting Jellyfin cover art and metadata issues.
How to set access schedules
Within parental control is found the Access HoursThis tool allows you to define the days and times when the user can access the server.
Outside of permitted hours, the account is temporarily disabled. If the user is playing content when their allotted time slot ends, Jellyfin Playback will stop at the end of the schedule..
You can create multiple time slots for the same day, for example, one in the afternoon and another after dinner. Always check the server's time and time zone, especially if Jellyfin is installed in a container or on a remote server.
How to log in using Quick Connect
Quick Connect It facilitates access from televisions and devices where typing a password is inconvenient. The new device displays a temporary six-character code that must be authorized from another client where the user is already logged in.
- Open Jellyfin on the new device.
- Select Quick Connect and retains the displayed code.
- From a mobile device, computer, or browser that is already authenticated, open Settings > Quick Connect.
- Enter the temporary code and confirm the authorization.
Quick Connect is enabled by default on the server, although not all clients allow logging in or authorizing other devices. If the code expires, you will need to generate a new one.
This system does not delete the account password. It uses a session already authenticated to approve another deviceTherefore, you should carefully review which equipment you are authorizing.
How to block, unblock, or delete a user
If you want to temporarily block access without losing your profile settings, activate Disable this userJellyfin will close existing connections and reject new login attempts until you re-enable it.
You can also set the maximum number of failed login attempts. The default value is three attempts for regular users and five for administrators. When the limit is reached, the account is disabled and must be reactivated by an administrator from the account profile.
To permanently delete an account, open the three-dot menu and select EliminateBefore doing so, check that you have chosen the correct profile. Disabling it is a more prudent option when the user's absence may only be temporary.
Common mistakes when creating users in Jellyfin
The new user does not appear on the login screen
New profiles are hidden by default. Open the user profile and disable them. Hide this user on login screens and save the changes. You can also log in manually by typing your name.
The user can see libraries that should be restricted.
Check if the option is still enabled Allow access to all librariesDeactivate it, select only the necessary collections, and press Save.
A new library does not appear for certain users
Profiles with restricted access do not automatically receive subsequently created libraries. You must open each profile and grant permission manually.
The content does not play after limiting transcoding
The device probably can't directly play the original format, codec, or container. Re-enable transcoding or use files that are compatible with that client.
The user cannot connect from outside the home
Review individual permissions for remote connections, global network settings, and the ranges considered local. If you're using a reverse proxy, also check the list of known proxies.
The user receives a connection error after entering the wrong password.
The account may have reached its attempt limit and is disabled. Open your profile and uncheck the box. Disable this user and save the changes.
A child's profile displays inappropriate content.
Activate the blocking of unrated titles and review the metadata. Use your own tags when age ratings are not accurate enough.
The user cannot log in from a new device.
Check if access from all devices is disabled. If so, the administrator must manually approve the new device.
The Quick Connect code is not working
The codes are temporary and may expire. Generate a new one and confirm that the client you are using allows you to log in via Quick Connect.
The films appear duplicated or incorrectly identified.
This problem is not related to user permissions. Check how Organize movies and series in Jellyfin and re-examine the library.
Creating separate users allows you to share a Jellyfin server without mixing histories or granting more permissions than necessary. The most secure configuration involves assigning a password to each account, manually selecting its libraries, and keeping administrative, delete, and remote access permissions disabled when not essential.
Before handing over an account, log in to it from a different device and check which libraries it can access, which files it can play, and whether the parental controls are working. This test prevents a seemingly correct setup from exposing content or consuming more resources than intended.
Index
- 1 What is the difference between an administrator and regular users?
- 2 How to create a new user in Jellyfin
- 3 How to choose the libraries available to each user
- 4 How to configure playback permissions
- 5 How to limit remote access and bandwidth consumption
- 6 How to set up a child profile
- 7 How to set access schedules
- 8 How to log in using Quick Connect
- 9 How to block, unblock, or delete a user
- 10 Common mistakes when creating users in Jellyfin
- 10.1 The new user does not appear on the login screen
- 10.2 The user can see libraries that should be restricted.
- 10.3 A new library does not appear for certain users
- 10.4 The content does not play after limiting transcoding
- 10.5 The user cannot connect from outside the home
- 10.6 The user receives a connection error after entering the wrong password.
- 10.7 A child's profile displays inappropriate content.
- 10.8 The user cannot log in from a new device.
- 10.9 The Quick Connect code is not working
- 10.10 The films appear duplicated or incorrectly identified.
